Service and Maintenance
Nexscan F 4100/F 4200 – Operation
6–3
ABC
Lamp Change for Reflection Scanning
1. Switch off the device.
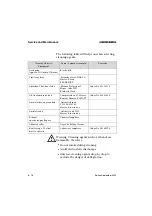
Warning:
Pull out the power plug.
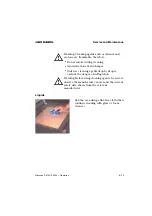
The ends of the fluorescent lamps can heat up to
100 °C when switched on.
2. Open the scanner lid.
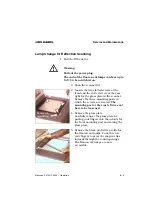
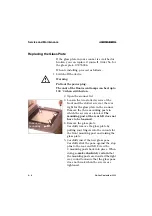
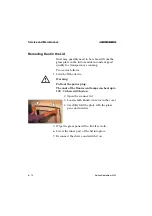
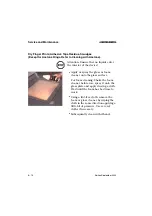
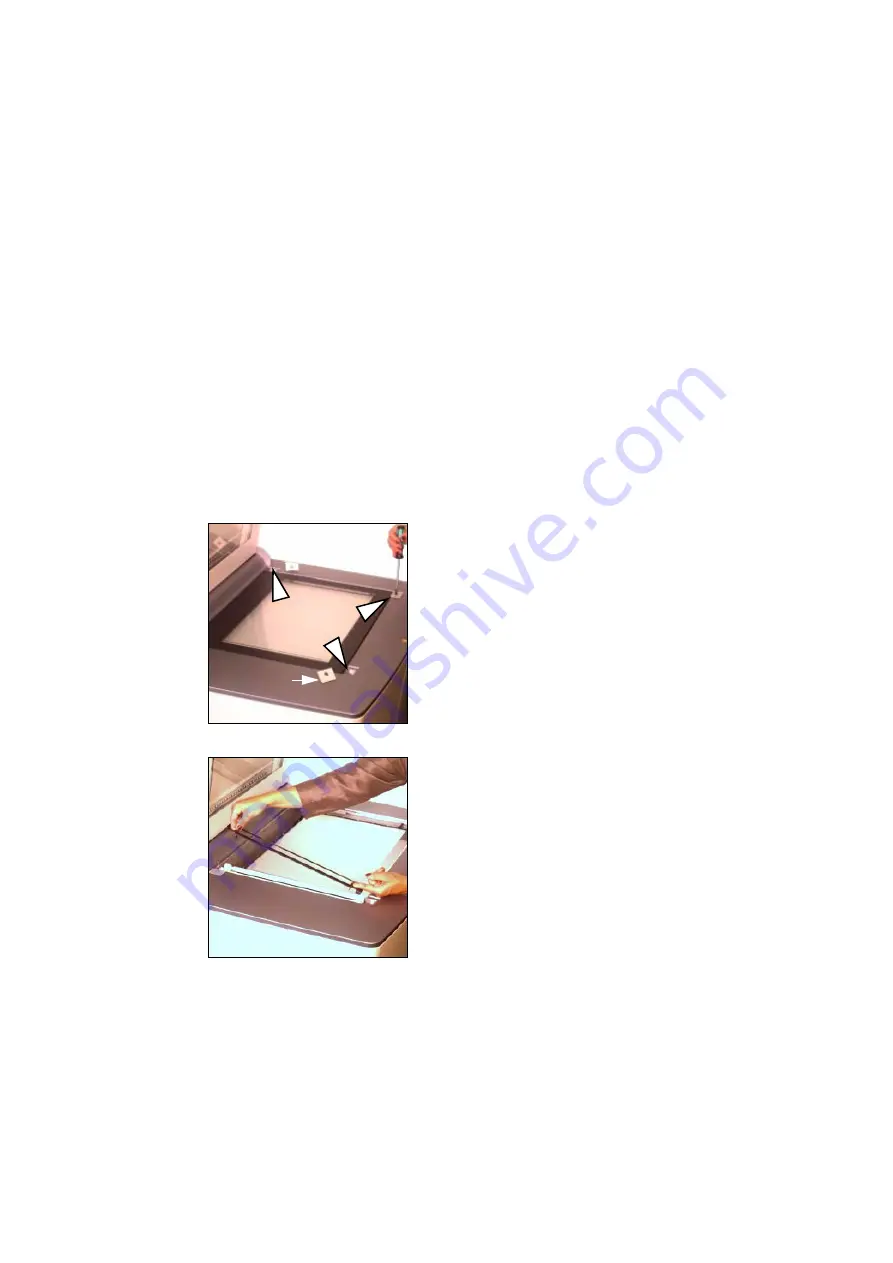
3. Loosen the two slotted screws at the
front and the slotted screw at the rear
right for the glass plate in the scanner.
Remove the three mounting posts in
which the screws are located.
The
mounting post at the rear left does not
have to be loosened.
4. Remove the glass plate.
Carefully remove the glass plate by
putting your fingers into the cutouts for
the front mounting post and raising the
glass plate.
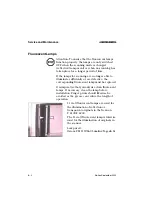
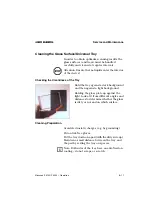
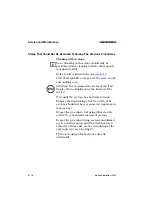
5. Remove the black protective profile for
the fluorescent lamps. To do this, use
your fingers to press the snap-in clips
inwards through the round openings.
The fluorescent lamps are now
accessible.
3
Removed
mounting
post

