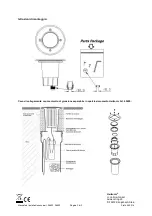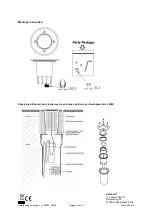
Installation instructions Art. no. 36850, 36853
Page 2 of 3
Last revision 06.2014
Installation:
This product must only be installed by trained electricians.
We recommend that you install a severable connection between the luminaire and the mains supply
directly on the luminaire. Suitable for this purpose is a watertight and unscrewable socket sleeve for
cable connections.
Prior to installation, make sure the connection lines installed in the building are de-energised and
secured against switching back on. To do so, trigger the in-house automatic circuit breaker and prevent it
from being switched back on.
When installing the floor-mounted luminaire outdoors, secure the outdoor luminaire with a ground fault
circuit interrupter. Follow all installation regulations applicable at your location. For some locations it is
absolutely necessary to install a ground fault circuit interrupter.
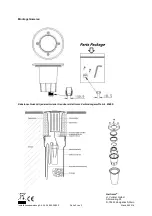
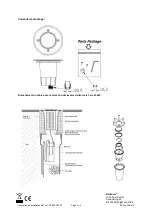
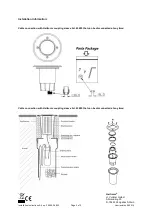
The floor-mounted luminaires are pre-assembled.
Follow all applicable safety information and warnings and install the floor-mounted luminaires in the
desired location. Make sure no water can accumulate at the installation location.
The minimum distance to the illuminated objects must not be lower than 0.5 m.
After positioning the plastic floor housing at the desired location, make sure the pot for floor installation is
safely connected with the subsurface.
Remove the stainless steel cover along with the safety glass. Route the wiring cable through the cable
entry point installed at the bottom of the luminaire.
Proceed by connecting the wiring cables to the socket in the floor-mounted luminaire. Usually, the brown
(or black) wire is the phase conductor; connect it with the terminal marked "L". Connect the blue wire
with the terminal marked "N".
Check again if the components are properly connected.
Continue by inserting the floor-mounted luminaire into the plastic floor housing. Make sure the luminaire
is mounted tightly and securely.
Re-attach the socket in the luminaire housing and screw the cable entry point tight. Re-install the safety
glass and the stainless steel cover. Make sure that the cable entry point and the gaskets are free of any
dirt and impurities.
Switch the in-house automatic circuit breaker back on again.
When installing the floor-mounted luminaires and laying the cables, pay attention to any obstacles that
may increase the risk of stumbling on walkways.
Do not remove the nameplate.
Changing the illuminant:
The use of other illuminants may cause the lamp to overheat.
Disconnect the power supply before changing the illuminant.
If you are replacing the illuminant immediately after the light has failed, wait until the light has cooled off
sufficiently.
Unscrew the stainless steel cover from the housing and remove the glass pane.
Carefully remove the defective illuminant from the socket. Carefully insert the new illuminant and screw it
into the socket. Do not apply too much force or pressure.
Screw the stainless steel cover including the glass pane back onto the housing. Make sure that the
contact surfaces on the gasket are clean. Any impurities may lead to leaks and cause the floor-mounted
luminaires to malfunction.
Maintenance and care:
Prior to cleaning the light, make sure it has been disconnected form the power supply.
Use a dry or slightly moistened cloth for cleaning.
Never use any chemicals, flammable cleaning agents or abrasives. These may cause damage to the
surface coating and/or the insulators or gaskets of the light.
Disposal:
Used electronic devices must be collected for recycling and must never be disposed off with regular
household garbage.
Heitronic
®
H. Vollmer GmbH
Allmendring 29
D-75203 Königsbach-Stein


