7
6
Guarantee and Service
Your Hot Tools appliance is guaranteed against defects under normal use for three years
from the original date of purchase. If your product does not perform satisfactorily because
of defects in materials or manufacture, within the warranty period, it will be replaced.
Please retain your till receipt or other proof of purchase for all claims within the warranty
period. The guarantee becomes void if the proof of purchase is not presented. Simply take
the appliance back to the retailer from where purchased, along with a valid till receipt, for
exchange free of charge. This guarantee does not cover defects which have occurred due
to misuse, abuse or are caused by failure to follow the instructions contained within this
manual. (UK only: This does not affect your consumer statutory rights.)
The manufacturing date is given by the 4 digit Batch Number marked on the rear of the
product. The first 2 digits represent the week of manufacture, and the last 2 digits represent
the year of manufacture. Example: 3419 - product manufactured week 34 of the year 2019.
The appearance of this appliance may differ from the illustration.
This appliance complies with EU legislation 2012/19/EU on end of life recycling.
Products showing the ‘Crossed Through’ wheeled bin symbol on either the rating
label, gift box or instructions must be recycled separately from household waste at
the end of their useful life.
Please DO NOT dispose of appliance in normal household waste.
Your local appliance retailer may operate a ‘take-back’ scheme when you are ready to
purchase a replacement product, alternatively contact your local government authority for
further help and advice on where to take your appliance for recycling.
This product carries the CE mark and is manufactured in conformity with the
Electromagnetic Directive 2014/30/EU, the Low Voltage Directive 2014/35/EU, the ROHS
Directive 2011/65/EU and the ERP Directive 2009/125/EC.
Product Support: +44 (0) 207 949 0115
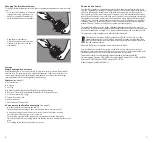
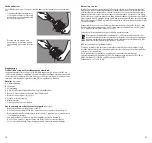
Changing The Brush Attachments
To change a brush attachment, turn the styler off, unplug the appliance and allow it to fully
cool.
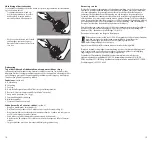
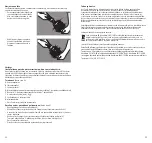
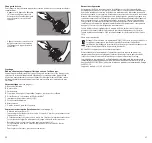
• Press the release button (A) down and
slightly twist to the right to unlock
handle as you pull the attachment
away from the body of the appliance.
• Align the new attachment
with the handle and insert it with a
slight twist to the left to lock the
attachment.
Storage
Always unplug when not in use
Allow the appliance to cool before storing. Always store in a dry location. Do not pull or
twist the cord. Do not wrap the cord around the appliance, as this may cause the cord
to wear prematurely and break. Regularly check the power cord for wear and damage
(particularly where it enters the appliance and the plug).
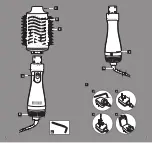
Features (see page 2):
A. Release button
B. Air Inlets
C. Cool Tip
D. Unique, StylistDesigned Smoothflow™ Bristles and Vent Pattern
E. Boartech® 2 Bristles Activated with Refresh3 Max™ Activated Charcoal
F. 4-Position switch (Off, I, II, )
G. Tangle-free swivel cord
H. Mini screwdriver
I. EuroConverter Plug removal
How to remove the EuroConverter plug (see page 2)
• Use the screwdriver provided in the box (1).
• Turn the EuroConverter plug so the 3 pins face upwards or towards you (2).
• Using the screwdriver, unscrew the screw in the centre of the 3 pins, rotating
anti-clockwise (3) until the top cover is released.
• Turn the plug over and lift the hinged top cover upwards from the bottom (4).
This will reveal the Euro 2 pin plug, which can then be removed from the EuroConverter
plug.
• For refitting, follow the above procedure in reverse.


