Temperature Control System WHS HE
Installation and Operating Instructions
6
EN
EN
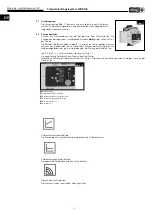
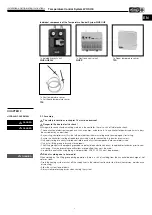
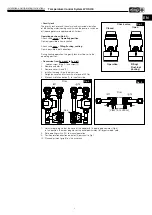
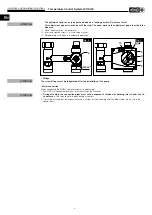
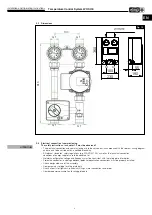
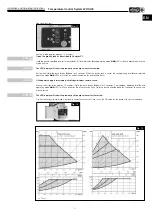
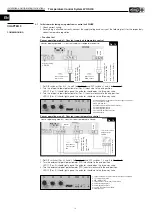
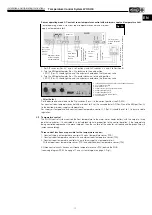
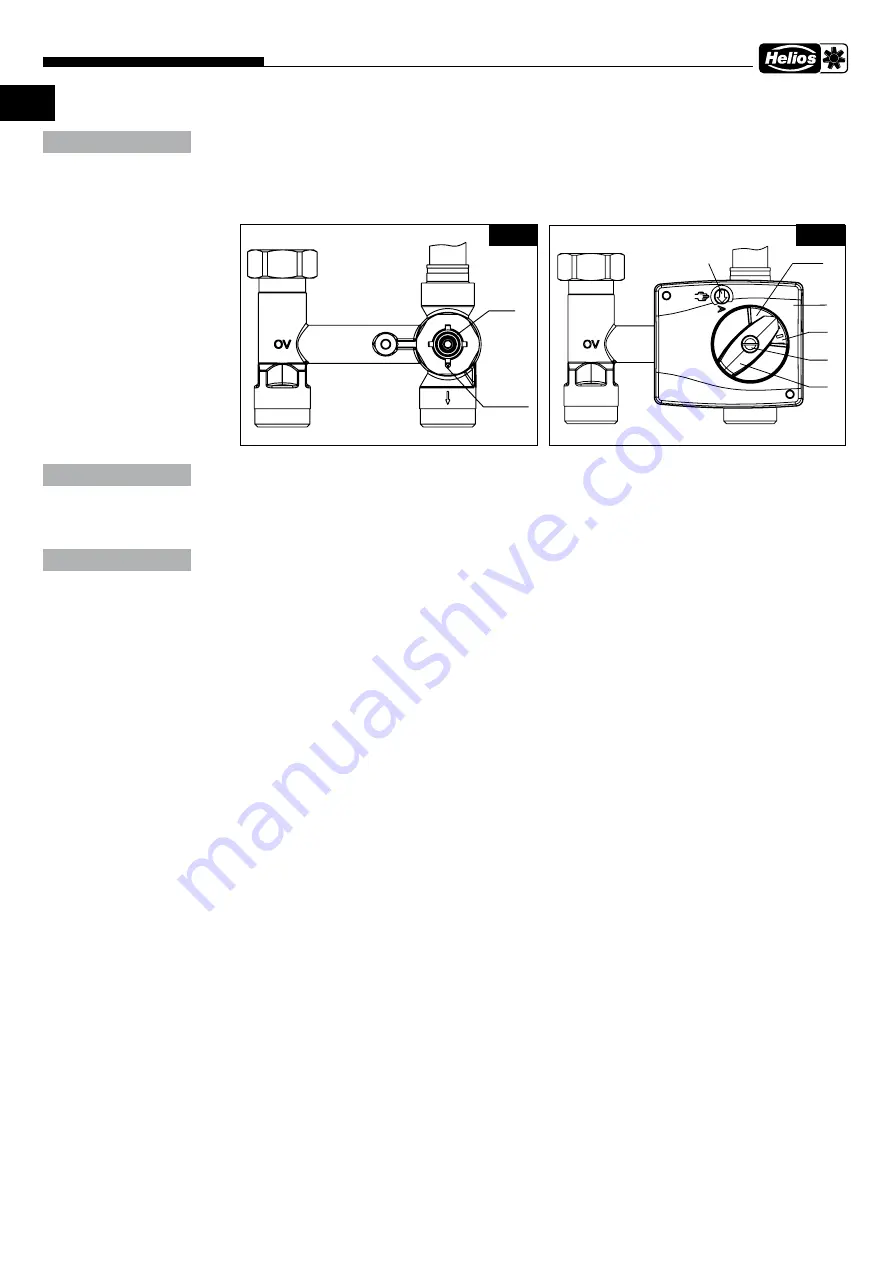
The adjustment grip can only be pushed down on a locking position� Do not use force!
Turn adjustment grip anti-clockwise until the stop� The arrow mark on the adjustment grip is located in the
blue area
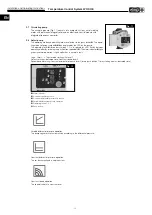
11. Place the actuator on the mixer axis
12. Insert and tighten screw (2) with serrated washer
13. Set operating switch back to automatic operation
– Fittings
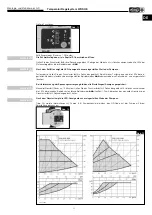
The screw fittings must be retightened after the installation of the pump
–Water connection
When connecting the WHSH, the following must be observed:
1. The WHSH is connected by means of screw fittings (inch thread).
2.
During assembly, the connection pipes must not be exposed to torsional or bending stress under any cir-
cumstances�
Use tools to hold in place during assembly.
3. It must be ensured that the expansion force in system or the dead weight of the pipe system do not strain the
connections.
ATTENTION
„Nase“
6
3
8
2
9
10
blau
„Nose“
blue
Fig� 6
Fig� 7
ATTENTION
ATTENTION

