120 / 179
The reproduction, distribution and utilization of this document as well as the communication of its contents to others without
express authorization is prohibited. Offenders will be held liable for the payment of damages.
All rights reserved in the event of the grant of patent, utility model or design.
21.04.2020
Version 1.18.0
Configuration
APS-90, APS-180 and APS-90-Outdoor-PoE
■
For automatic upload select a
Protocol Type
Server Address
and the
Server port
■
To access the upload server set the
Server User Name
Server User
Password
Server Directory
■
The upload starts when the file is completed. To restrict the upload to a time period
activate
Schedule Upload Time
(Fig. 120 /1) and set the time
Upload Between
■
To test the connection click
Test Connection
button (Fig. 120 /4) and see the result of
■
To go back to the last saved settings click the
Reset
■
To save all the settings in the device click the
Save
■
For immediate download of all data files from the device to the PC click
Download all
Data Files
■
To delete all data files from the device click
Delete all Data Files
default the oldest file is deleted automatically if memory is full.
6.10
Network
To go to the
Network Communication Settings
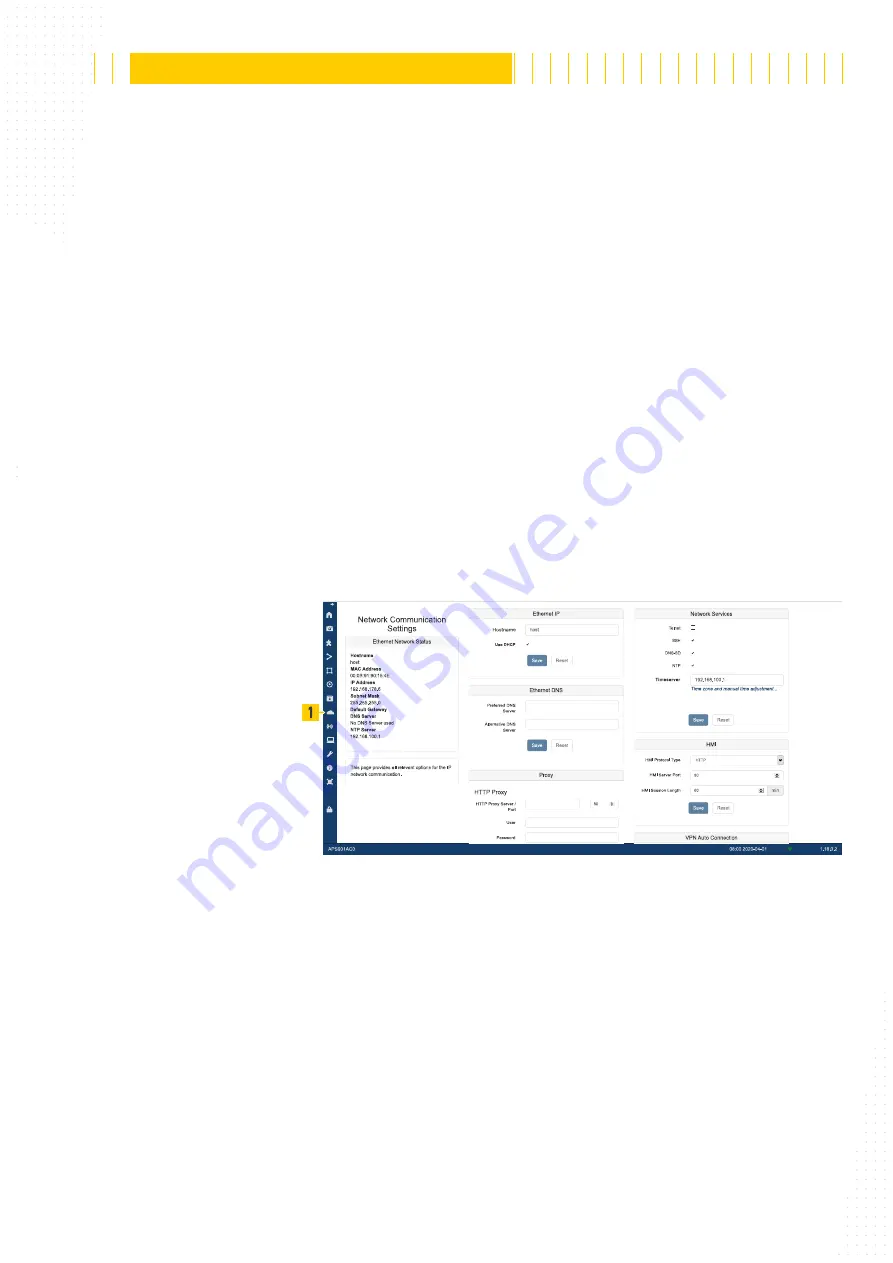
page click the Network icon (Fig. 121 /1).
Fig. 121: Data Interface Settings
Use the Network Communication Settings to set up the IP communication of the device
inside your network and to your data server.
6.10.1 Ethernet Network Status
This topic block shows the Ethernet network settings which have either been assigned
automatically by a DHCP server or have been set manually.


