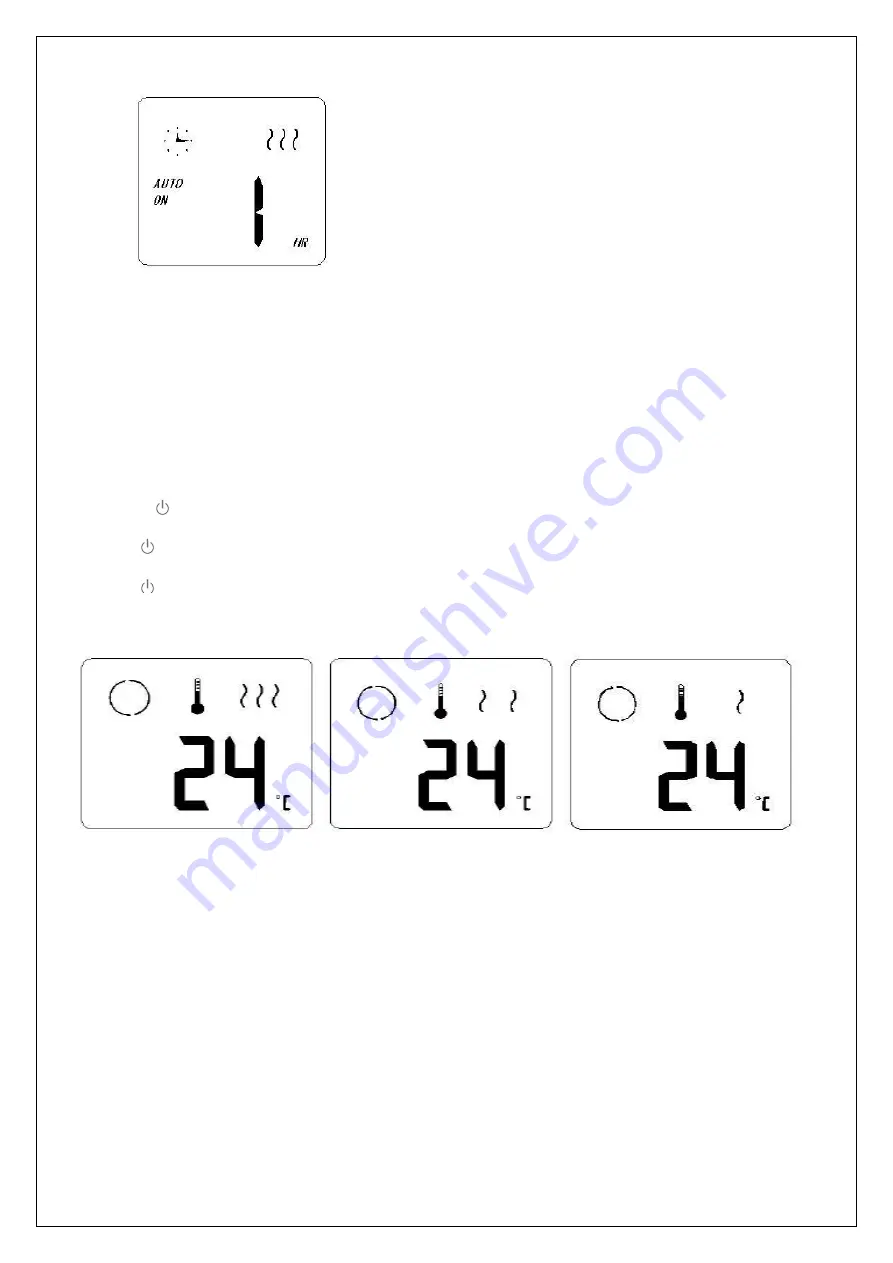
4.
Then press “MODE” again, the heater enters into “SET TIMER (AUTO-ON)” status.
To press “+” or “-” button to set the heater operation time between 1 and 24 hours. This function will activate
once the timer icon stops blinking.
The heater will automatically turn-on when time runs out.
If it was set to be 1 hour, the heater will start heating after 1 hour.
5.
After all, press “MODE” again, the heater will be back to STEP 2 status.
6.
Under STEP 2 status, the heater is heating with POWER III.
Now, press once, the heater will heat with POWER II;
OR press twice, the heater will heat with POWER I;
OR press three times, the heater will be POWER OFF.
Following are the status of Screen under Heating Power with III, II and I.
III
II
I
When first turned on using the switch on the rear of the unit, the WIFI sign indicator will flash rapidly, showing that
the unit is in Quick connection mode, and ready to set up.
Please ensure your device is in the correct Wi-Fi connection mode for the connection type you are attempting, the
flashing of the power indicator on your heater will indicate this.
TURNING WIFI OFF
With the appliance in standby mode (Power switch on, but turned off), Press and hold the ON/OFF Button for 3
seconds. The unit will bleep, and the Light button will go out.
TURNING WIFI ON
Turn the appliance off using the switch. Leave turned off for 10 seconds before returning the switch to the on position.
After a few seconds, the Power indicator will start to quickly flash to indicate the unit is in Quick connection mode.


