US
DE
Automation Instructions CPK • 10-2015 •106-29009
Installation
12
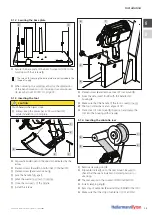
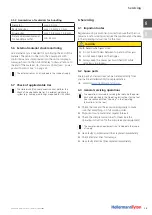
5 .1 .2 Securing the base plate
9
9
f
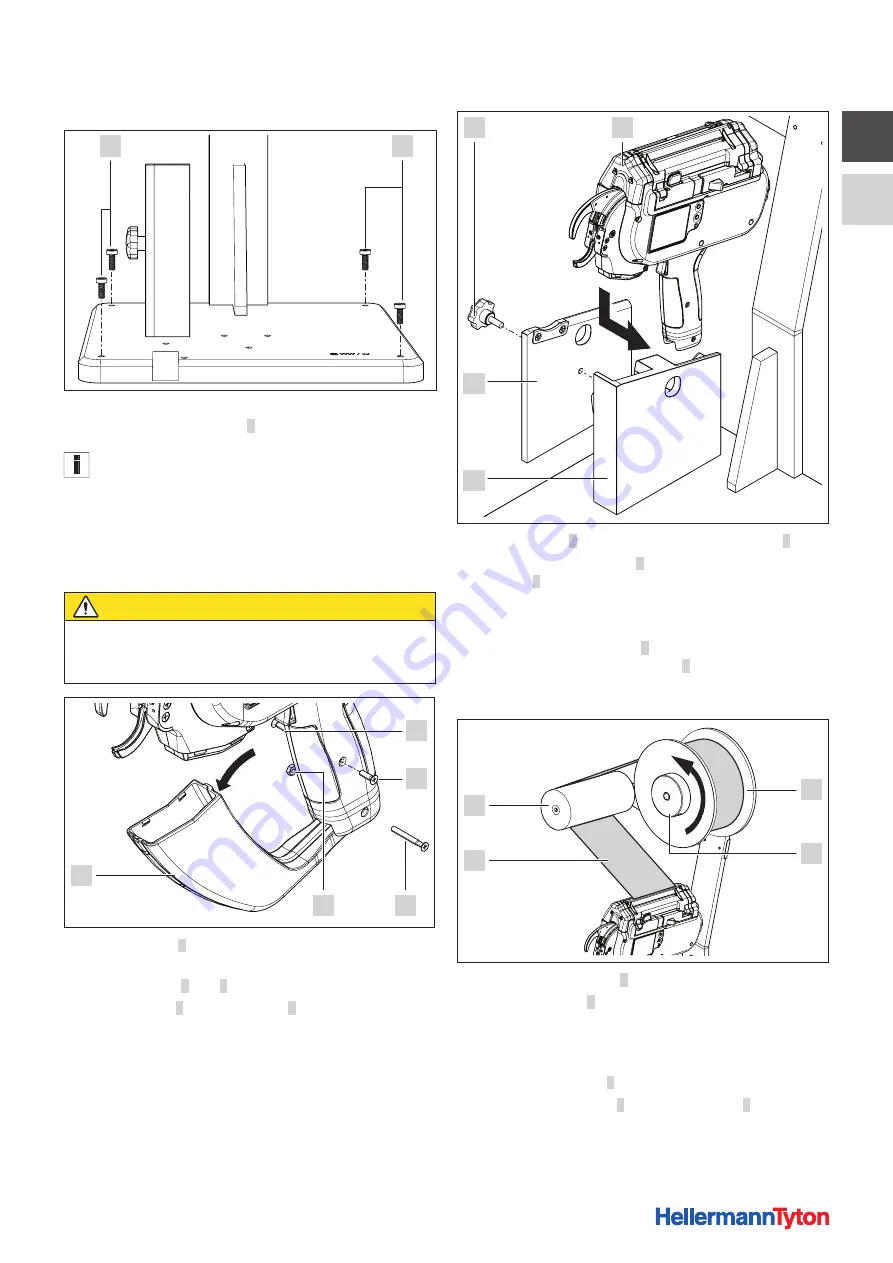
Secure the base plate of the bench mount kit CPK to the
worktop with four screws
9
.
The screws for securing the base plate are not included in the
scope of supply.
f
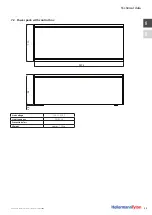
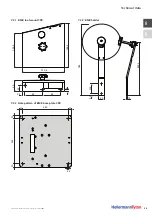
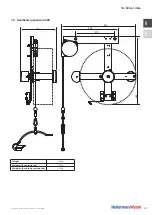
When securing to a worktop, allow for the dimensions
of the bench mount kit CPK including the cable-tie reel,
„Bench mount kit CPK“ on page 25.
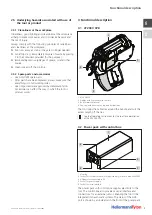
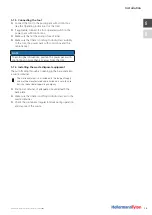
5 .1 .3 Inserting the tool
CAUTION
Crush hazard when jaws close.
f
Always keep the power pack CPK switched OFF
while installation is in progress.
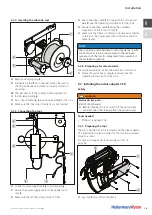
5
3
4
1
2
f
Flip waste box
5
open in the direction indicated by the
arrow.
f
Slacken screws
1
and
2
on both sides of the handle.
f
Slacken screw
3
and remove nut
4
.
f
Ease the handle fully apart.
f
Work the waste box down to remove.
f
Close the two parts of the handle
f
Install the screws.
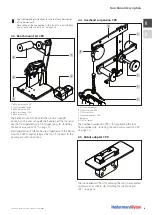
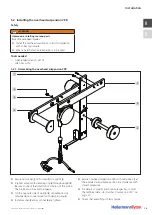
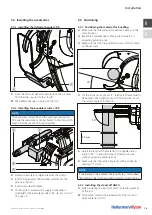
9
8
6
7
f
Slacken screw
6
and remove cover of tool mount
9
.
f
From the side, insert tool
7
with the handle into
housing
8
.
f
Make sure that the handle of the tool is seated snugly.
;
The tool is tilted back at an angle of 15°.
f
Place cover of tool mount
9
in position and clamp the
tool into the housing with screw
6
.
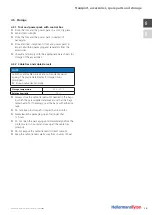
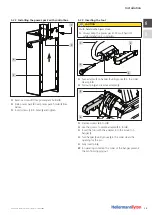
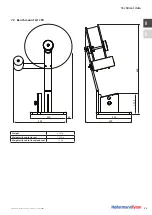
5 .1 .4 Inserting the cable-tie reel
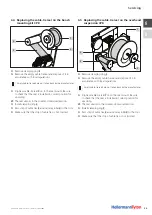
1
2
4
3
f
Remove clamping ring
2
.
f
Slip cable-tie reel
1
on to the reel mount. Be sure to
check that the reel is installed in correct position for
uncoiling.
;
The reel uncoils in the counter-clockwise direction.
f
Install clamping ring
2
.
f
Pass strip of cable ties
3
around relay roller
4
to the tool.
f
Make sure that the strip of cable ties is not twisted.
Summary of Contents for Autotool 2000 CPK
Page 1: ...A u t o t o o l 2 0 0 0 TOC Cover Automation Instructions Automatisierungsanleitung...
Page 2: ...2 US English DE Deutsch Automation Instructions 3 Automatisierungsanleitung 37...
Page 36: ...US DE Automation Instructions CPK 10 2015 106 29009 Appendix 36 9 5 Cable tie strip...
Page 70: ...US DE Automatisierungsanleitung CPK 10 2015 106 29009 Anhang 70 9 5 Bandkette...
Page 71: ......

