Helmer Scientific i.Series
®
and Horizon Series
™
Freezer - Undercounter
Service and Maintenance Manual
360417/A
43
Notes
• For consistent freezer operation, units are shipped with three preprogrammed defrost cycles per day.
• Manual defrost events can initiated any time of day.
• A defrost cycle lasts 15 minutes.
• AC power must be restored within 15 minutes to prevent termination of
a
manual defrost event.
• Defrost events must be at least one hour apart.
• Contact Helmer Technical support for more information regarding changing defrost frequency or duration.
Manual Defrost Events
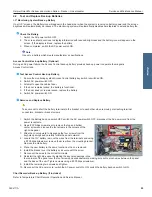
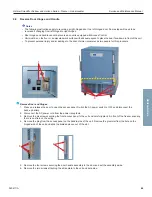
1. Switch the AC power switch OFF. Turn the Alarm key switch OFF.
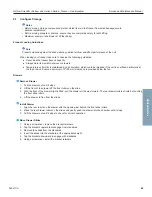
2. Using a #2 Phillips screwdriver, remove the upper and lower center screws on the right-side panel, and loosen the four
corner screws.
3. Slide the panel upward to disengage the corner screws from the keyhole openings and remove.
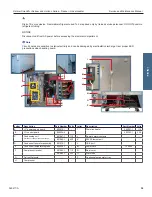
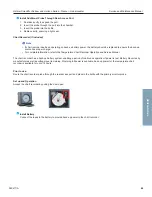
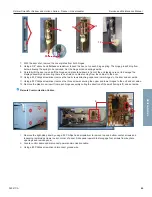
4. On the control board, locate the manual defrost push button and push to initiate.
5. Reinstall the right-side access panel by engaging the four corner screws in unit base with the keyhole openings in the
panel. Insert the top and bottom center screws and tighten all screws using a #2 Phillips screwdriver.
6. Switch the AC power switch ON. Turn the Alarm key switch ON.
9.6
Prepare for Monitoring
The monitoring system back-up battery is included in the literature box. Install and connect the battery to provide the monitoring
system with back-up power in the event of an AC power failure. If included, switch the Access Control back-up battery ON to
provide the optional Access Control system with back-up power in the event of an AC power failure.
Temperature Probes
Notes
• Temperature probes are fragile; handle with care.
•
Failure to fill the probe bottle or keep the probe bottle filled to the appropriate level may cause the chamber
temperature to display higher or lower than the actual temperature.
• Remote probes may also be introduced through the existing port and immersed in the existing probe bottle.
• External probes should not be routed into the chamber through the door opening as this may cause issues with the
door seal.
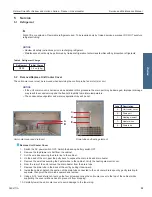
A probe bottle and container of propylene glycol have been provided with this unit. The propylene glycol is mixed with water to
create a solution which, when placed in the probe bottle, simulates the product stored in the freezer. The product simulation
solution temperature reflects the product’s temperature during normal operation.
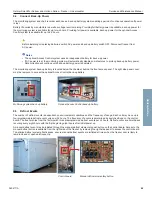
The probe bottle should contain 4 oz. (120 mL) of product simulation solution (1:1 ratio of water to propylene glycol).
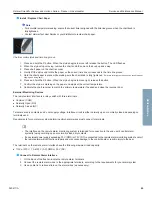
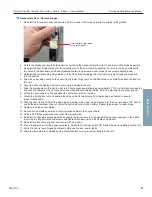
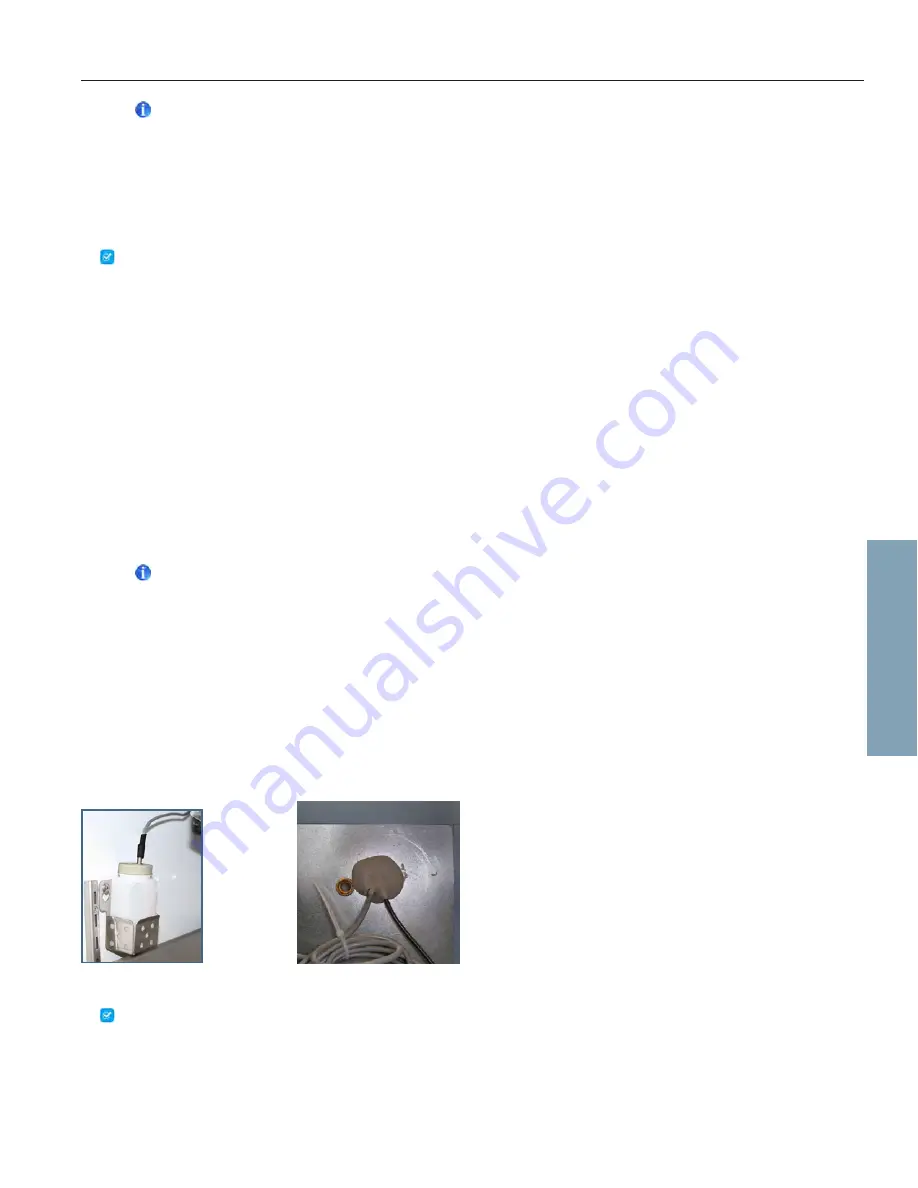
Probe bottle with probe.
Rear access port.
Fill Probe Bottle
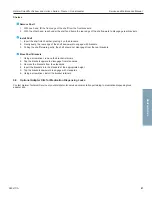
1. Remove the probe(s) from the bottle and remove the bottle from the bracket.
2.
Remove the cap and fill with 4 oz. (120 mL) of product simulation solution.
3. Replace and secure the cap and place the bottle in the bracket.
4. Replace the probe(s), immersing at least 2” (50 mm) in solution.
Horizon Series

