360142-D/D
23
i.Series® Models
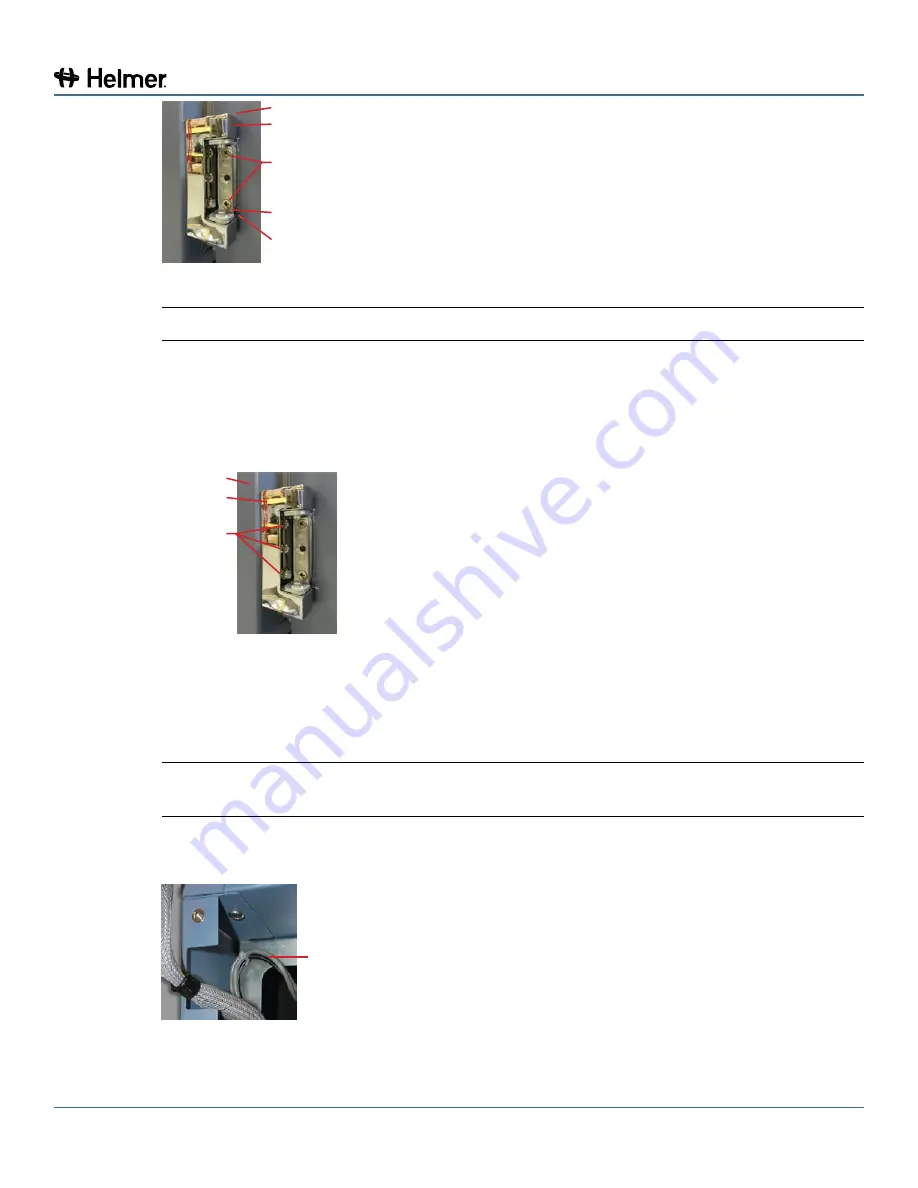
2 screws
(long)
Hinge plate
Shim
Door
Hinge
Attach hinge to door (lower hinge shown).
NOTE
A second person should assist by supporting the door while the hinges are installed.
2
Install the door on the cabinet.
a
Lift the door to the cabinet.
b
Align the holes in the hinges with the corresponding holes in the cabinet.
c
Hand-thread three screws through each hinge and into the cabinet.
d
Do not allow the weight of the door to rest on the hinges.
3 screws
(short)
Hinge
Cabinet
Attach hinge to cabinet (lower hinge shown).
3
Align the door and tighten screws.
a
Support the door so the top edge of the door is level.
b
Level the door using a shim if necessary.
c
Tighten all screws attaching both hinges to the door and to the cabinet.
NOTE
If a shim is necessary to level the door after hinge reversal, contact Helmer Technical
Service to obtain a shim.
4
Route the power and communication cables across the front of the cabinet. Attach the cables to the
zip tie holder under the cabinet on the hinge side.
Secure cables
with zip tie
Power and communication cables secured at the hinge-side of the cabinet after hinge reversal.


