360142-D/D
37
i.Series® Models
5
Cap bottle tightly to minimize evaporation.
6
Place bottle in bracket.
7
Replace probe, immersing at least 2” (50 mm).
8.4.6 i.C³
®
Touchscreen
Clean touchscreen with a soft, dry cotton cloth.
8.5
Defrost the Unit Cooler
Defrost events may be scheduled to occur at specific times. A defrost event can be triggered on demand
without affecting a programmed defrosting schedule.
1
Touch
i.C³ APPS
,
Temperature Setpoints
.
2
Touch the
Manual Defrost: Start
button.
►
The Defrost icon will appear for the duration of the defrost cycle.
3
To cancel, touch the
Manual Defrost: Stop
button.
8.6
Unit Cooler Cover Removal and Installation
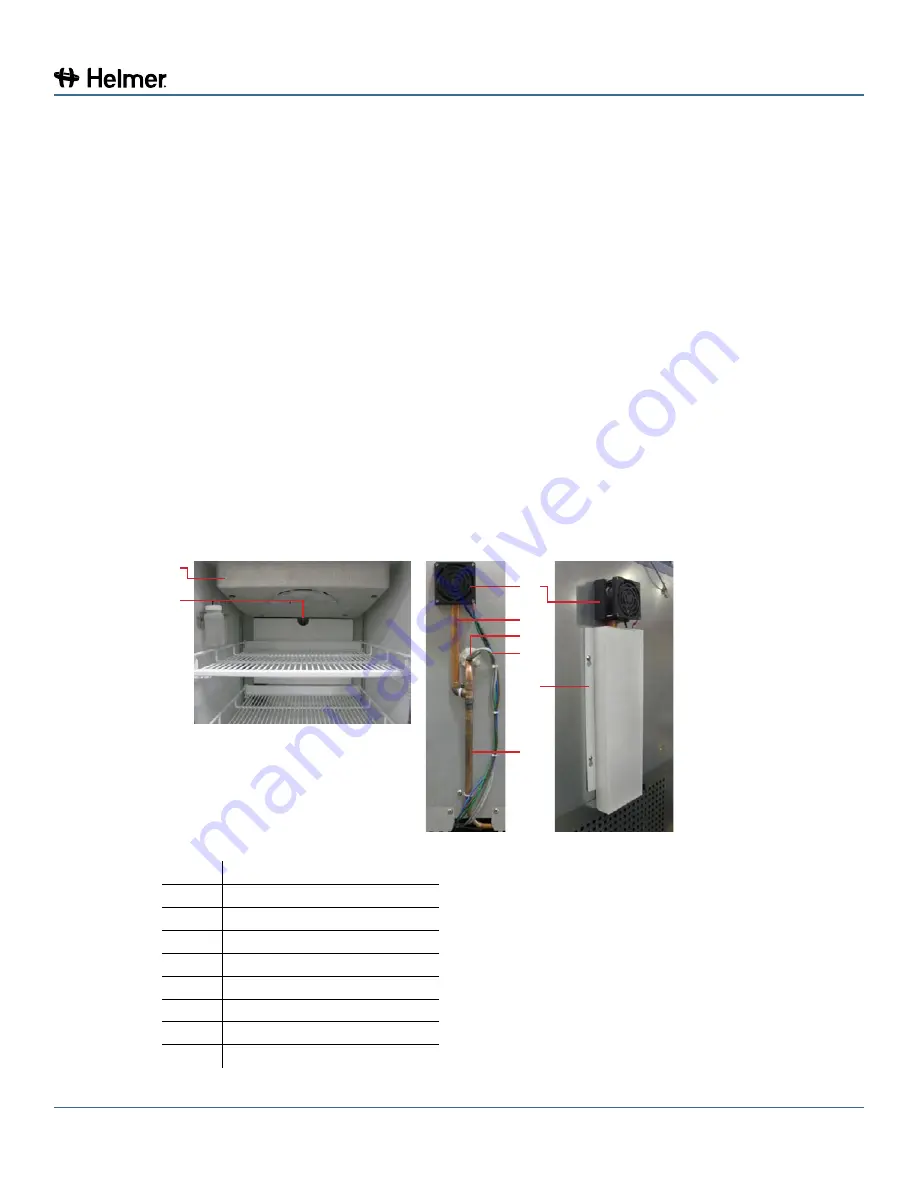
If unit cooler cover is not removed as detailed in this procedure the drain port may be damaged. Improper
drainage may result in excessive icing and freezer’s inability to maintain temperature.
Required tools:
►
5/16” socket wrench
►
Tool to push putty away from the drain tube
A
B
C
D
E
F
G
H
Drain line, fan, and heater components.
Label Description
A
Unit cooler cover
B
Drain port
C
Drain fan
D
Fan tube
E
Heating element
F
Heater wires
G
Protective cover
H
Drain tube


