360142-D/D
64
Horizon Series™ Models
10
Remove the lower hinge.
a
Support the door.
b
Remove five screws attaching the lower hinge to the door and cabinet.
c
Remove the lower hinge.
d
Reverse the hinge manually (as if moving the hinge from a fully-closed to a fully-open position).
e
Set the lower hinge aside.
f
Continue to support the door.
11
Remove the upper hinge.
a
Remove five screws attaching the upper hinge to the door and cabinet.
b
Remove the upper hinge.
c
Reverse the hinge manually (as if moving the hinge from a fully-closed to a fully-open position).
d
Set the upper hinge aside.
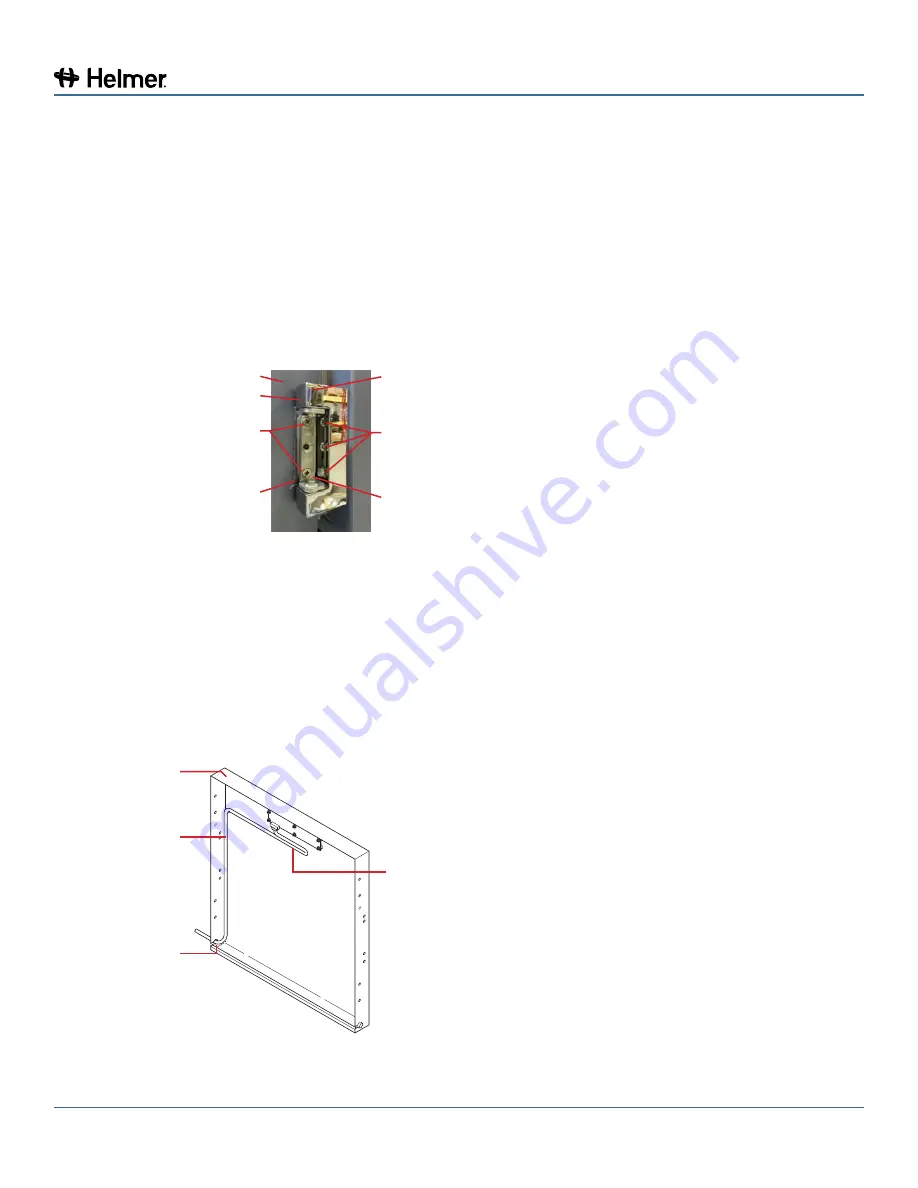
Shim
Remove 2
screws (long)
Remove 3
screws (short)
Cabinet
Hinge plate
Hinge
Door
Hinge removal (lower hinge shown with spring removed).
12
Lay the door face-down in front of the cabinet. Ensure that there is no strain on the cable(s) passing
from the cabinet to the door.
12.8.2
Reverse the Cable Routing in the Door
The undercounter door consists of an inner frame and outer frame. The data cable is connected to the
display circuit board on the front of the door.
The length of the cable inside the door is approximately three feet. The cable follows a channel along the
top and side of the outer frame. Additional slack has been bundled in the cable.
A
B
C
D
Outer door frame (right-hinged solid door shown) and data cable.


