360142-D/D
9
General Information
3.3.1
Fill Temperature Probe Bottle
NOTE
Temperature probes are fragile; handle with care.
1
Remove all probes from bottle and remove bottle from bracket.
2
Remove cap and fill with 4 oz (120 mL) of product simulation solution.
3
Install cap and place bottle in bracket.
4
Replace probes, immersing at least 2” (50 mm) in solution.
3.3.2
Install Additional Probe Through Rear Port
1
Peel back putty to expose port.
2
Insert probe through port into chamber.
3
Insert probe into bottle.
4
Replace putty, ensuring a tight seal.
3.4
Chart Recorder
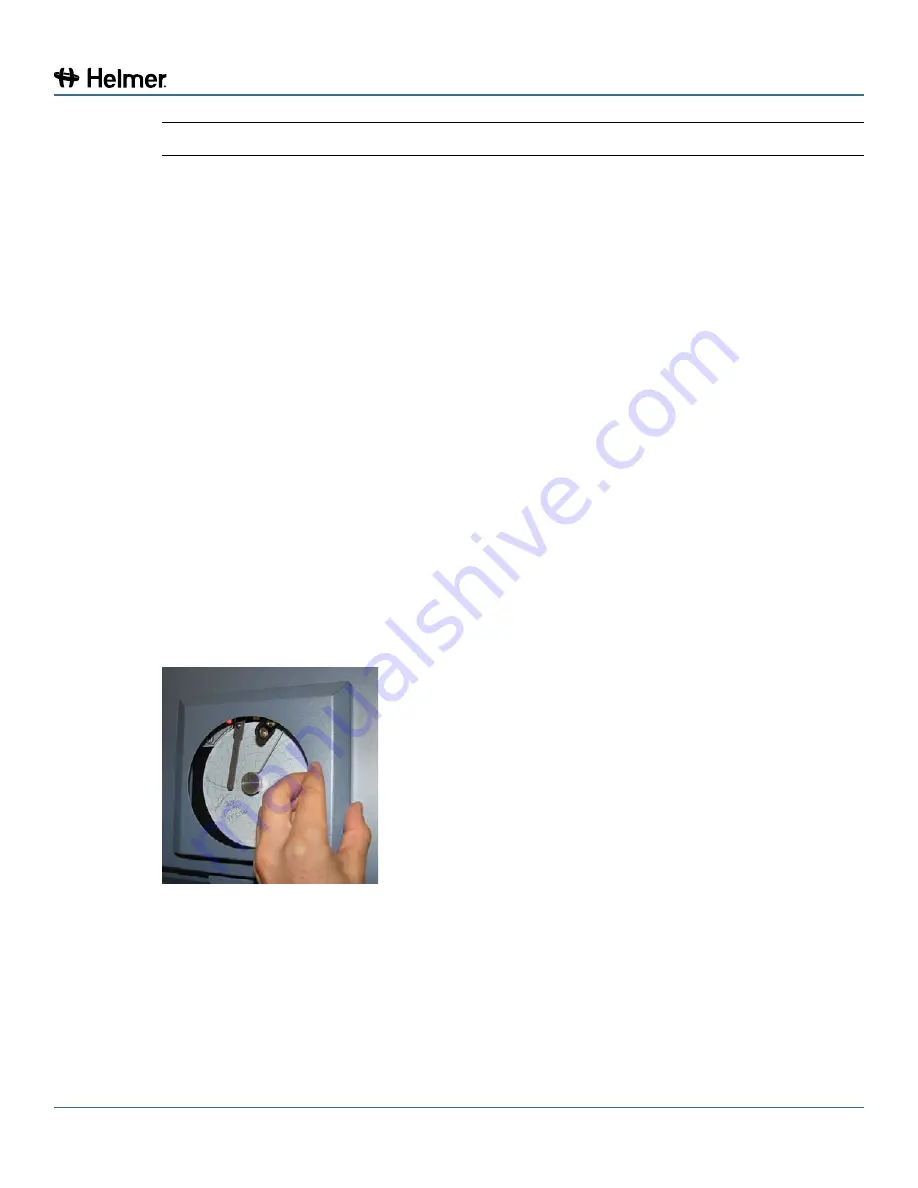
If installed, refer to the Temperature Chart Recorder Operation and Service Manual on CD.
The chart recorder has a battery system, enabling a period of continuous operation if power is lost.
Battery life varies by manufacturer as well as voltage level remaining. Providing full power is available,
backup power for the temperature chart recorder is available for up to 14 hours.
Prior to use:
►
Install battery.
►
Add paper.
►
Calibrate chart recorder to match chamber temperature.
3.4.1
Chart Recorder Access
Open door by pulling door open.


