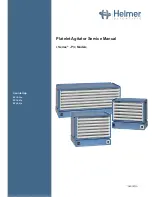
Helmer Scientific Platelet Agitator
Service Manual
360391/A
6
2 Installation and Configuration
2.1
Location Requirements
♦
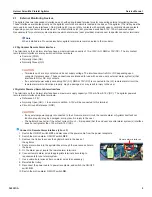
To ensure continuous operation of linearly shifting loads, the location surface must be level and adequately accommodate the full
weight of the agitator when loaded with product.
♦ Has a grounded outlet meeting the electrical requirements listed on the product specification label.
♦
Is clear of direct sunlight, high temperature sources, and heating and air conditioning vents.
♦ Minimum 0.5” (13 mm) behind.
♦ Minimum 0.75” (20 mm) on left and right sides.
♦ Meets limits specified for ambient temperature (15˚C to 35˚C) and relative humidity.
Note
Add 1.5” (38 mm) to the width to accommodate the trolley frame when agitation motion is enabled.
2.2
Connect Power Supply
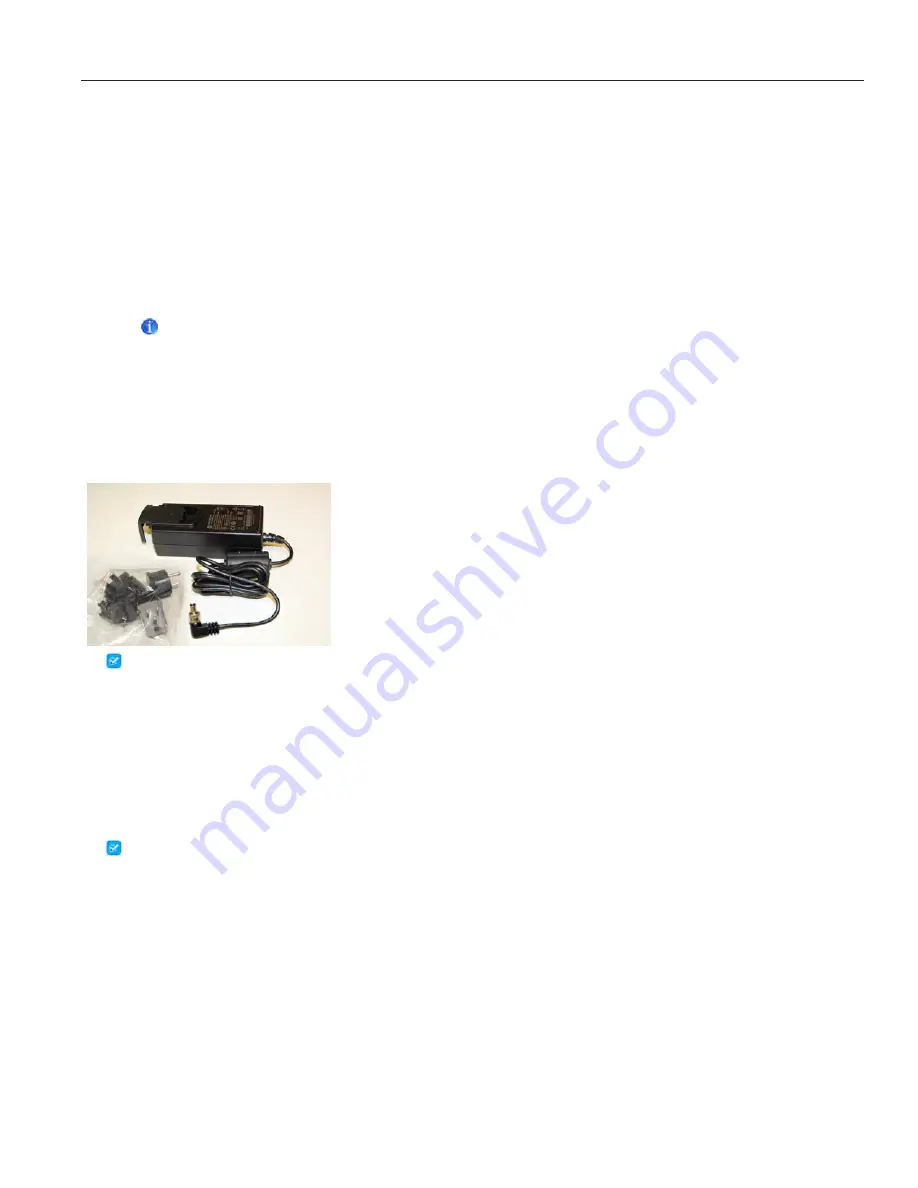
The platelet agitator may be used in a stand-alone configuration. A power supply with adaptable plugs is available for stand-alone
use. Select and install the desired plug prior to attaching the power supply to the agitator. The power supply is not used when
configured inside a Helmer Pro Series Platelet Incubator.
Configure and Attach Power Supply
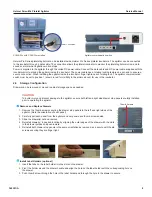
1. Remove the cover plate by using the thumb to push and hold the spring loaded locking key downward while sliding the
plate forward. Retain the cover plate in secure location for future use.
2.
Select the desired plug and slide in place until it locks (a clicking sound will occur).Make sure the plug is firmly attached.
3.
Attach the power supply to the platelet agitator, and ensure the rotating lock is finger tight prior to plugging power supply
into facility AC.
2.3
Mounting Brackets
Mounting brackets are included and may be installed for use inside the Pro series incubator or in stand-alone configuration.
Install Mounting Brackets
1. Carefully place the agitator on its back on a solid surface allowing access to the bottom of the unit.
2. Locate the two nutserts in the right or left side toward the front of the unit and align with the two holes in the
mounting bracket.
3. Hand thread the screws through each hole, and secure using a #2 Phillips screwdriver.
4. Repeat steps 2 and 3 for the opposite side.
5. Return the agitator to the upright position.
6. Carefully place the agitator in the desired location aligning the hole in each bracket with the holes in the mounting surface.
(If mounting inside a Pro series incubator, remove screws in the floor of the incubator prior to installing the agitator).

