background image

3

7

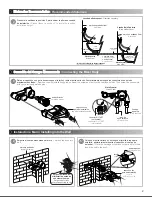
Dimensión de Instalación a Tablacemento  / 

Dimensions for Installing in Cement Panels

Construya una estructura, para fijar el cuerpo con su placa de sujeción (incluida). 

/  Construct to fix the body with its plate (included).

canal estructural

horizontal

horizontal structural channel

canal estructural

vertical

vertical structural channel

pared con

acabado final

wall finish

*4,0 cm

Vista Superior

Top View

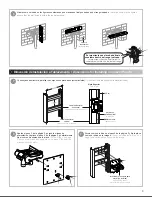
Realice el paso 2 de la página 2, purgue las líneas de 
alimentación y aplique el paso 4 de la página 2, posteriormente 
fije el cuerpo monomando a la placa.

 / Follow Step 2 on page 

2, purge supply lines and apply step 4 on page 2, then set the 
mixer body to the plate.

8

Nivele como se indica en el paso 5 de la página 2 y fije la placa 
como se indica en la imágen.

 / Level as indicated in step 5 on 

page 2 and set the plate as shown in the image.

9

tornillo auto roscante para 

metal (no incluido)

self-tapping sheet 

metal screw (not included)

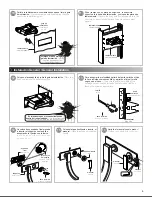
6

muro sin 

acabadofinal

drywall finishing

Es importante que el acabado final se 

considere dentro del rango indicado. 

/ It 

is important that the final finish is 

considered within the indicated range.

Nivele como se indica en las figuras considerando que el acabado final quede dentro del rango indicado. 

/ Level as shown in the figures 

assure that the wall finish is within the indicated range.

tablacemento

cement panel

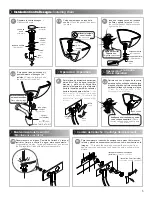
Summary of Contents for Vértika E-3010-DX

Page 1: ...acción por años reflejando el compromiso con la calidad innovación y el medio ambiente que forman parte de Helvex Thank you for choosing HELVEX products We are confident that the product reliability will exceed your maximum expectations The functionality aesthetics durability are at its highest quality The comprehensive support will grant full satisfaction for years reflecting the commitment to qu...

Page 2: ...iormente inserte el capuchón el cuerpo de empotrar Place the cartridge holder and screw to hold it then insert the cap to the body 5 Instalación a Muro Installing into the Wall porta cartucho cartridge holder capuchón con guía de instalación cap with installation guide Vista Frontal Front View línea de agua caliente hot water line línea de agua fría cold water line conector Ø NPT no Incluido conne...

Page 3: ... page 2 purge supply lines and apply step 4 on page 2 then set the mixer body to the plate 8 Nivele como se indica en el paso 5 de la página 2 y fije la placa como se indica en la imágen Level as indicated in step 5 on page 2 and set the plate as shown in the image 9 tornillo auto roscante para metal no incluido self tapping sheet metal screw not included 6 muro sin acabadofinal drywall finishing ...

Page 4: ... la tuerca Insert the faucet with escutcheon and tigthen with nut llave incluida wrench included acabado final wall finish 14 15 Apriete el maneral con el opresor Tigthen the handle with set screw 16 retire antes de instalar remove before installing llave incluida wrench included tornillo screw chapetón escutcheon turca nut Perfore la tablacemento considerando que pase libre la guía de instalación...

Page 5: ...y suba cada vez que se oprima Check that the cap down and up each time you press tapón contra drain cap 5 Desarme la contra desagüe Disassemble drain Installing Drain 17 Instalación Contra Desagüe Instalación Contra Desagüe protector tuerca protector nut contra de push push drain tubo tailpiece empaque cónico fiber washer rondana de fibra conical gasked 18 19 Inserte el empaque cónico rondana de f...

Page 6: ...el fondo del cuerpo armado Possibly the cartridge holder is not sitting into its body Apriete firmemente la tuerca Pag 4 paso 14 Tighten the nut p 4 step 14 El maneral esta flojo The handle is loose El opresor no está apretado The set screw is not tight Utilice la llave allen y apriete firmemente pag 4 paso 16 Use the allen wrench and tighten p 4 step 16 La presión de operación no es la adecuada T...

Reviews: