10
HEMCO
Laboratory Planning Solutions
www.HEMCOcorp.com
info@HEMCOcorp.com
Fax (816) 796-3333
Tel (816) 796-2900
HEMCO Corporation
711 South Powell Road
Independence, MO 64056
R
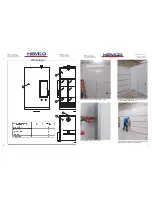
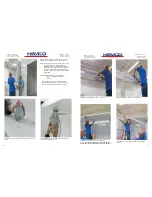
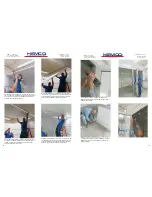
Set the #4 Center ceiling panel in place, on the seat of
the “h” extrusions. Be careful of fl exing the ceiling panel
while setting it in place to avoid damage. Secure with
provided #10 sheet metal screws.
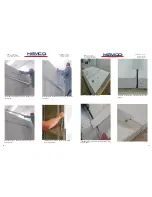
Set the #3 ceiling panel in place, on the seat of the
“h” extrusions. Light fi xtures are orientated to the front
of the enclosure and the exhaust outlet is at the rear.
Secure with provided #10 sheet metal screws.
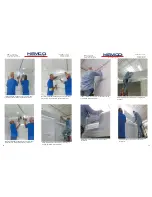
Set the #2 ceiling panels in place, on the seat of the “h”
extrusions. Be careful of fl exing the ceiling panel while
setting it in place to avoid damage. Secure with pro-
vided #10 sheet metal screws.
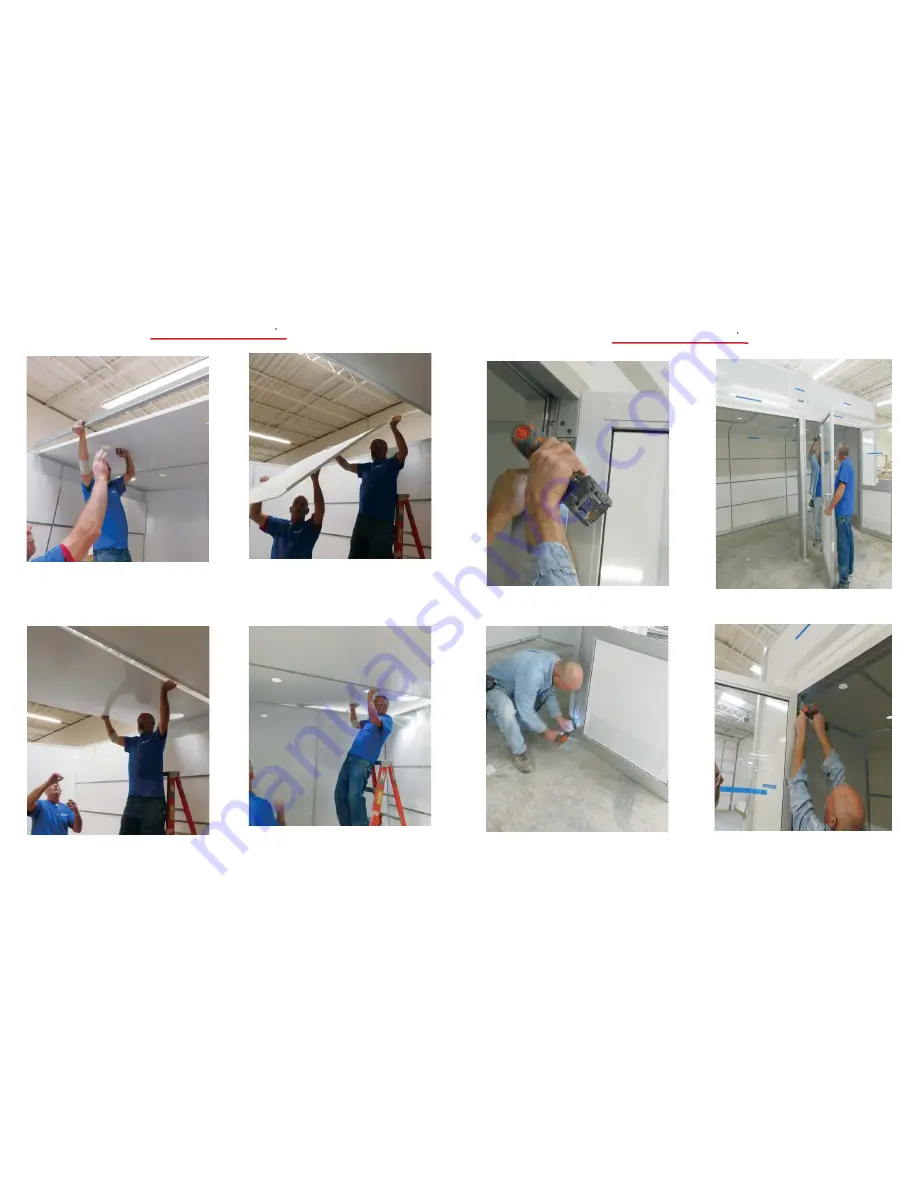
Set the #1 Left ceiling panel in place, on the seat of the
“h” extrusions. Light fi xtures are orientated to the front
of the enclosure and the exhaust outlet is at the rear.
Secure with provided #10 sheet metal screws.
15
HEMCO
Laboratory Planning Solutions
www.HEMCOcorp.com
info@HEMCOcorp.com
Fax (816) 796-3333
Tel (816) 796-2900
HEMCO Corporation
711 South Powell Road
Independence, MO 64056
R
Install: Doors Labeled ( Hinge Left Side Door & Left
Side Door Hinge) into Front Left Door Frame with
screws provided.
Install: Doors Labeled ( Hinge Right Side Door &
Right Side Door Hinge) into Front Right Door Frame
with screws provided.


