16
HEMCO
Laboratory Planning Solutions
www.HEMCOcorp.com
info@HEMCOcorp.com
Fax (816) 796-3333
Tel (816) 796-2900
HEMCO Corporation
711 South Powell Road
Independence, MO 64056
R
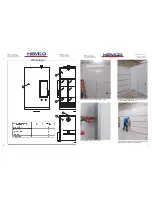
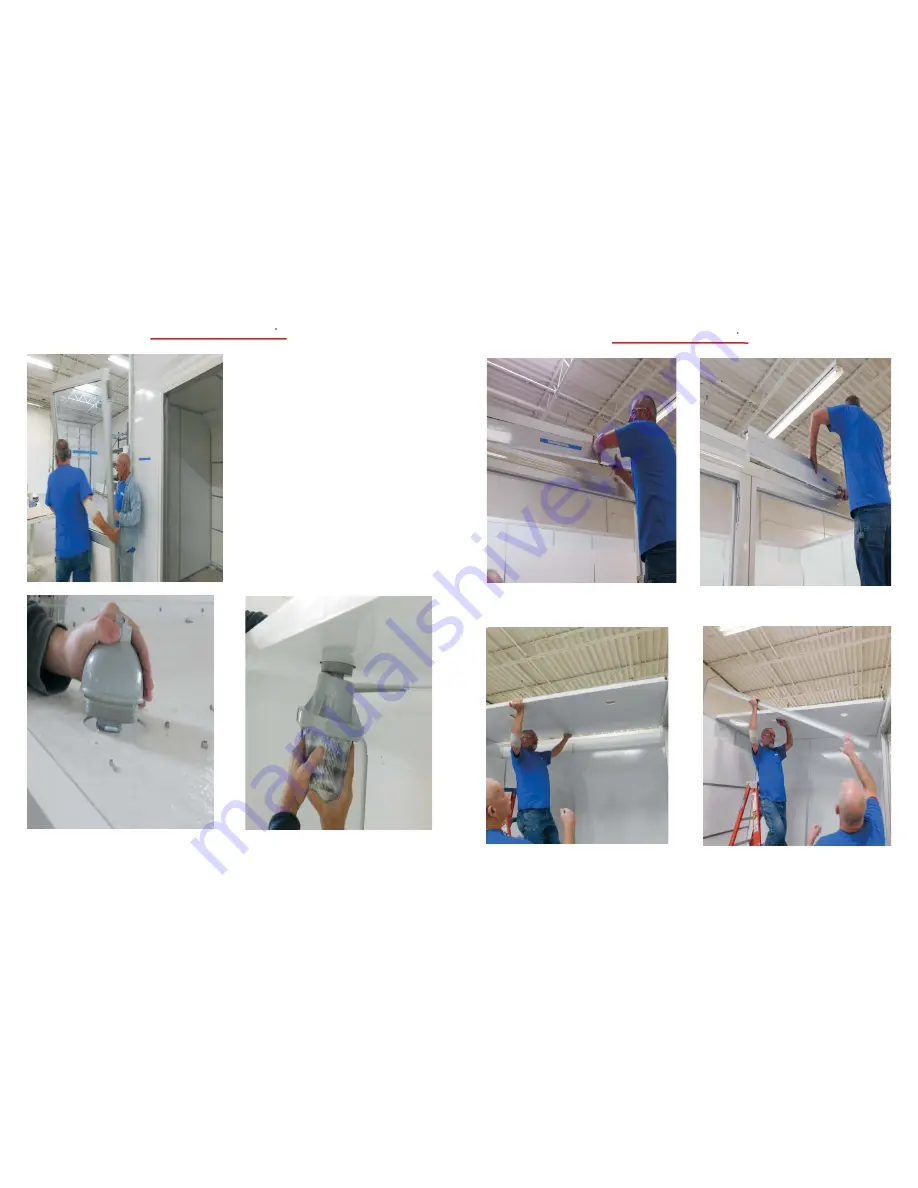
Seal the wall to ceiling joint completely around the
perimeter of the hood with 100% silicon sealant.
NOTE: Ceiling panel can be set on the tines of a fork
truck and lifted to the proper height and
(hand over head) into fi nal position utilizing
stepladders inside and outside the enclosure
or can be passed (hand over head) from (2)
persons on the fl oor to (2)persons on separate
stepladders.
CAUTION: Roof Structure is not designed to
support more than 50-60 pounds
of Load
Secure upper (ceiling) connections with #10
machine bolt (interior) and nylon nuts (exterior)
Cover screw heads with #10 PVC cover caps.
Install Top Section of Light fi xture trough roof of ceiling
panel
Thread bottom section of Light fi xture into the top
section from inside the Hood
9
HEMCO
Laboratory Planning Solutions
www.HEMCOcorp.com
info@HEMCOcorp.com
Fax (816) 796-3333
Tel (816) 796-2900
HEMCO Corporation
711 South Powell Road
Independence, MO 64056
R
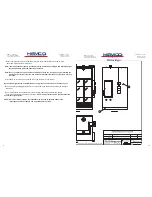
Install (Small Header Piece above Left Door).
Install (Small Header Piece above Right Door).
Install Right Ceiling panel # 5, into Aluminum
Escutcheons.
Note: Ceiling Panels are Numbered 1
to 5, with #1 located on left over to # 5 on the right.
Install Aluminum escutcheon between each Ceiling
panel.


