4
EN
Preparation before first use
• Remove all the packing material and protection
film (if applicable).
• Check to make sure the appliance is undamaged.
In case of any damage, contact the supplier im-
mediately and DO NOT use the appliance.
• Clean the weighting platform (5) with a slighted
damped cloth.
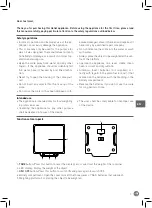
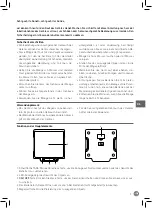
• This is a battery-operated scale. Insert 3 x 1,5V
batteries (Type: AAA, not supplied) in the battery
compartment (4) which is at the bottom of the
scale. (See = = > Insert the batteries)
• Press “ON / OFF” button (3). The scale is now
ready for use.
Insert the batteries
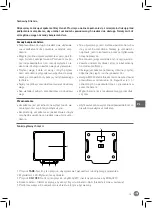
• Open the battery compartment cover at the bot-
tom of the appliance.
• Insert 3 x 1,5V batteries (Type: AAA, not included)
according to the polarity markings (+) and (-) on
the batteries and inside the battery compartment
(4).
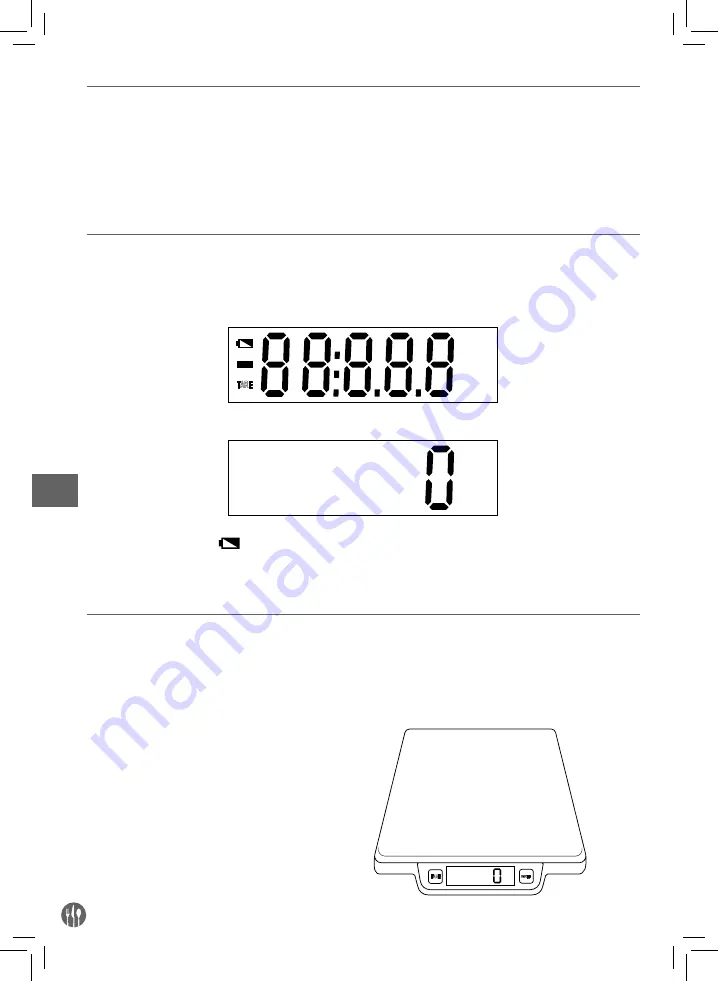
• Close the compartment cover. The LED display (2)
first as below:
TARE
g
• After few seconds, the LED display (2) as below:
g
Note
: When the symbol
appears on the LED
display (2), the batteries are going to exhaust.
Then, you should replace with a new set of batter-
ies. Please replace all 3 batteries at the same time.
DO NOT
mix up the new and old batteries.
DO NOT
dispose of exhausted batteries together
with the other household waste. Please follow the
local ordinances and recycling instruction.
Operation
(A). Weighting mode
• Place the appliance on a level, stable, clean,
heat-resistant and dry surface.
• Before switch on the scale, DO NOT put any ob-
jects on the weighting platform (5).
• Press the ON / OFF button (3) to switch ON the
appliance in ready mode.
• Next, place the object that you want to weight on
the weighting platform (5).
(B). Measure with a
TARE
function
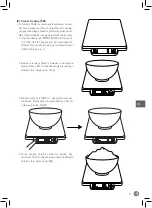
• This TARE function allows user to weight different
object consecutively without removing previous
object from the weighting platform (5). E.g. Sub-
tract the weight of the container as below.
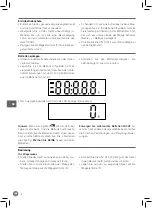
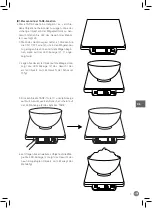
1. When the appliance is OFF, press the ON / OFF
button (3) to enter weighting mode. You can
start to weight when “0” is shown on the LED
display (2).
TARE
ON/OFF
g
Summary of Contents for 580233
Page 32: ...32 RU Hendi 1 2 3 5 4 1 TARE 2 3 ON OFF ON OFF 4 AAA 5...
Page 33: ...33 RU 5 3 1 5 AAA 4 ON OFF 3 3 1 5 AAA 4 2 TARE g 2 g 2 3 NOT A 5 ON OFF 3 5...
Page 35: ...35 RU 5 6 TARE 7 1 ON OFF EEEE 1 580233 3 1 5 AAA 2 15 000 1 266 x 269 x H 34...
Page 36: ...36 GR Hendi 1 2 3 5 4 1 TARE 2 LED 3 ON OFF 4 AAA 5...
Page 37: ...37 GR 5 3 x 1 5V AAA 4 ON OFF 3 3 x 1 5V AAA 4 LED 2 TARE g LED 2 g LED 2 3 A 5 ON OFF 3 5...


