6
OPERATING INSTRUCTIONS
I. Sealing one side of a bag vacuum roll to make a bag
Remark: 1 Embossed vacuum roll (40cm x 6m) included, embossed vacuum bags (10 pcs 20 cm
x 30cm + 10 pcs 30cm x 40cm) included and containers (Both Canister & Marinate) & hose con-
nectors are
not included
.
1. Plug the appliance into a suitable electrical outlet. Press the switch to the „I” position for op-
eration.
2. Open the top cover.
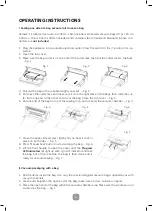
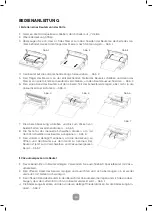
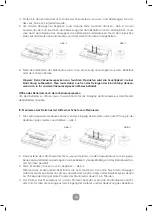
3. Make sure the bag cutter is on one end of the cutter rack, then put the cutter rack to the back.
– Fig. 1
Fig. 1
Fig. 2
Fig. 3
4. Pull out the bag to the suitable length you want. – Fig. 2
5. Put down the cutter rack and make sure it is on the right place of the bags, then slide the cut-
ter from one end to the other end to cut the bag. Close the top cover. – Fig. 3
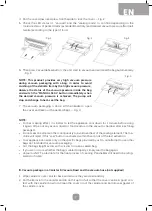
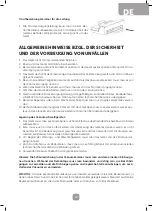
6. Put one end of the bag on top of the sealing strip, but not enter the vacuum chamber. – Fig. 4
Fig. 4
Fig. 5
Fig. 6
7. Close the upper lid and press tightly till you hear it click in
place on both sides. – Fig. 5
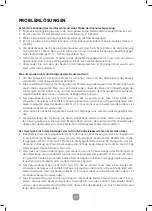
8. Press “Manual Seal” button to start sealing the bag. – Fig. 6
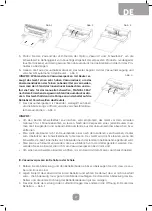
9. Lift the front handle to open the cover until the
Progress
LED indicators
(8) light up with 1 grid of indicator and take
the bag out of the machine. the bag is then done and is
ready for vacuum sealing. - Fig. 7
II. Vacuum packaging with a bag
1. Put the items inside the bag. Use only the special designed vacuum bags supplied by us with
vacuum channels.
2. Clean and straighten the open end of the bag, make sure no dust, wrinkle or ripples.
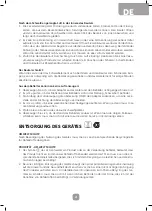
3. Place the open end of the bag within the vacuum chamber area. Make sure the air intake is not
covered by the bag. – Fig. 1
Fig. 7


