17730-241
37
Component Replacement
AR2
™
40K • 46K
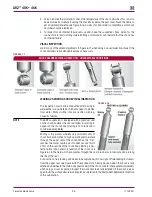
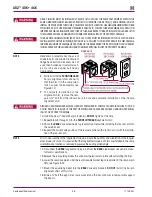
THE WEIGHT OF THE TRAILING ARM ASSEMBLY IS APPROXIMATELY 225 POUNDS (102 KILOGRAMS) .
CARE SHOULD BE TAKEN AT REMOVAL AND INSTALLATION TO PREVENT PERSONAL INjURY OR DAMAGE
TO COMPONENTS .
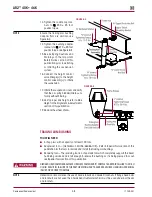
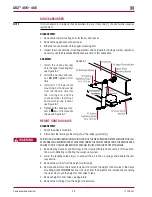
11 . Remove air springs .
12 . Remove trailing arm fasteners and adapters from the frame hangers .
13 . Lift trailing arm off center bushing and remove from vehicle .
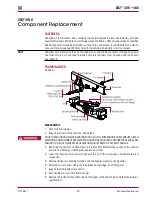
ASSEMBLY
THE WEIGHT OF THE TRAILING ARM ASSEMBLY IS APPROXIMATELY 225 POUNDS (102 KILOGRAMS) .
CARE SHOULD BE TAKEN AT REMOVAL AND INSTALLATION TO PREVENT PERSONAL INjURY OR DAMAGE
TO COMPONENTS .
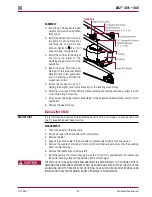
1 . Raise frame high enough to allow adequate clearance of trailing arm between the frame and
the center bushing .
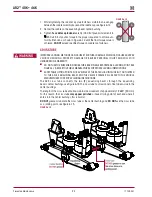
2 . Position the trailing arm between the frame and the equalizing beam center bushing .
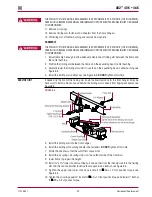
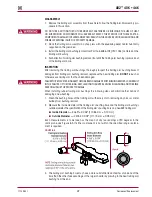
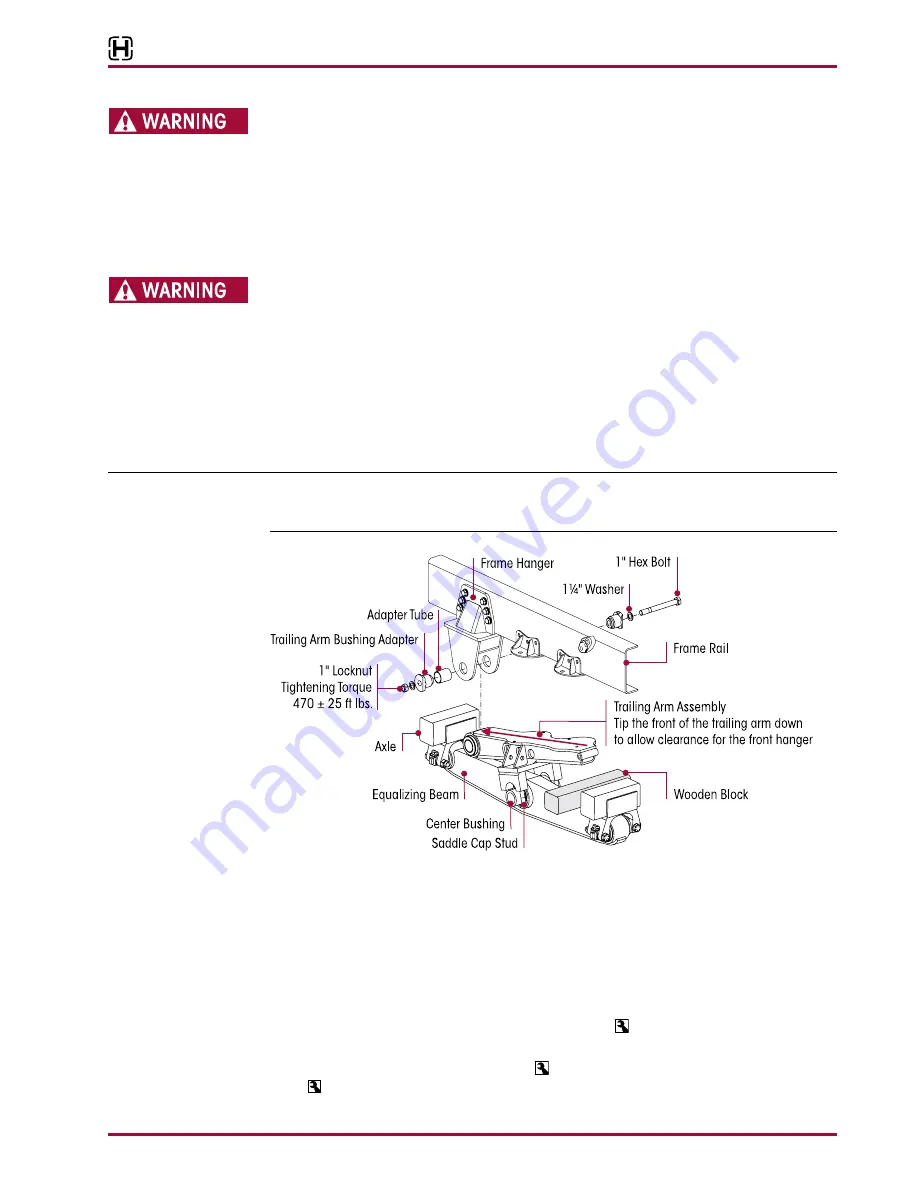
3 . Carefully lower the trailing arm until it is seated on the equalizing beam center bushing, see
Figure 8-2 .
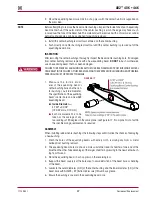
4 . Install the trailing arm saddle caps, see Figure 8-2 .
dO NOT
tighten at this time .
SERVICE HINT
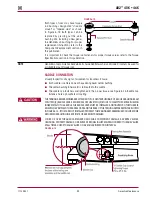
If needed, tip the front of the trailing arm down to allow clearance for the front hanger . It may be
necessary to install a block of wood behind the trailing arm to keep it from tipping backwards, see
Figure 8-2 .
FIguRE 8‑2
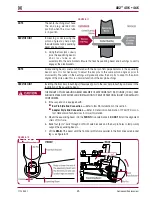
5 . Install the trailing arm into the front hanger .
6 . Install the trailing arm bushing adapter and fasteners .
dO NOT
tighten at this time .
7 . Rotate the adapter so that the cutoff flats are vertical .
8 . Install the air springs . Air spring stud is on the outboard side of the frame rail .
9 . Lower frame to proper ride height .
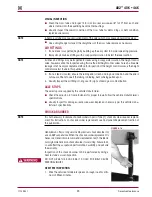
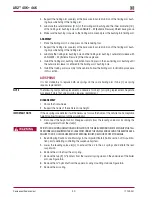
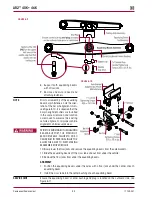
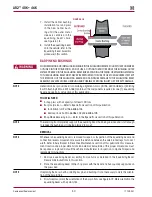
10 . Install ¾" x 7¼" lower shock mounting bolt and washer from the inboard side into the trailing
arm and the shock absorber . Install outboard washer and locknut, see Figure 8-3 .
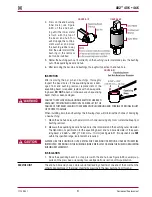
11 . Tighten the upper and lower shock eye locknuts to 60 ± 10 foot pounds torque, see
Figure 8-3 .
12 . Tighten the air spring upper ¾" locknut to 60 ± 10 foot pounds torque and lower ½" locknut
to 25 ± 5 foot pounds torque .

