Component Replacement
40
17730-241
AR2
™
40K • 46K
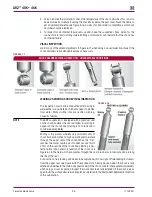
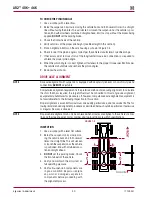
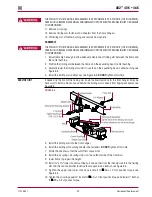
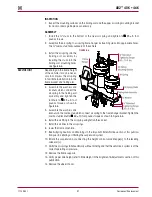
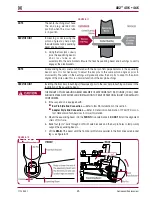
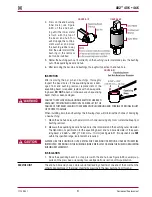
4 . Support the trailing arm squarely at the bore area to avoid distortion of the trailing arm bush-
ing bore or bending of the trailing arm .
5 . Lubricate the outer diameter (O .D .) of the trailing arm bushing and the inner diameter (I .D .)
of the trailing arm bushing bore with an NLGI#2 – EP (Extreme Pressure) lithium base grease .
6 . Make sure the bushing is square to the trailing arm bore and press the bushing into trailing arm .
ASSEMBLY
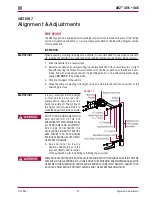
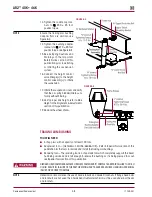
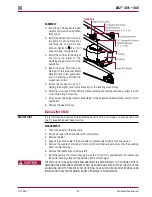
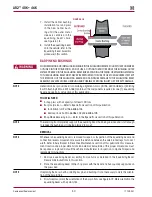
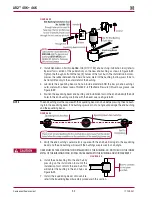
1 . Place the trailing arm in a shop press on the receiving tool .
2 . Support the trailing arm squarely at the bore area to avoid distortion of the trailing arm bush-
ing bore or bending of the trailing arm .
3 . Lubricate the trailing arm bushing bore and the trailing arm bushing’s outer metal sleeve with
an NLGI#2 – EP (Extreme Pressure) lithium base grease .
4 . Install the trailing arm bushing installation tool and press in the new trailing arm bushing until
the outer metal sleeve is centered in the trailing arm’s bushing bore .
5 . Install the trailing arm assembly to the vehicle . Follow the trailing arm installation procedure
in this section .
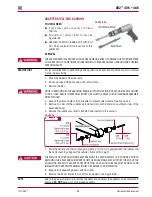
AIR SPRING
It is not mandatory to replace both air springs on the same trailing arm if one (1) air spring
requires replacement .
NOTE
The following component replacement procedure is for one (1) air spring replacement . Duplicate
procedure if more that one air spring requires replacement .
dISASSEMBLY
1 . Chock the front wheels .
2 . Support the frame of the vehicle at ride height .
IMpORTANT NOTE
If the air springs are deflated it will be necessary to raise the frame of the vehicle to an acceptable
height to allow for removal of the air spring(s) .
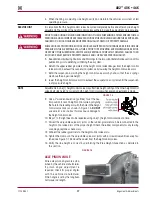
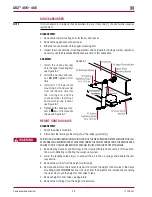
3 . Disconnect the height control linkage assembly from the leveling valve arm by sliding the
rubber grommet from the stud(s) .
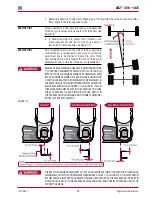
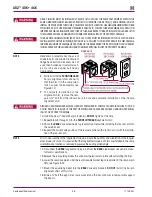
PRIOR TO AND DURING DEFLATION AND INFLATION OF THE AIR SUSPENSION SYSTEM, ENSURE THAT ALL
PERSONNEL AND EQUIPMENT ARE CLEAR FROM UNDER THE VEHICLE AND AROUND THE SERVICE AREA,
FAILURE TO DO SO CAN CAUSE SERIOUS PERSONAL INjURY, DEATH, OR PROPERTY DAMAGE .
4 . See Air Spring Cautions and Warnings in the Important Safety Notice section of this publica-
tion prior to deflating or inflating the suspension system .
5 . Lower the leveling valve arm(s) to exhaust the air in the air springs and deflate the rear
suspension .
6 . Remove the air line from the air spring .
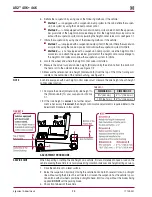
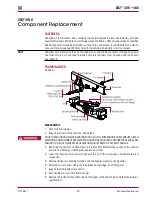
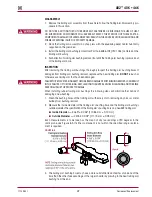
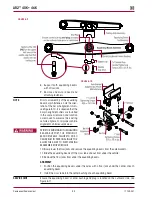
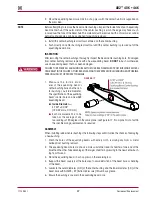
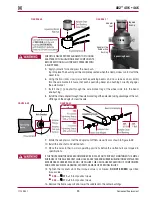
7 . Remove the two (2) ½" locknuts from the lower air spring studs on the underside of the trailer
arm, see Figure 8-6 .
8 . Remove the ¾" nylocknut from the upper air spring mounting stud, see Figure 8-6 .
9 . Remove the air spring .

