Preventive Maintenance
16
17730-241
AR2
™
40K • 46K
■
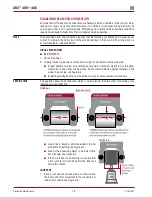
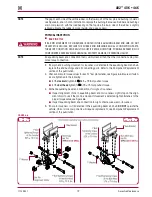
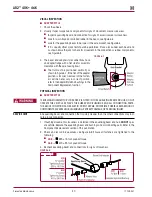
Equalizing beam assembly, end connection and saddle cap fasteners
— Check the overall
condition of the equalizing beam for dents, dings, or other damage . Inspect the equalizing
beam end connection and saddle cap fasteners for proper torque . The beam end connec-
tion must sustain proper clamp force of the axle bracket legs to the bushing inner casting
prevent any movement of the beam end connection . See Equalizing Beam End Connection
in this section . See Torque Specifications section of this publication for recommended
torque requirements .
■
Fasteners
— Look for any loose or damaged fasteners on the entire suspension . Make sure
all fasteners are tightened to a torque value within the specified torque range . See Torque
Specifications section of this publication for recommended torque requirements . Use a cali-
brated torque wrench to check torque in a tightening direction . As soon as the fastener starts
to move, record the torque . Correct the torque if necessary . Replace any worn or damaged
fasteners with genuine specified fasteners . For fasteners not supplied by Hendrickson, see
vehicle manufacturer .
■
Torque rods
— All torque rods must be inspected every six months for looseness, torn or
shredded rubber, bushing walk-out, and for proper fastener torque . If there is metal-to-metal
contact in the bushing joint, this is a sign of excessive bushing wear and the bushing needs
to be replaced .
■
wear and damage
— Inspect all parts of the suspension for wear and damage . Look for bent
or cracked parts . Replace all worn or damaged parts .
■
Frame hanger bracket
— Check for any signs of loosening or damage at the pivot connec-
tions . Check for cracks, damage, or any signs of looseness at the mounting fasteners . Replace
all worn or damaged parts .
■
Height control valve and air lines
— Check the suspension air system for air leaks . Check
all air lines for proper routing . Check for chafing or pinched air lines . Check the height control
valve linkage for damage or interference with peripheral components . Replace all worn or
damaged parts .
■
Trailing arm assembly
— Check the overall condition of the trailing arm for cracks, dents,
dings, or other damage on the trailing arm assembly . Check the trailing arm bushings for tear-
ing or extreme bulging . Check for any metal to metal contact in the bushed joints . Replace all
worn or damaged parts .
■
Tire wear
— Inspect the tires for wear patterns that may indicate suspension damage or
misalignment . Replace all worn or damaged parts .
See vehicle manufacturer’s applicable publications for other preventive maintenance
requirements .
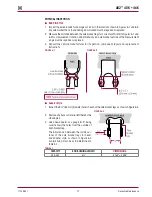
BEAM ENd AxLE BRACKETS
NOTE
The axle brackets are furnished and welded into position by the vehicle manufacturer or axle
manufacturer .
When an equalizing beam is removed for repair or inspected, check for signs of movement . Also
inspect the axle brackets:
■
For damage and / or cracks, see Figures 6-1 and 6-2
■
Measure the two dimensions on the axle bracket legs, see Figure 6-2
An axle bracket outside of the measurement range, damaged or cracked must be repaired
or replaced . Consult the vehicle manufacturer for inspection, component repair and replace-
ment instructions .


