
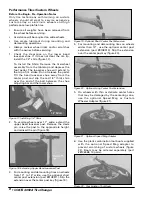
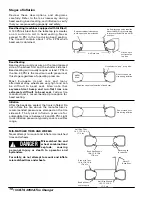
Custom and Special Wheels
Alloy Wheels
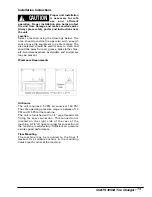
Some manufacturers offer wheels with little or no
drop center. These are not DOT approved. The tire
or wheel - or both - can be damaged and the tire
could explode under pressure, resulting in serious
in jury or death. If you attempt to mount/demount
this type of wheel, use extreme caution.
Figure 23 - No Drop Center
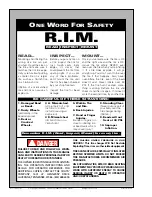
European Performance Wheels
(Asymmetrical Hump)
Some European wheels have very large humps
except near the valve hole. On these wheel, the
beads should be loosened at the valve hole on
both the upper and lower sides first.
Figure 24 - Asymmetrical Hump on European Wheels
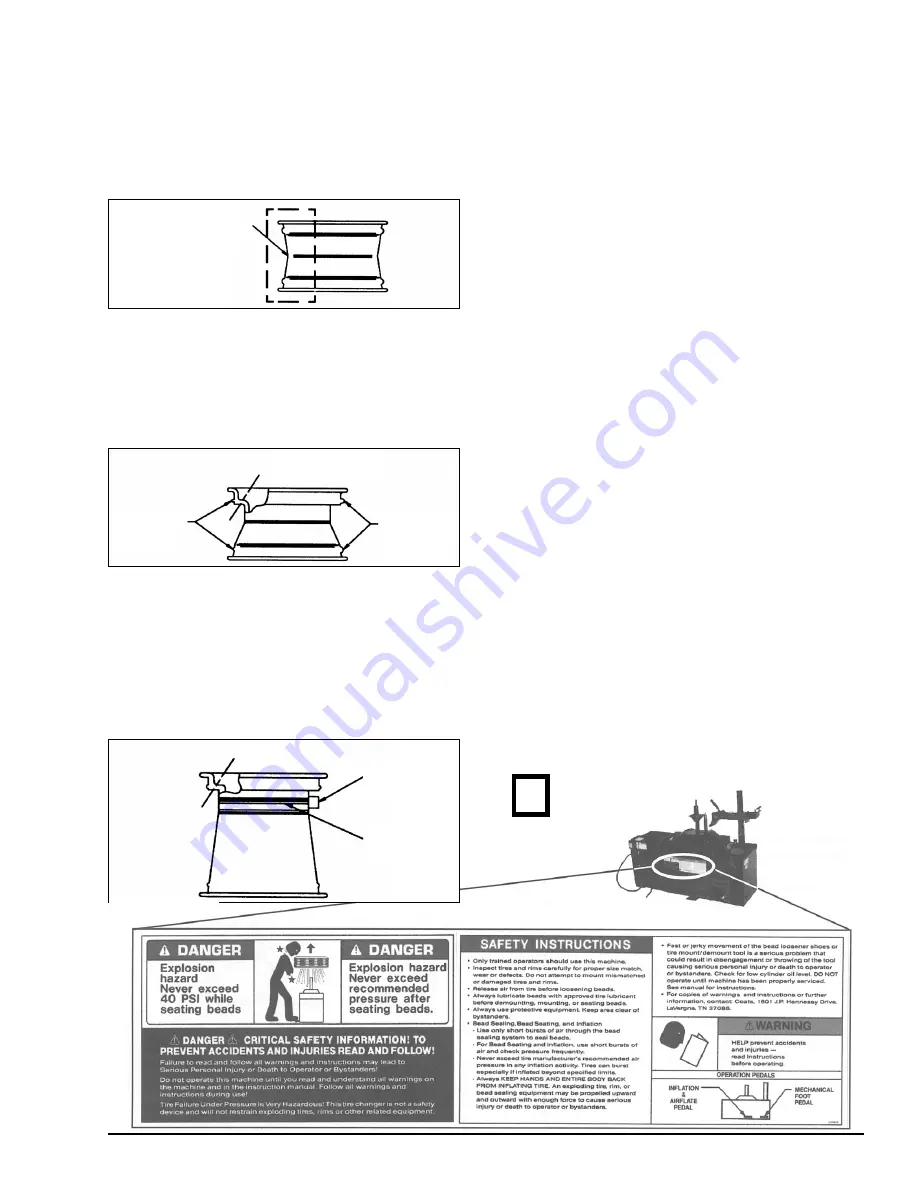
Wheels with Low Pressure Warning System
Sensors
Performance wheels on some vehicles (including
Corvette, BMW, Lamborghini Diablo) have a
pressure sensor strapped to the rim opposite the
valve hole. On these wheels, the beads should be
loosened at the valve hole on both upper and
lower sides first.
Figure 25 - Wheels with Low Pressure Sensor
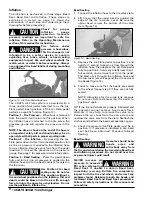
Tube-Type Tires
Mounting
1.
Avoid pinching or forcing the tube.
2.
Apply rubber lubricant to the beads of the tire.
3.
Mount the bottom bead.
4.
Put a small amount of air into the tube to
round it out.
5.
Apply rubber lubricant to the tube and the
mounting end of the combination tool.
6.
Insert the tube into the tire.
7.
Mount the top bead.
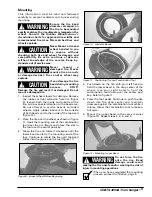
Demounting
1.
After tire beads are loosened, lubricate the
beads and rim liberally.
2.
Position the combination tool as described in
step 8 on page 4.
3.
Rotate the center post key/combination tool in
short steps. Depress the foot pedal and release
if after a short amount of travel. This allows
you to stop the process should the tube get
pinched.
4.
During the demount operation, allow the
combination tool to rotate only from the
starting position at 5 o’clock to the 11 o’clock
position. This will keep the tool from
contacting the lower bead loosener as it moves
upward each time the machine is cycled.
5.
After the upper bead is demounted, remove
the tube from the tire and demount the lower
bead.
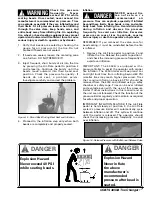
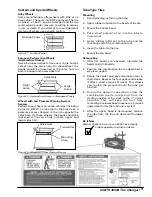
Do it Now
Always check to be sure you 4050 has a clearly
visible operator instruction decal.
COATS 4050A Tire Changer • 9
✓
No Drop Center
Slight
Hump
Large
Hump
Valve Hole
Transmitter
Mounting
Strap
Valve Hole