
Mounting
This information must be read and followed
carefully to prevent accidents and injuries during
mounting.
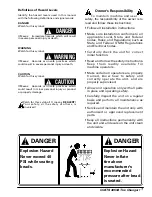
Ensure the tire bead
diameter stamped on
the tire to be mounted
exactly matches the rim diameter stamped on the
wheel. Consult the
Rubber Manufacturer’s
Association charts for approved rim widths and
recommended tire sizes. Mis-matched tires and
wheels explode.
Never Mount a tire and
wheel handed to you
by anyone without
checking both tire and wheel for damage and
compatibility. Be extra cautious of persons
without knowledge of tire service. Keep by-
standers out of service area.
Never mount a
damaged tire. Never
mount a tire on a rusty
or damaged wheel. Tires and/or wheel may
explode.
If you damage the tire
bead during mounting
process, STOP!
Remove the tire and mark it as damaged. Do not
mount a damaged tire.
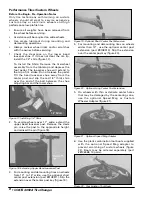
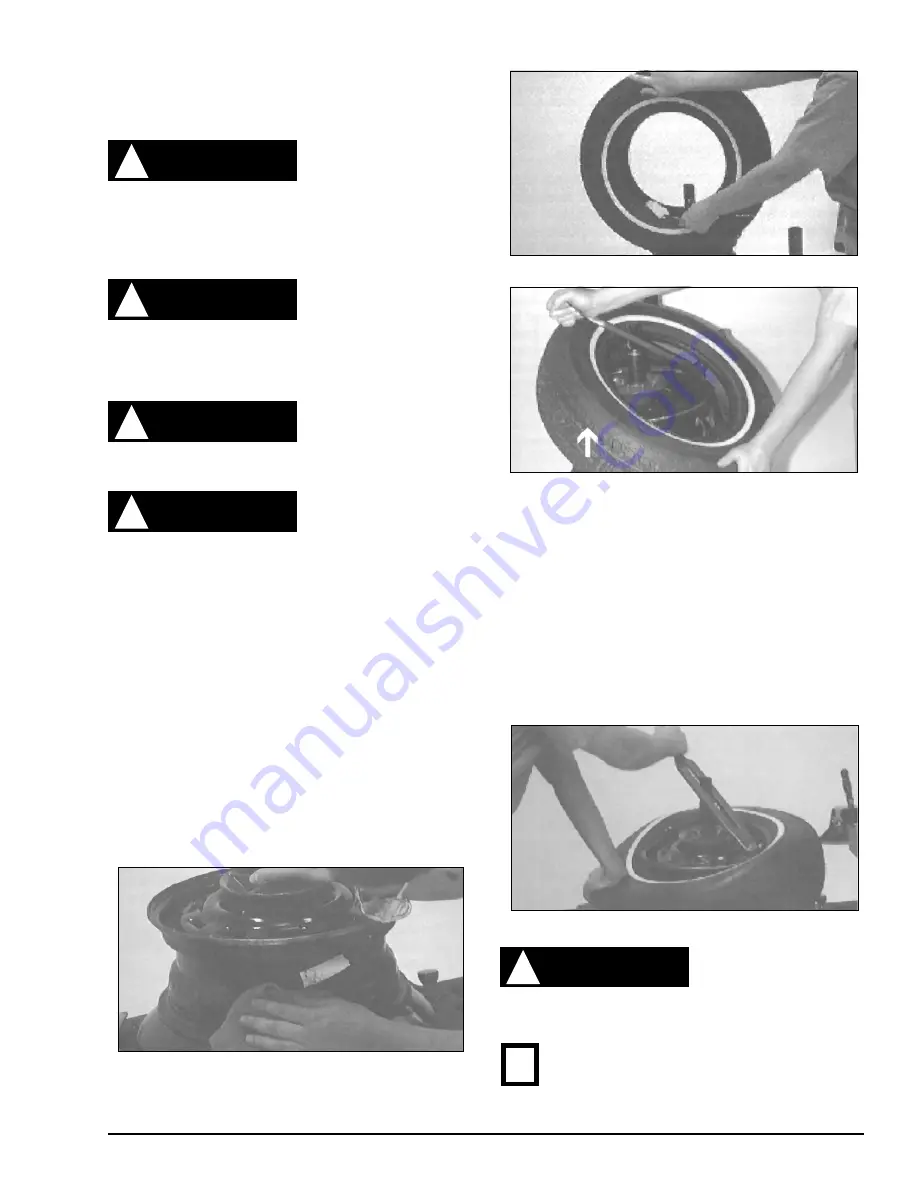
1.
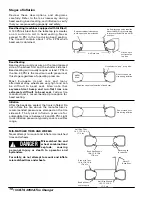
Inspect the wheel closely for damage. Remove
any rubber or light corrosion from rim (figure
9). Inspect both the inside and outside of the
tire, and pay special attention to the bead area.
Do not attempt to service heavily corroded
wheels. Apply rubber lubricant to the outside
of both beads and to the inside of the top bead
(figure 10).
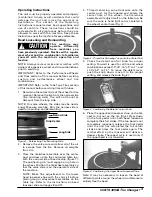
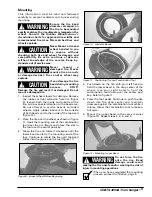
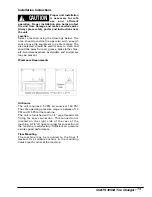
2.
Place the tire over the wheel as shown in figure
11. Hook the mounting end of the combination
tool over the rim flange and place the slot in
the tool over the center post key.
3.
Grasp the tire and rotate it clockwise until the
lower bead contacts the mounting end of the
tool. Continue to rotate the tire until the bead
slides into the groove on the tool (figure 11).
Figure 9 - Inspect Wheel Before Beginning
Figure 10 - Lubricate Beads
Figure 11 - Positioning Tire and Combination Tool
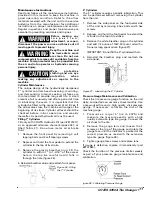
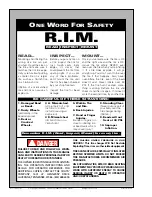
4.
Push down on the tire with your left hand to
hold the lower bead in the drop center of the
wheel. Use your right hand to hold the
combination tool down over the center post
key. Refer to figure 11.
5.
Press the foot pedal. Continue to push the tire
down into the drop center and maintain
pressure against the combination tool while it
rotates. Allow the combination tool to make a
full cycle.
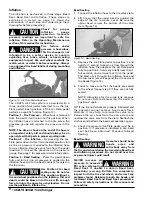
6.
Mount the upper bead in the same manner
(figure 12). Repeat steps 2, 3, 4, and 5.
Figure 12 - Mounting Upper Bead
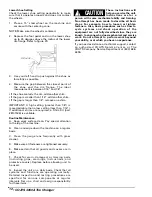
Do not force the tire
onto the rim. Bead
damage could result
making the tire unsafe and/or creating the risk of
injury in mounting operations.
When you have completed the mounting
process, proceed to Inflation, page 6.
COATS 4050A Tire Changer • 5
WARNING
!
CAUTION
!
WARNING
!
CAUTION
!
WARNING
!
✓