

Check tire pressure
frequently. Never
exceed 40 PSI while
seating beads. Once seated, never exceed tire
manufacturer's recommended air pressure. Tires
can explode, especially if they are inflated beyond
their limits. At all pressure levels when inflating
through the valve stem, keep hands, arms, and
entire body away from inflating tire. An exploding
tire, wheel, or bead sealing equipment may propel
upward and outward with sufficient force to cause
serious injury or death to operator or bystander.
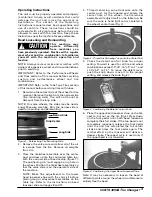
1.
Verfy that beads are sealed by checking the
gauge for air pressure int the tire. Do not
proceed if beads are not sealed.
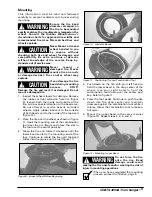
2.
If beads are sealed, loosen the centering cone
one full turn. DO NOT REMOVE IT!
3.
Inject frequent, short bursts of air into the tire
by pressing the Air-Flate pedal to position 2
and releasing. Continue the bursts until the
beads move outward into their bead seat
position. Check the pressure frequently. If
beads do not seat, a problem exists.
Investigate carefully and correct the problem.
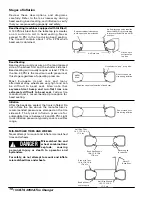
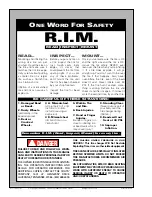
Figure 15 - Stand Back During Beat Seat and Inflation
4.
Proceed to the inflation step only when both
beads are completely and properly seated.
Inflation
NEVER exceed tire
m a n u f a c t u r e r ' s
recommended air
pressure. Tires can explode, especially if inflated
beyond these limits. Keep hands, arms, and entire
body back from inflating tire. Avoid distraction
during inflation and observe tire pressure
frequently to avoid over inflation. Excessive
pressure can cause tires to explode, causing
serious injury or death to operator or bystander.
REMEMBER: If you removed the valve core for
bead sealing, it must be reinstalled before the tire
is inflated.
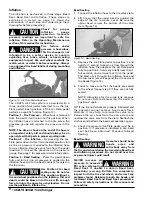
1.
Depress the Air-Flate pedal to position 2 and
inflate the tire. Release the pedal to position 1
and check the increasing pressure frequently to
avoid over inflation.
IMPORTANT: The 4050A is equipped with a
pressure limiter to assist the operator with proper
tire inflation. The 4050 limiter will keep most car
and light truck tires from inflating beyond 60 PSI
(smaller tires may reach higher pressures). Tires
that require inflation above 60 PSI should be
removed from the 4050 and inflated using a safey
chamber or safety cage. Tires can be over inflated
and explode even with the use of this pressure
limiter if other instructions in this manaul and on
the unit are not followed. Check the function of the
pressure limiter regularly and maintain as required
for safe and proper operation.
IMPORTANT INFLATION FEATURE: If the Air-Flate
pedal is held steady at position 2, the Air-Flate
system’s pressure limiter will automatically cycle
between inflation and off. This cycle will continue
until the pedal is released. The operator should
check the increasing pressure frequently to avoid
over inflation.
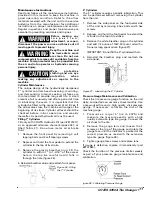
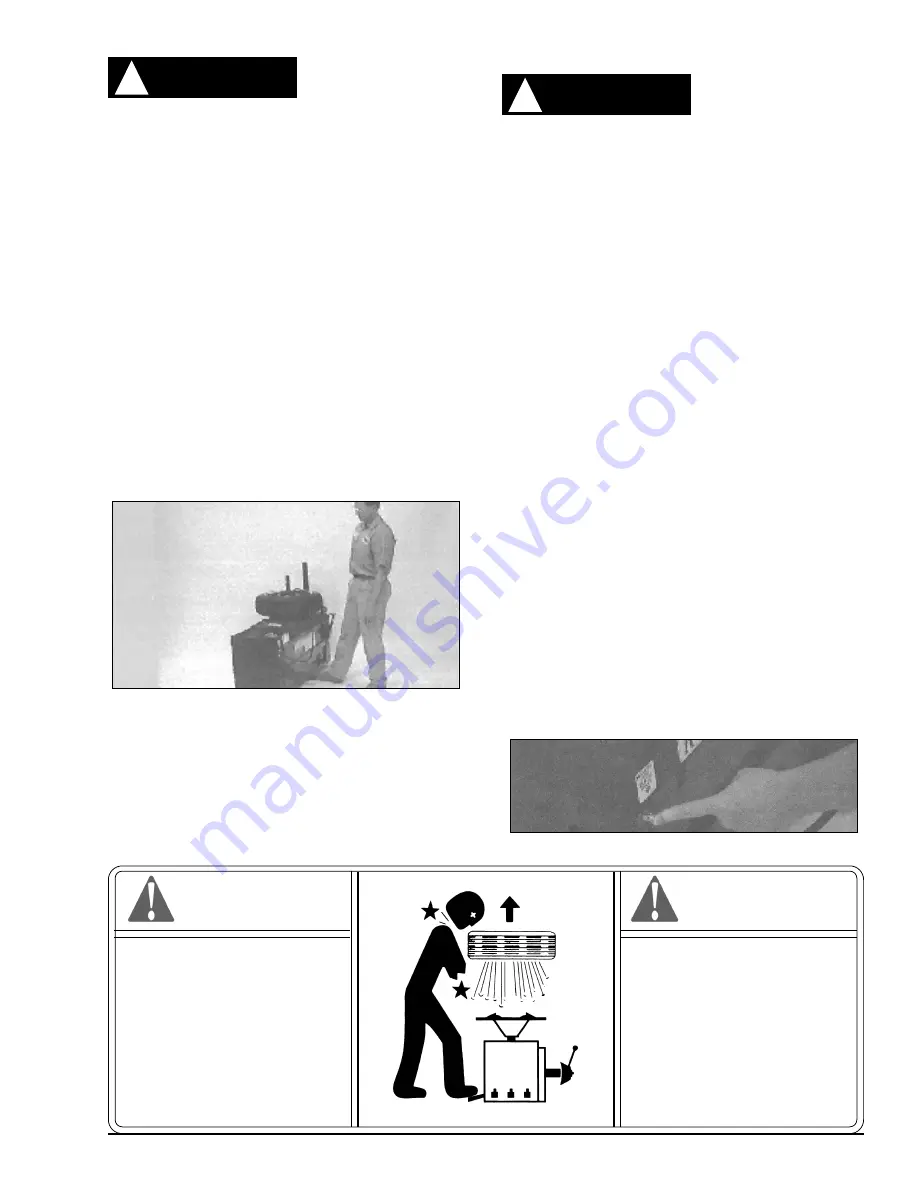
Figure 16 - Release Pressure with the Manual Release Valve
COATS 4050A Tire Changer • 7
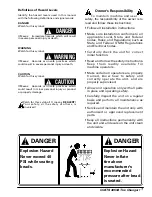
WARNING
!
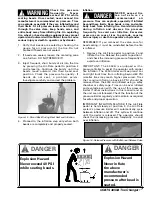
DANGER
!
Explosion Hazard
Never inflate
tire above
manufacturer's
recommended
pressure after bead is
seated.
DANGER
DANGER
Explosion Hazard
Never exceed 40 PSI
while seating beads.


