3
5
July 2014
12.
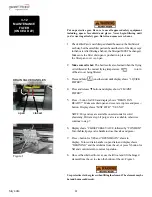
Using a 1/2 gal. (2 liter) pitcher, remove solution from vat, pouring
it into a heat-resistant bucket for disposal. Any remaining solution
can be drained into the drain pan for disposal, in step 14 below.
Press
√
button and display shows “VAT EMTY” “CONFIRM”.
•
To avoid burns when pouring hot solution, wear gloves and pro-
tective gear and take care to avoid splashing.
•
To avoid burns during operation, do not pump cleaning solution
or water from drain pan into vat or oil lines.
13.
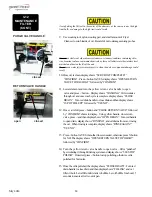
Once vat is empty, press
√
button and display shows “SCRUB VAT
COMPLETE” “YES NO”. Use brush to clean element and scour
pad to clean vat, if needed.
Do not scrape the electric fryer elements, or use the scouring pad on the ele-
ments. This produces scratches on the surface of the element causing breading
to stick and burn.
Do not use steel wool, other abrasive cleaners, or cleaners/ sanitizers contain
-
ing chlorine, bromine, iodine, or ammonia chemicals as these will deteriorate
the stainless steel material and shorten the life of the unit.
Do not use a water jet (pressure sprayer) to clean unit or component damage
could result. Make sure the inside of the vat, the drain valve opening, and all
the parts that will come in contact with the new oil are as dry as possible.
Use the lift tool and lift the hinged element from the vat as needed.
14.
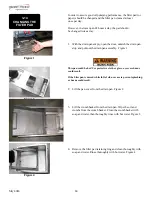
Once scrub is complete, Press
√
button. Display shows “DRAIN
PAN READY?”. Make sure drain pan and cover are in place, press
√
button and display shows “OPEN DRAIN”
.
15.
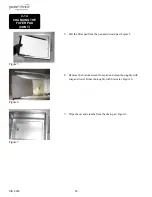
Turn red drain valve handles to open drain and display shows
“RINSE VAT”.
open closed
DRAIN VALVE HANDLES
4-3
DEEP CLEAN MODE
(CONT.)
Summary of Contents for GVE-071
Page 2: ......
Page 4: ......
Page 14: ...8a July 2014 2 9a DIMENSIONS Casters adjustable up to 1 562 in 40mm ...
Page 54: ......

