Model HCH-930/932
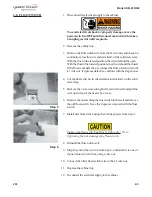
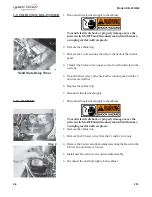
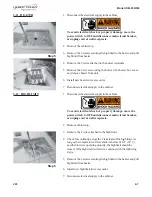
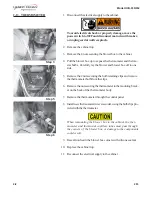
2-6. CLEANING WATER VALVE
1. Disconnect electrical supply to unit.
To avoid electrical shock or property damage, move the
power switch to OFF and disconnect main circuit breaker,
or unplug cord at wall receptacle.
2. Shut off water supply.
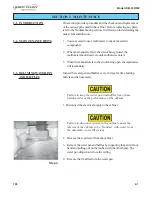
3. Disconnect the water supply tubing from the water strainer.
4. Remove the cabinet top.
5. Label wires then remove the wires from water valve.
6. Disconnect the water tubing from the outlet side of water valve.
7. Loosen large nut holding the fittings on the inside, back wall of the
cabinet.
8. Pivot the water valve against the side wall of the cabinet. Hold
the brass fitting on the inlet side of the valve with a wrench, and
then turn valve counterclockwise until the valve is free from the
fitting.
9. Remove the 2 screws (H) from the coil retainer (F).
10. Remove the retainer and pull the coil (A) off of the valve to
expose the stem.
11. Remove the stem by carefully pulling upward. The plunger (C),
spring (D), and seat (E), are now exposed.
12. Remove the plunger, spring, and seat, and check the rubber seat
for dirt.
13. Clean the valve body (G) and the rubber seat if necessary by
flushing them with clean water. Let water run both ways through
the body to flush any dirt from the valve.
14. Carefully place the seat, spring, and plunger back into the valve
body. Be sure the large diameter of the spring is pointed up.
15. Place the stem over the plunger and lightly press the stem seal into
place.
Steps 9-18
203
2-3
Step 3
Step 8
Summary of Contents for HCH-930
Page 1: ...TECHNICAL MANUAL Henny Penny Heated Holding Cabinet Model HCH 930 Model HCH 932...
Page 2: ......
Page 4: ...ii 703...
Page 8: ...Model HCH 930 932 THIS PAGE INTENTIONALLY LEFT BLANK 1 4 703...
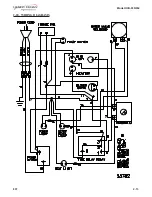
Page 21: ...Model HCH 930 932 807 2 13 2 20 WIRING DIAGRAMS...
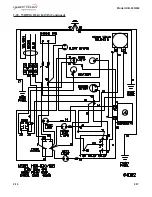
Page 22: ...Model HCH 930 932 2 14 807 2 20 WIRING DIAGRAMS Continued...
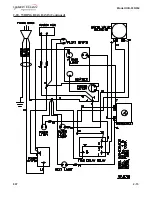
Page 23: ...Model HCH 930 932 807 2 15 2 20 WIRING DIAGRAMS Continued...


