Model HCH-930/932
2-14. THERMOSTAT
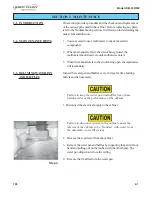
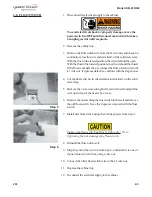
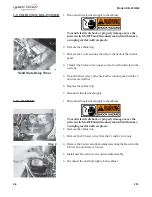
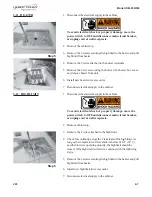
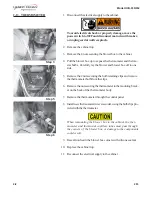
1. Disconnect the electrical supply to the cabinet.
To avoid electrical shock or property damage, move the
power switch to OFF and disconnect main circuit breaker,
or unplug cord at wall receptacle.
2. Remove the cabinet top.
3. Remove the wires from thermostat. Check for continuity across
the 2 terminals. With the thermostat set at the maximum setting
(all the way clockwise), the circuit should be closed. In the OFF
position (all the way counterclockwise), the circuit should be
open. If the thermostat is defective, continue with the following
steps.
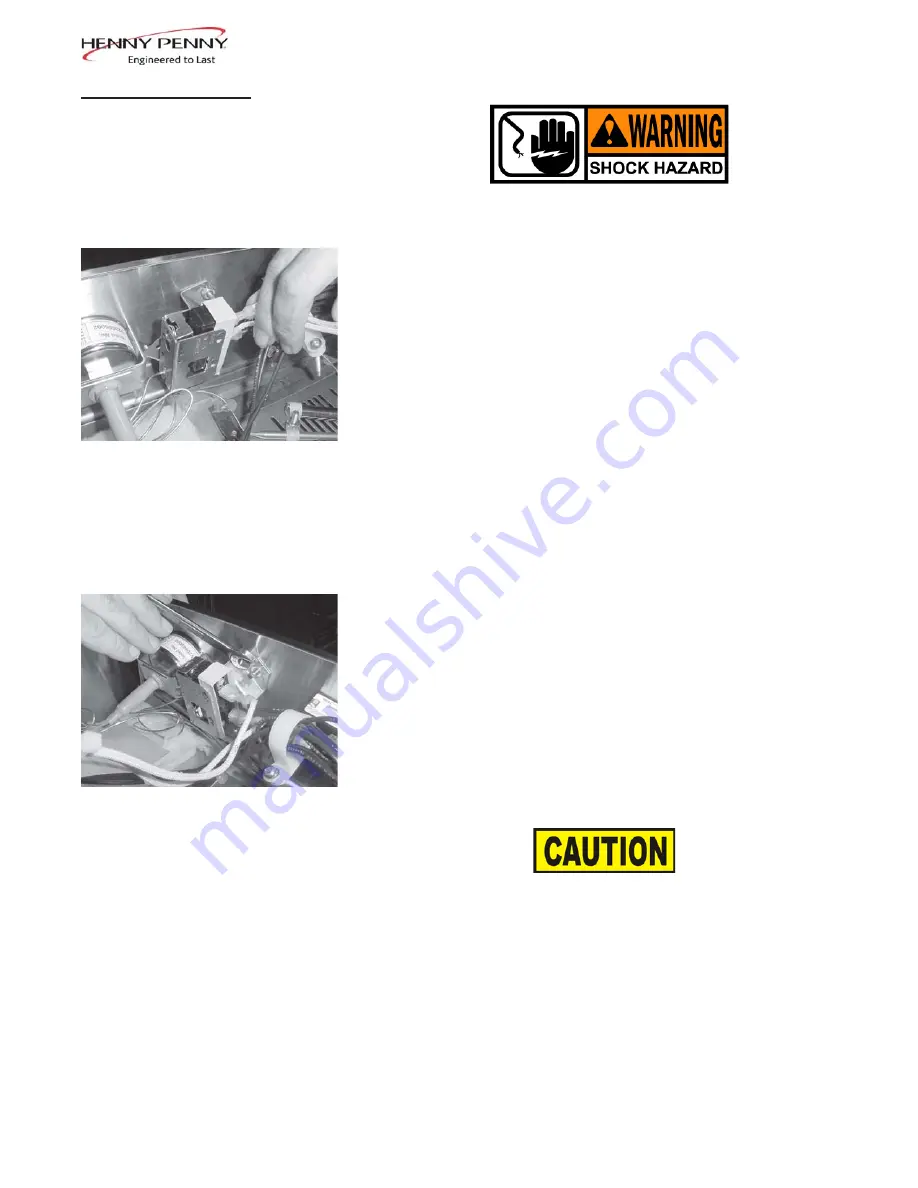
Step 3
4. Remove the 4 nuts securing the blower box to the cabinet.
5. Pull the blower box up to expose the thermometer and thermo-
stat bulbs. Carefully lay the blower and blower box off to one
side.
6. Remove the 2 nuts securing the bulb retaining clips and remove
the thermostat bulb from the clips.
7. Remove the 2 nuts securing the thermostat bracket to the panel.
8. Remove the 2 screws securing the thermostat to the bracket, and
remove the thermostat.
9. Install new thermostat in reverse order, using the bulb clips pro-
Step 7
vided with the thermometer.
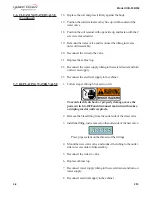
When remounting the blower box to the cabinet, the ther-
mometer and thermostat capillary tubes must pass through
the corners of the blower box or damage to the components
could result.
10. Reseal notches in the blower box corners with silicone sealant.
11. Replace the cabinet top.
12. Reconnect the electrical supply to the cabinet.
203
2-9
Summary of Contents for HCH-930
Page 1: ...TECHNICAL MANUAL Henny Penny Heated Holding Cabinet Model HCH 930 Model HCH 932...
Page 2: ......
Page 4: ...ii 703...
Page 8: ...Model HCH 930 932 THIS PAGE INTENTIONALLY LEFT BLANK 1 4 703...
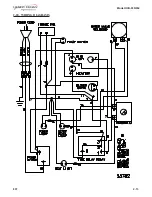
Page 21: ...Model HCH 930 932 807 2 13 2 20 WIRING DIAGRAMS...
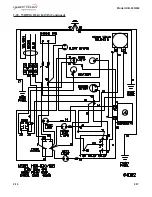
Page 22: ...Model HCH 930 932 2 14 807 2 20 WIRING DIAGRAMS Continued...
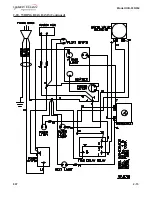
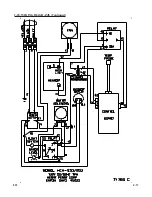
Page 23: ...Model HCH 930 932 807 2 15 2 20 WIRING DIAGRAMS Continued...

