background image

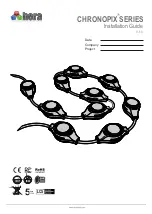
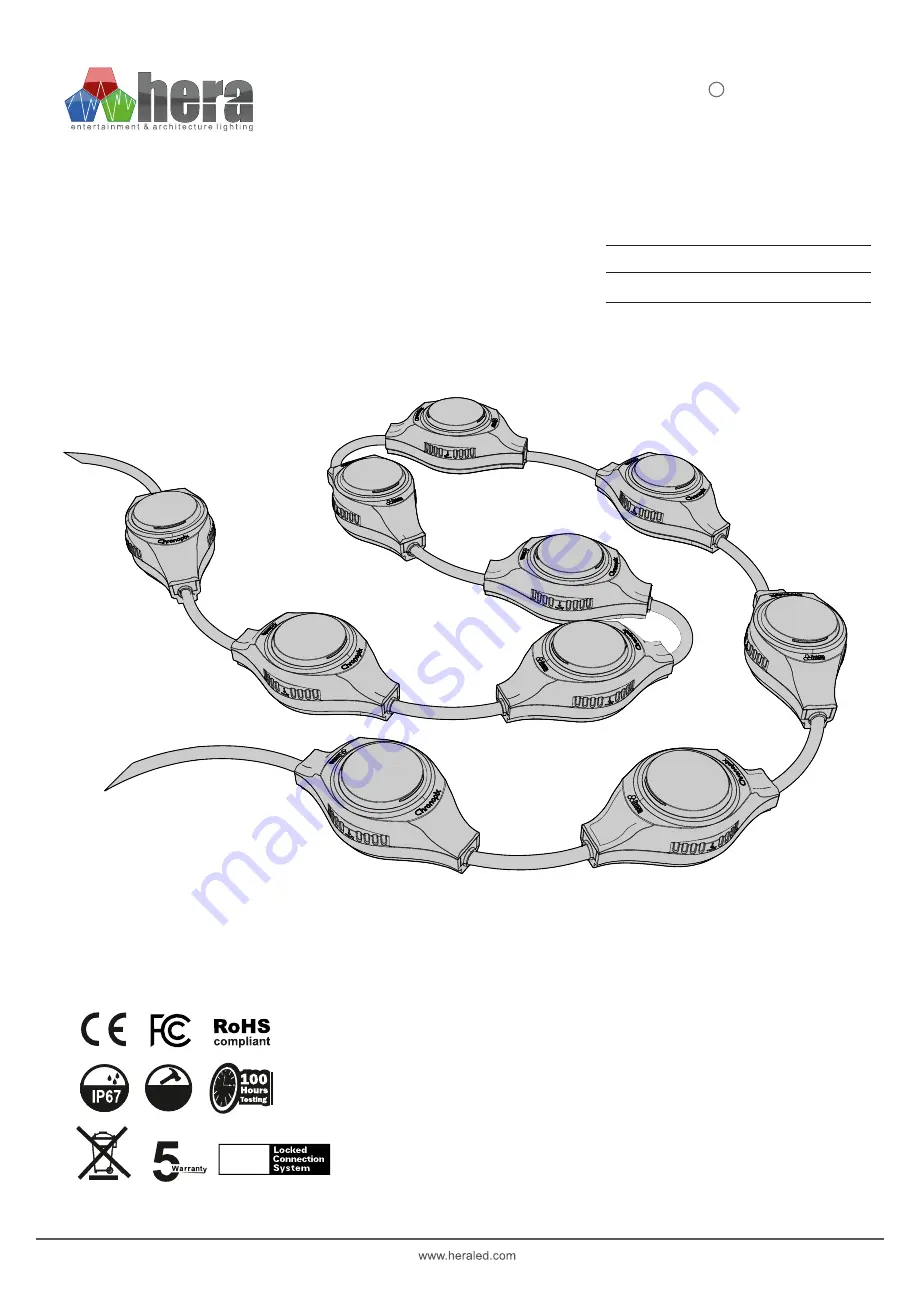
CHRONOPIX SERIES

Installation Guide

R

V.1.0

Date


Company


Project


+

+

+

+

+

+

IK09

Year

L C 

S


TM

Summary of Contents for CHRONOPIX Series

Page 1: ...CHRONOPIX SERIES Installation Guide R V 1 0 Date Company Project IK09 Year LCS TM...

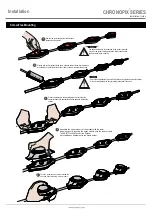
Page 2: ...e length and maximum number of products that can be connected in the corresponding user guide Make the product connections with the cables speci ed on Hera LED website do not use any non original cabl...

Page 3: ...r Packaging Upper Module Serial Number 14810 00001 Product Model Code Lower Module Serial Number Product Model Description International Quali cation Markings 100 hour testing certi ed marking Connect...

Page 4: ...te directions to each other Do not cut the cables to extend or shorten or x a fault Request assistance from our nearest technical service Do not install by stretching the cables when installing the ch...

Page 5: ...m will enable easy attachment to the xture holder Remove the protection paper of the adhesive tapes under the product The adhesive tapes on the underside of the product are used only to x the product...

Page 6: ...nsure that the adhesive tapes stick and that the silicone adhesive touches the surface Assemble the upper module of the product with the lower module by gently pressing the upper module onto the lower...

Page 7: ...remove the xture turn the lock mechanism in the direction of the arrow and pull the xture towards you 1 2 The O Ring in the upper connector may dislocate due to air pressure Place the dislocated O Ri...

Page 8: ...Chronopix Series Installation Guide 2021 Version 1 0 All rights reserved Hera LED may change products speci cations and informations in this document without notifying in advance...

Reviews: