Disassembly/assembly
37
9.2 Assembly
Before starting to reassemble the pump, all of the dismantled
parts must be
- checked for signs of damage and wear,
- cleaned and
- replaced with original spare parts if necessary.
Important!
Nuts (920) with a self-locking plastic ring must be replaced
when reattaching the impeller.
Important!
To reduce friction during assembly, lubricate all the sliding
surfaces of the elastomers with low surface tension water
(added detergent).
Warning - do not use oil or grease!
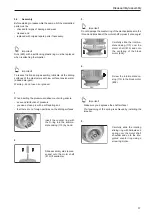
1.
When inserting the pressure-sensitive counter ring, ensure
- an even distribution of pressure,
- you use a clean pin with a soft seating and
- that there are no foreign particles on the sliding surfaces.
Insert the counter ring with
the O-ring into the interme-
diate casing (113) by hand.
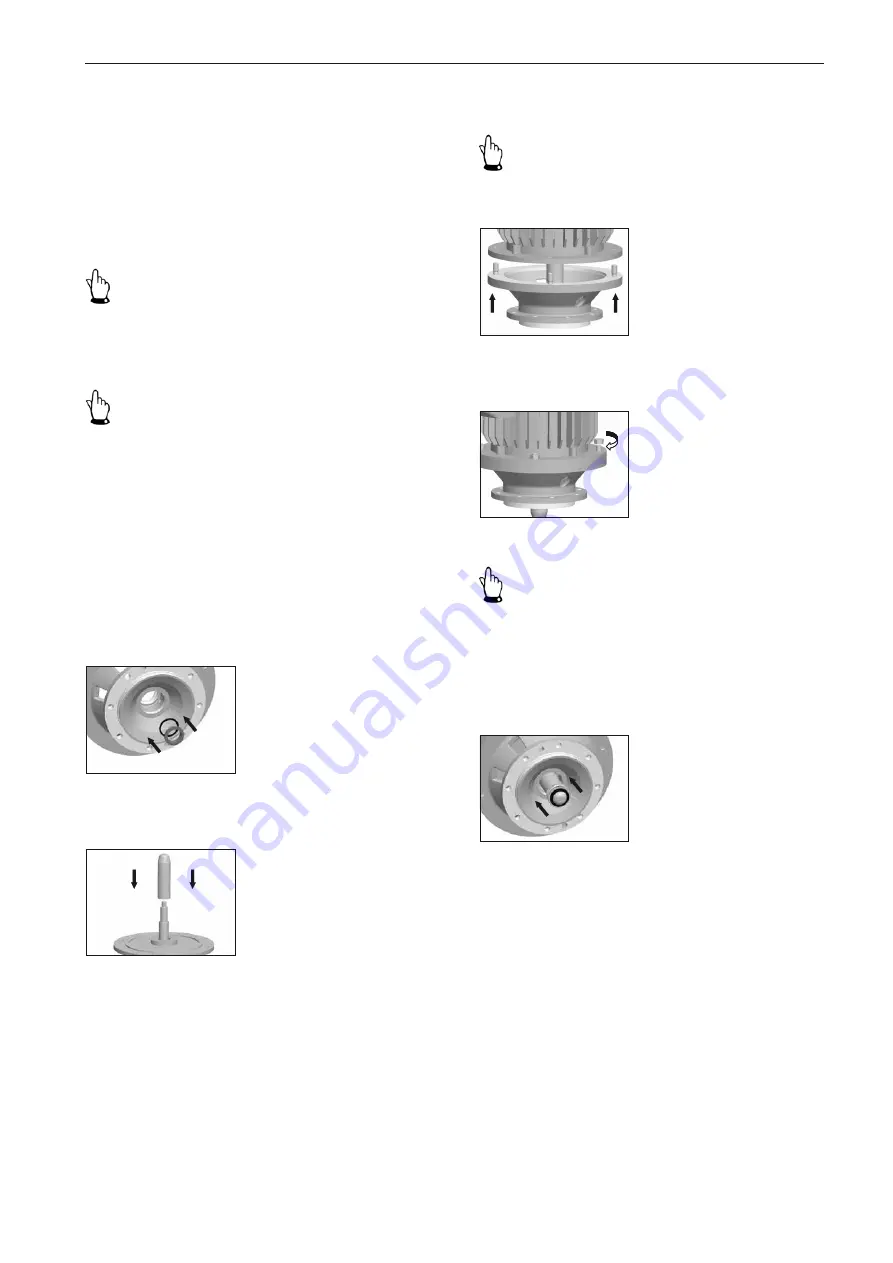
2.
Slide assembly aids (acces-
sories) onto the motor shaft
(819) (if available).
3.
Important!
Do not damage the counter ring of the mechanical seal on the
thread and transition of the motor shaft or press it at an angle!
Carefully slide the interme-
diate casing (113) over the
motor shaft (819) and onto
the centering of the block
motor (802).
4.
Screw the intermediate ca-
sing (113) to the block motor
(802).
Important!
- Make sure you degrease the shaft surface!
- Pre-tensioning of the spring is achieved by installing the
impeller.
5.
Carefully slide the rotating
sliding ring with bellows and
spring over the motor shaft
shoulder and up to the inte-
grated counter ring using a
screwing motion.
Summary of Contents for 25-110/0032 WX
Page 4: ......


