4
• Arrange the longer cord so that it will not drape over a countertop or tabletop where it
can be tripped over, snagged, or pulled on unintentionally (especially by children).
•
DO NOT
alter the plug.
DO NOT
attempt to defeat the safety purpose of the polarized plug.
BEFORE FIRST USE
As there is manufacturing residue or oil remaining in the toaster or heating element, it will
usually emit an odor for the first use. This is normal and will not occur after several cycles.
For the first use, it is recommended to operate the unit according to the below steps
without bread, then let the unit cool down and begin toasting with bread.
USING YOUR TOASTER
NOTE:
For best results read the following tips:
1. Place the slice of bread into the bread slot. A maximum of 2 slices can be inserted at
once. Only 1 regular slice of bread can be placed into each bread slot.
NOTE:
Make sure the crumb tray is well pushed in before using.
2. Plug the power cord into the outlet.
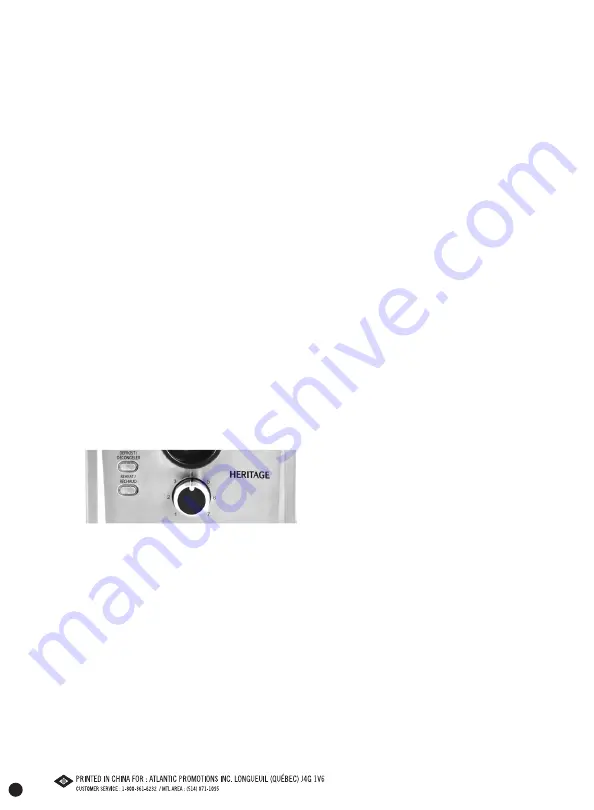
3. Set the toasting control knob to the desired level. There is a 7-level control knob
(see fig.1), the lowest “1” is for light and the highest “7” is for dark. The slice of
bread can be toasted to golden brown at the middle position.
NOTE:
1). Browning color for one slice of bread is darker than that for two slices at
the same level. 2). If you are running 2 consecutive toasting cycles, the toasting color
obtained with the latter cycle will be darker than that of the anterior cycle at the
same level.
Figure 1
4. Lower bread carriage lever handle down vertically until it is latched into place, the
Cancel indicator will light up, and the appliance will begin toasting.
NOTE:
The lever handle can only be latched when the appliance is plugged in.
5. Once the bread has been toasted to the desired level, the lever handle will
automatically pop up. You can then gently lift the carriage handle further to raise the
bread and remove it more easily.
NOTE: During toasting, you may also observe
the toasting color from the top. If it is satisfactory, you can press the Cancel
button to interrupt the cycle at any time, but never lift the lever handle to
cancel toasting
.
6. To toast frozen bread, first press the Defrost button, (the Defrost indicator will light
up), set the browning control knob to your desired level, and then lower the lever
handle down vertically until it is latched into place. You will then obtain toasted
bread at the desired browning level.
Summary of Contents for 023020
Page 11: ...11...
Page 12: ...FOR HOUSEHOLD USE ONLY POUR UN USAGE DOMESTIQUE SEULEMENT...


