î
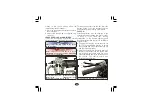
Make sure the ignition switch is “OFF”.
î
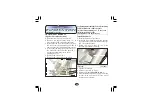
Remove the battery clamp bolt
(page 44)
.
î
Remove the battery from the battery box.
FUSE REPLACEMENT
Battery removal
î
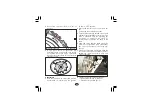
Disconnect the negative (-) terminal lead
from the battery first, then disconnect the
positive (+) terminal lead.
î
Check all bolts and other fasteners are
secure.
î
Reinstall in the reverse order of removal. Be
sure to connect the positive (+) terminal
first, then the negative (-) terminal.
Battery installation
î
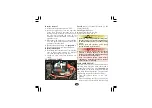
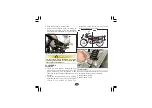
Insert the ignition key into the right side
cover lock. Remove the side cover by
turning the key clockwise. Pull out lug from
the grommet and slide the cover as per
direction indicator (available on the top of
right side cover).
45
2
1
3
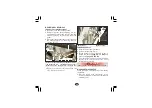
Spare fuse (3) 15A, 10A
Fuse Box
(1)
:
Location: Mounted on the
battery clamp (4).
Fuse Type:
Blade fuse
In circuit fuse: (2) 15A, 10A
WARNING
!
!
î
Battery gives off explosive gases. Keep
sparks, flames & cigarettes away.
î
Never use a fuse with a different rating from
that specified. It may lead to serious damage
to the electrical system or a fire due to short
circuit.
CAUTION
!
!
î
Do not attempt to start or ride the vehicle
without a charged battery, it can cause
fusing of the bulbs and permanent damage
to certain electrical components.
î
Turn the ignition switch "OFF" before
checking or replacing the fuse to prevent
accidental short-circuiting.
STOP LAMP SWITCH
î
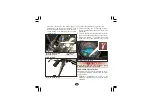
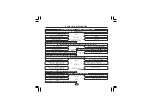
Turn the adjusting nut (2) to position stop
lamp switch at a point where the stop lamp
The stop lamp switch (1) must be adjusted so
that stop lamp will glow when rear brake is
applied. Rear brake free play
(page 39 to
40)
should be adjusted before performing
stop lamp switch adjustment. The procedure
for adjusting stop lamp switch is as follows:
î
Turn the ignition switch to the “ON”
position.
4
Summary of Contents for HF-Deluxe
Page 54: ...51 1 Canister 1...


