57
For additional technical information on this and all HIFONICS products, go to t
he “SUPPORT” tab at HIFONICS.com
There you will find helpful, FAQ, TEQ Tips and you can contact Technical Support via email.
©2018 Maxxsonics USA
CHAPTER 16 - TEST & TUNE
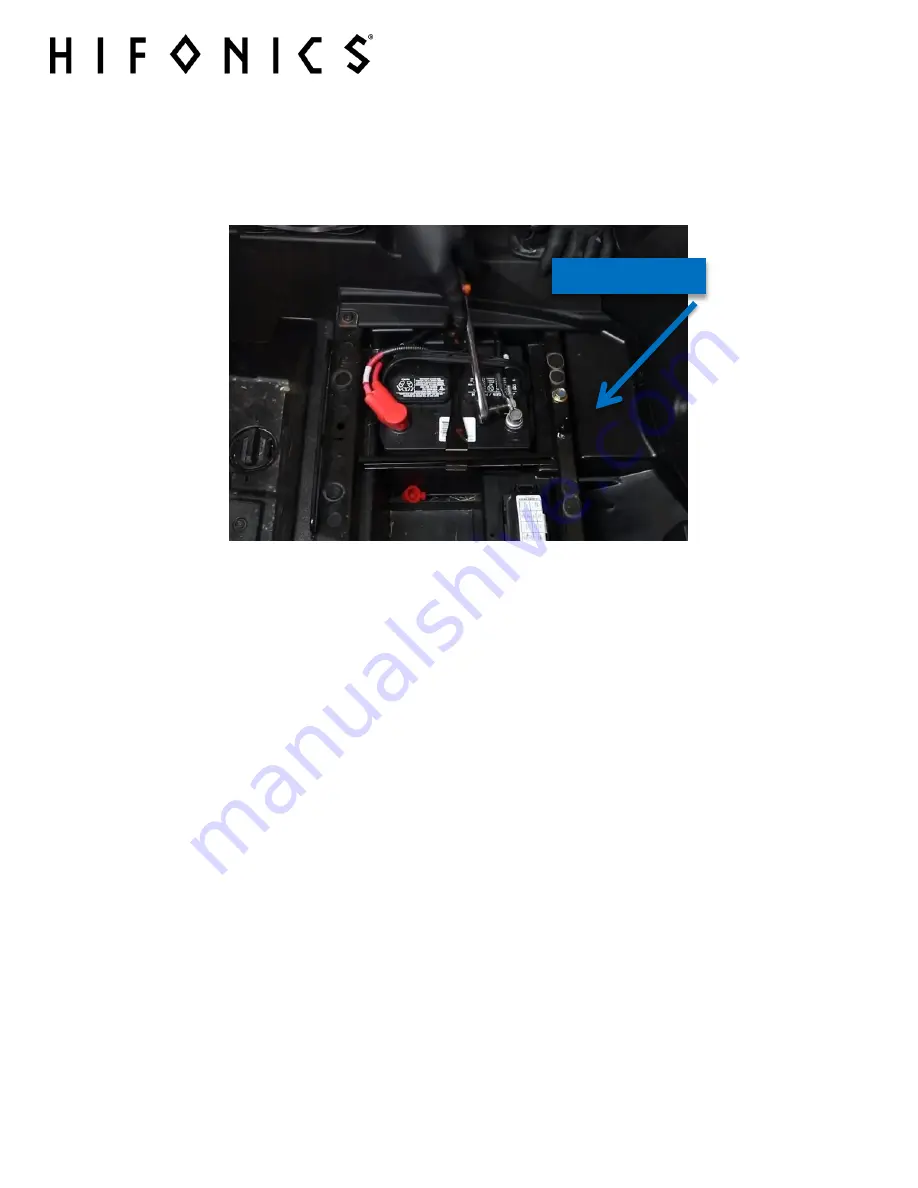
Nearly done, but it is smart to confirm that everything is working before you put the machine
back together. With the harness connected to the busbar, you can now reconnect the negative
terminal of the battery.
Turn the ignition key to the ACC position and push the PWR button on your source unit.
NOTE
– The following instructions are for confirming connectivity of the system
you just installed. Refer to the full manual for the source unit to use features like
Bluetooth® pairing, adjusting treble and bass or working with the EQ.
Here is a check list so you know you did not forget something.
With the power “ON” use the list here to check the system for all of the following. Make sure you
are using the controls on the source unit to confirm Left is Left and Right is Right. There will be
no change from Front to Rear as all speakers are on the same 2 channel amplifiers.
o
P
OWER ON
o
USB
o
BT
M
USIC
-
F
OLLOWING THE PAIRING INSTRUCTIONS IN YOUR SOURCE UNIT
o
R
ADIO
-
U
NLESS YOU HAVE INSTALLED AN ANTENNA
,
YOU WILL ONLY HEAR STATIC
o
S
PEAKERS
-
CONFIRM ALL YOUR SPEAKERS AND AMPLIFIERS ARE CONNECTED CORRECTLY
RECONNECT BATTERY

