CHAPTER 16
CMA: Warp Editor
252
DLHD Digital Light User Manual
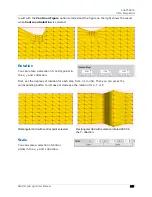
First, set the size of each step from 1.1 to 2 for each axis. Then you can increase or decrease the
Scale of the selection incrementally by clicking the Scale + and Scale - buttons.
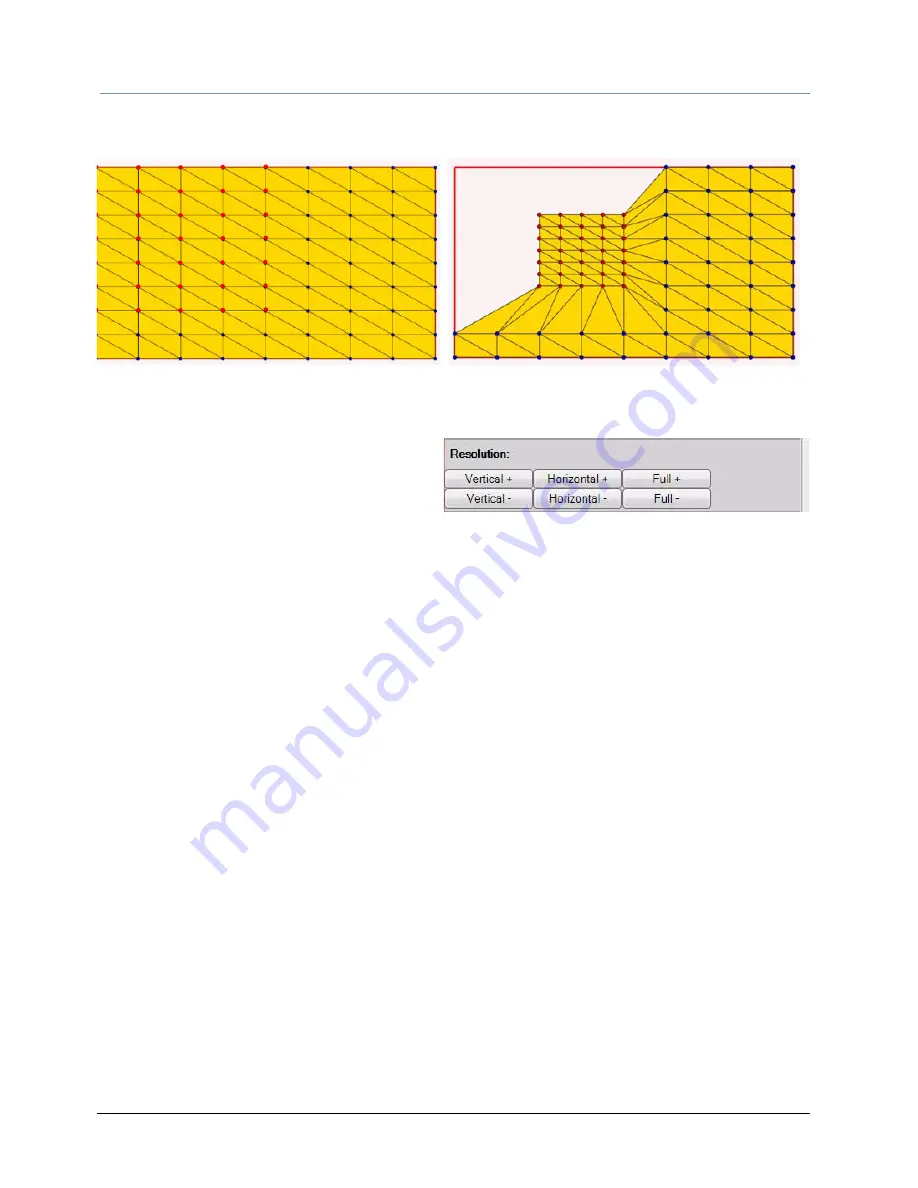
Resolution
You can set the warp density for the
Rectangular and the Spline grids in the
Resolution field.
Click on Vertical and Horizontal buttons to increase or decrease the number of grid sections in
either direction. or click on Full + or
Full - to increase the resolution proportionally in both directions.
Note:
In all curved surface shapes, resolution is specified as part of the
Geometry selection, see
Geometry Editing Fields
on page 245.
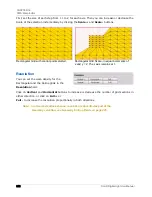
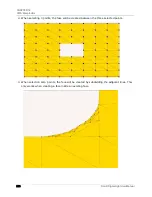
Rectangular Grid with control point selected.
Rectangular Grid Scale - in equal increments of
x and y = 2. The z axis remains at 1.
Summary of Contents for DLHD High Definition Digital Light
Page 8: ...viii DLHD Digital Light User Manual...
Page 66: ...CHAPTER 5 DMX Programming Basics and Quick Start 44 DLHD Digital Light User Manual...
Page 74: ...CHAPTER 7 Graphics Engine Overview 52 DLHD Digital Light User Manual...
Page 128: ...CHAPTER 12 Global Functions Collage Generator 106 DLHD Digital Light User Manual...
Page 226: ...CHAPTER 13 Effect Mode Options Descriptions 204 DLHD Digital Light User Manual...
Page 230: ...CHAPTER 14 Synchronizing Content 208 DLHD Digital Light User Manual...
Page 284: ...CHAPTER 16 CMA Warp Editor 262 DLHD Digital Light User Manual...
Page 318: ...APPENDIX C Safety Information 296 DLHD Digital Light User Manual...


