21
1. Centre the vehicle between columns. Adjust vehicle front-to-back so the centre of
gravity falls in the middle of the columns.
2. Position lift contact pads at manufacturers recommended lifting points.
3. Before raising vehicle, be sure all personnel are clear of the lift and surrounding
area. Pay careful attention to overhead clearances.
4. Raise lift by pressing raise button on power unit until contact pads contact the
underside of vehicle. *
5. Verify vehicle is secure and arm restraint locks are engaged on all 4 arms.
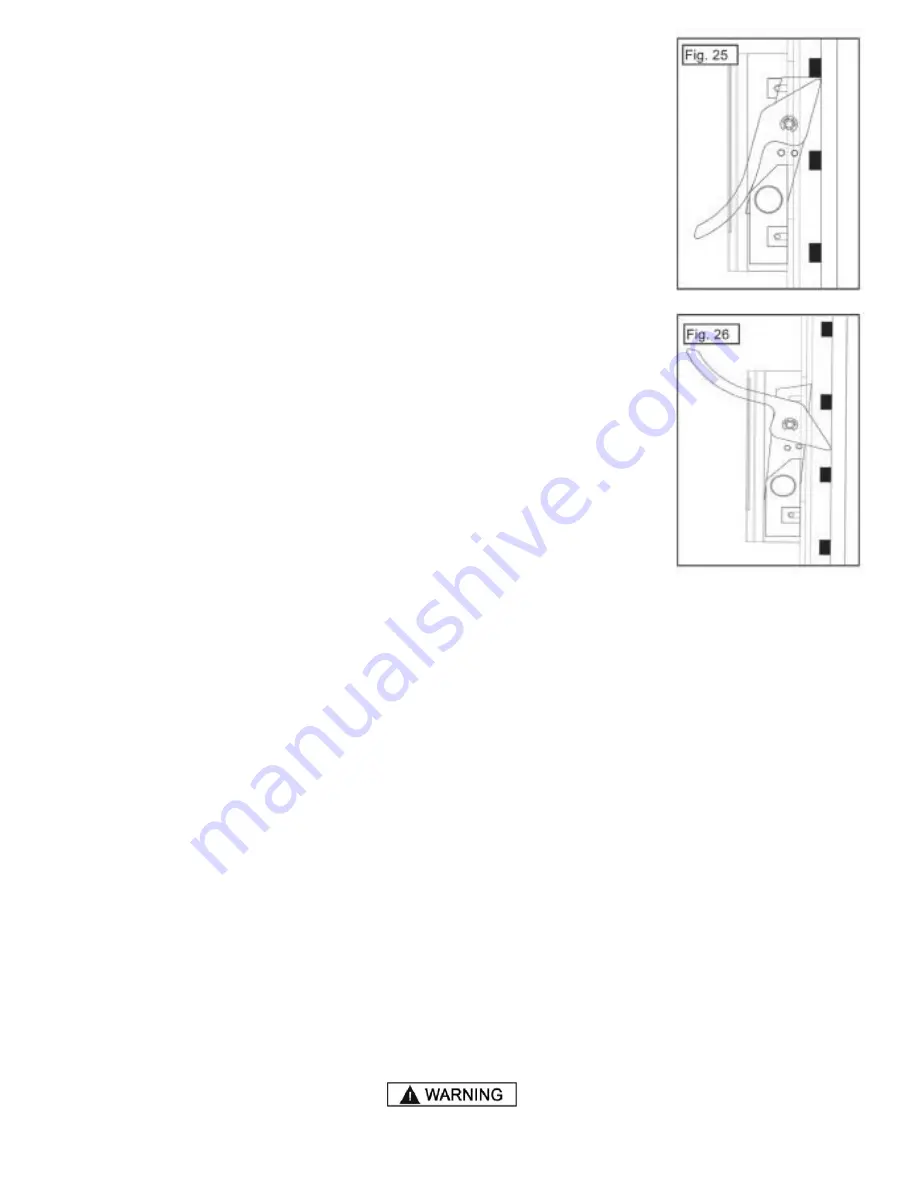
6. After the vehicle is raised to the desired height, press the lowering handle until
the lift stops evenly on the safety locks.
(See figure 25)
7. When raising the lift, always keep a visual line of site on the lift.
*NOTE: Refer to ALI Reference Guide for all lift point recommendations and safety
data.
TO LOWER VEHICLE:
1. Before lowering vehicle, be sure all personnel are clear of the lift and surrounding
area. Ensure all tools and equipment have been cleared from under the lift.
2. Raise the lift off the safety lock by pressing the raise button on the power unit. Make
sure you raise the lift by at least one inch from the lock to allow adequate clearance.
3. Disengage the safety lock on each column by pulling up the release handle.
(See
figure 26)
4. Push the lowering handle on the power unit until the lift has descended completely
and all 4 arm restraint gears are completely released.
5. When lowering the lift pay careful attention that all personnel and objects are kept
clear. Always keep a visual line of site on the lift.
WEEKLY MAINTENANCE
•
Lubricate all moving parts with a white lithium grease.
•
Check all connections, bolts and pins to insure proper mounting.
MONTHLY MAINTENANCE
•
Make a visual inspection of all moving parts and check for excessive signs of wear.
•
Check condition of lift pads and adapters.
•
Check condition of arm restraints. Adjust, as necessary.
•
Inspect all bolts, pins and anchor bolts.
•
Replace all faulty parts before lift is put back into operation.
STEP 14
LIFT
REMOVAL
1. Depress the lowering valve on the power unit.
2. Ensure that the lift is lowered all the way to the ground and hydraulic pressure is relieved.
3. Disconnect the power unit from the power source and / or ensure that the power to the circuit is shut off to prevent
accidental powering on of the lift while disassembling.
4. With a cloth in hand to collect weeping fluid, disconnect the cylinder hoses from the cylinder. Hoses can be coiled
and stored on the power unit cart.
HIGH-LIFT
Summary of Contents for YL130
Page 9: ...9 MAXJAX PARTS BOX H I G H L I F T ...
Page 12: ...12 1 2 NOTE 3 4 5 H I G H L I F T ...
Page 26: ...26 H I G H L I F T ...


