—
2
—
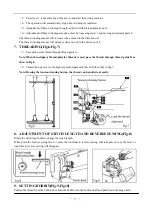
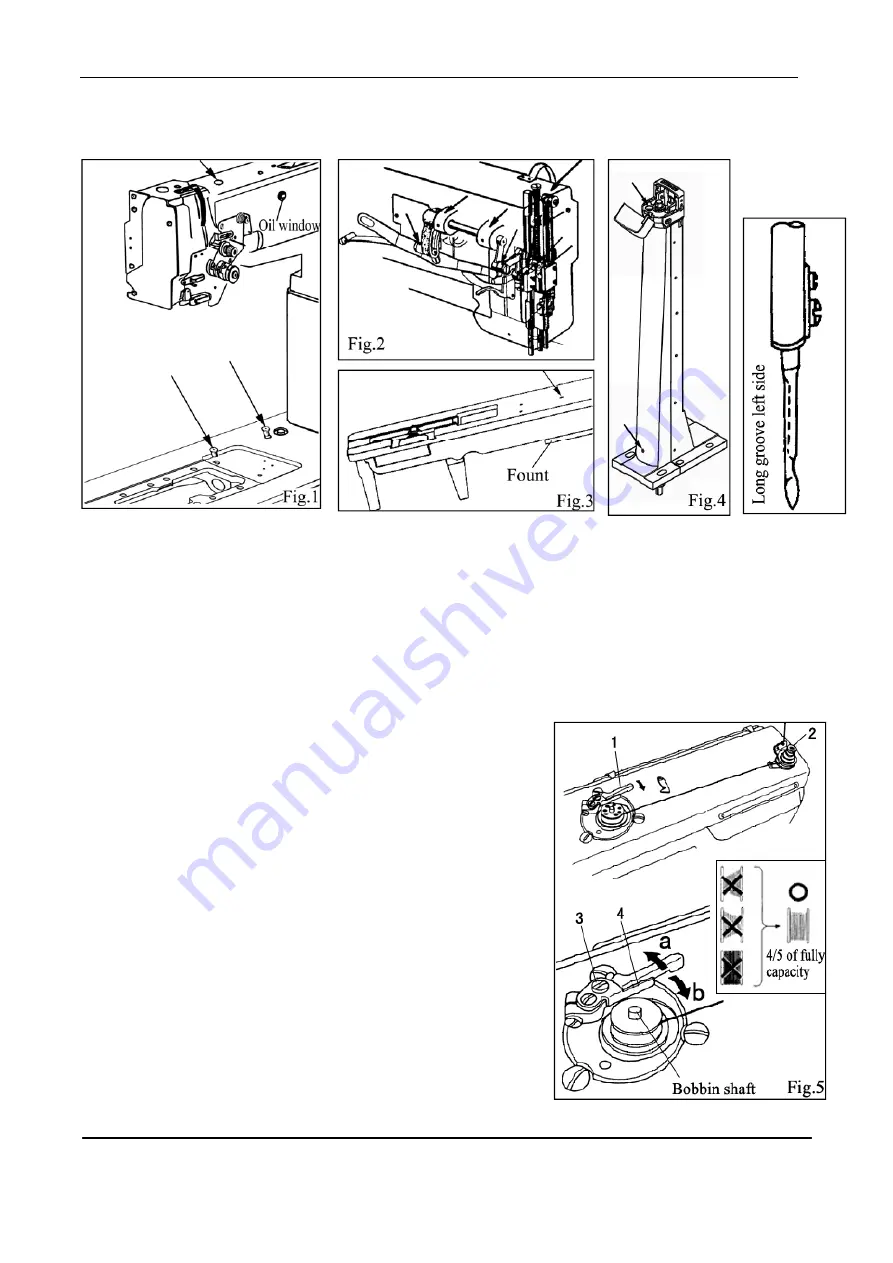
Note:Filling the oil to the hook saddle everyday during operation.
See dripping of oil through the oil window to check oiling condition during operation.
4.
PRECAUTIONS OPERATION
(
1
)
When the power is turned on or off, keep foot away from the pedal.
(
2
)
It should be noted that the brake may not work when the power is interrupted or power
failure occurs during sewing machine operation.
(
3
)
Since dust in the control box might cause malfunction or control troubles, be sure to keep the
control box cover close during operation.
5.
INSTALLING NEEDLE
Note: Before installing the needle, be sure to turn off the power.
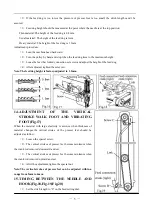
To install the needle, turn the machine pulley over toward operator(or
counter-clockwise) until the needle bar moves up to its highest point,
put the needle up into the needle bar as deeply as it will go, with the
long groove of the needle faced left side.Tighten the needle set screw
securely.
6.
WINDING BOBBIN THREAD(Fig.5)
Note:When bobbin thread is wound, keep the presser foot lifted
Thread tension
:
Particularly in the case of nylon or polyester
thread,wind the bobbin loosely.
(
1
)
Press the bobbin onto the thread winding shaft.
(
2
)
Pass the thread for winding thread as shown in the figure,
and wind the end of the thread clockwise around the bobbin several
times, then wind the thread on the thread adjuster side counter-clock
wise several times.
Summary of Contents for GC24698-BLHL
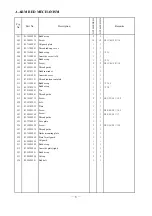
Page 9: ...A ARM BED MECHANISM 7 7 ...
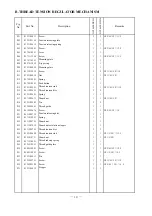
Page 11: ...B THREAD TENSION REGULATOR MECHANISM 9 9 ...
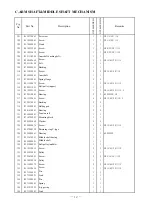
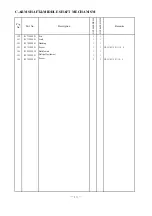
Page 13: ...C ARM SHAFT MIDDLE SHAFT MECHANISM 11 11 ...
Page 16: ...D PRESSER FOOT MECHANISM 14 14 ...
Page 19: ...E NEEDLE BAR THREAD TAKE UP MECHANISM 17 17 ...
Page 22: ...F STITCH REGULATOR MECHANISM 20 20 ...
Page 24: ...G LOWER SHAFT FEEDING SHAFT MECHANISM 22 22 ...
Page 27: ...H HOOK SADDLE MECHANISM 25 25 ...
Page 29: ...I OIL LUBRICATION MECHANISM 27 27 ...
Page 31: ...J ACCESSORIES 29 29 ...


