160
Copyright © 2011-2019 by Highly Reliable Systems, Inc. All rights reserved.
until the device powers down.
2. Remove any removable-media from the unit. All removable-media must be removed or
disconnected or the unit will not restore to defaults.
3. Insert the USB Key drive into an available USB port on the rear of the unit.
4. Power on the device by pressing the power button on the front of the device.
5. The unit will read the factory restore information from the USB Key drive and install it on the
internal memory of the device. This will take several minutes to complete.
6. DO NOT TURN THE NETSWAP/RAIDFRAME PLUS OFF! When the restore is complete
the NetSwap/RAIDFrame Plus will turn itself off. If the restore takes longer than 10 minutes,
contact technical support.
7. Remove the USB Key drive from the rear of the device.
8. The NetSwap/RAIDFrame Plus is now restored to factory defaults. Consult the setup and
administration sections of this manual, above, for information on setting up and configuring
your NetSwap/RAIDFrame Plus.
7 NetSwap/RAIDFrame Plus Console
Under normal circumstances you will not need to access the NetSwap/RAIDFrame Plus device directly
but rather you would access it through the Web Administration interface detailed above. However, in
the case where the device IP address is lost or not known a keyboard and monitor can be attached to the
rear of the NetSwap/RAIDFrame Plus to access the NetSwap/RAIDFrame Plus Console (if the
NetSwap/RAIDFrame Plus Console does not show as below, hold down the <CTRL> and <ALT> keys
and press the <F1> key).
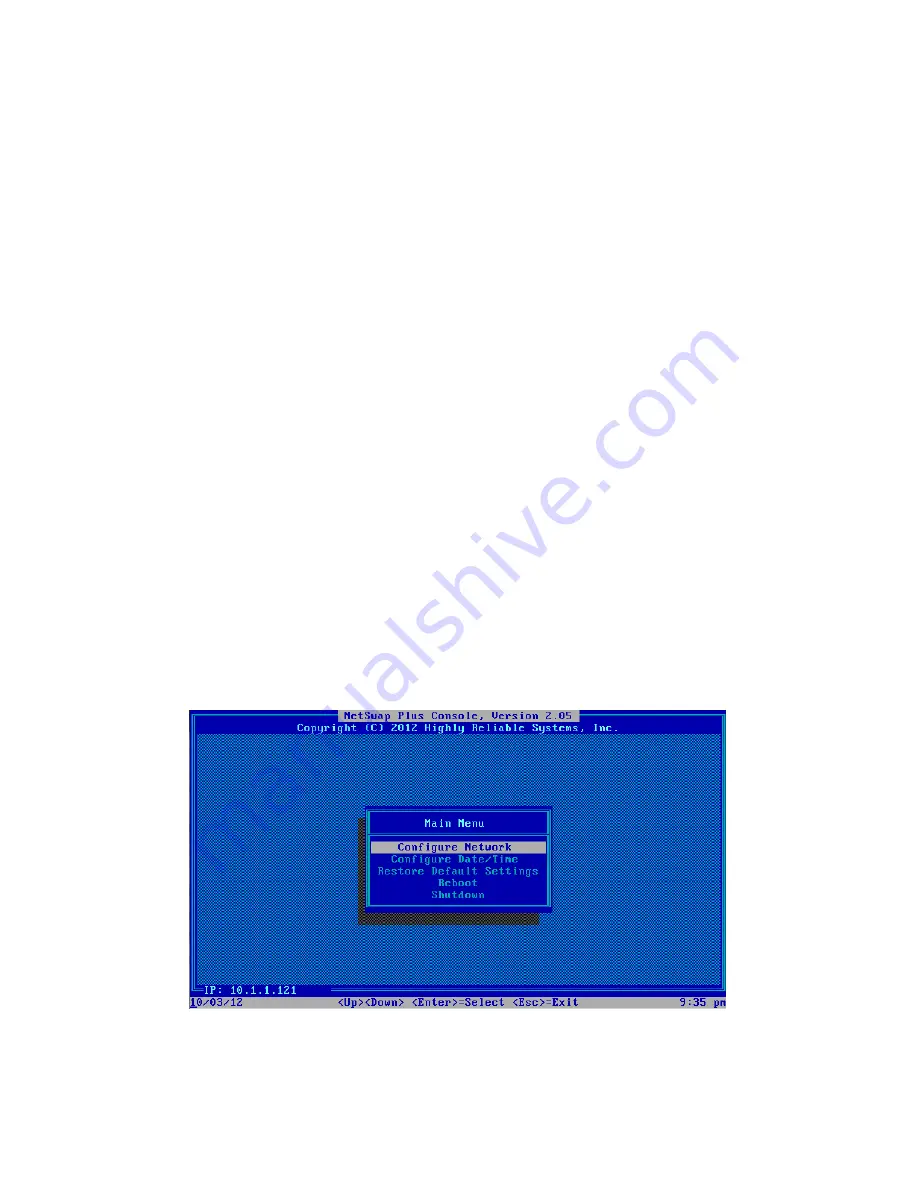
The NetSwap/RAIDFrame Plus Console is a simple program that allows simple configuration of the
device and reboot and shutdown options. It is based around a simple menu system to as shown below:
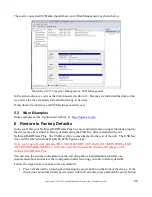
Illustration 140: NetSwap/RAIDFrame Plus Console

