17
Copyright © 2011-2019 by Highly Reliable Systems, Inc. All rights reserved.
3 NetSwap/RAIDFrame Plus Administration
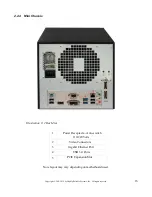
Although the NetSwap/RAIDFrame Plus has a VGA, keyboard, and mouse port for emergency use, the
device is normally administered through a web browser so it will not be necessary to directly connect a
monitor. Just hook the device up via an Ethernet cable to your network or directly to the configuring
machine and power it up. Now open a browser on the configuring machine using standard port 80 (or
securely over SSL on port 443).
By default the NetSwap will use a dual IP mode of DHCP+STATIC which means it will attempt to get
an IP address using DHCP as well as use a static IP of 192.168.1.50. The NetSwap Locator software
available from our website (https//high-rely.com) can be used to locate the NetSwap on your network.
To connect to the NetSwap/RAIDFrame Plus either use the NetSwap Locator (skip to step 3) or browse
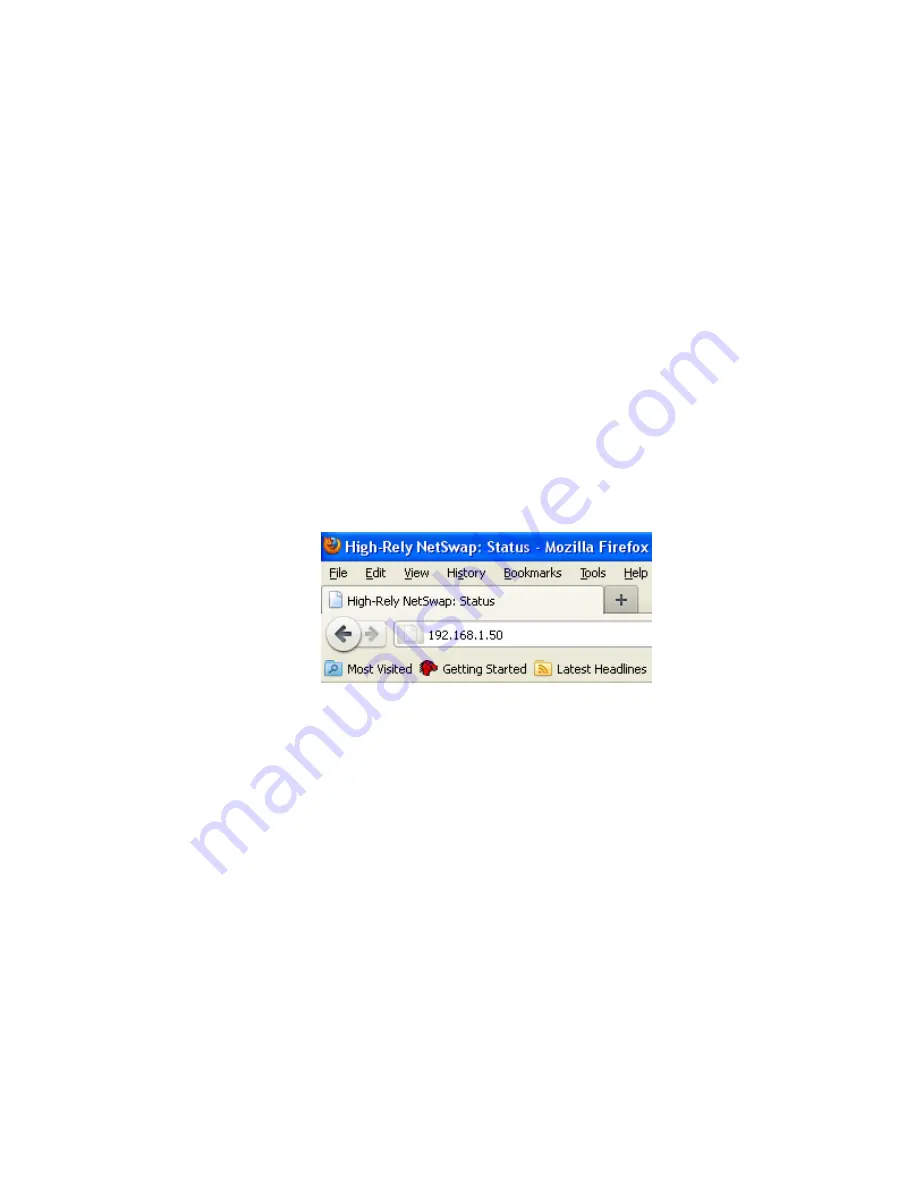
to 192.168.1.50:
1. If you are currently using a different IP address scheme on your network, you will need to
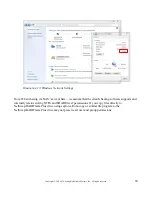
temporarily change the TCP/IP properties of your configuration computer's network adapter to
access this IP. We recommend making your Network card something like 192.168.1.49 with a
netmask of 255.255.255.0 (as long as this address is unused... “ping 192.168.1.49” first to
verify nothing responds).
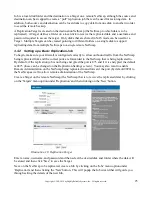
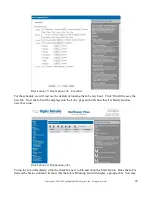
Open a web browser and enter “
192.168.1.50
” into the address bar.
Illustration 10: Web Browser Address Bar
2. If you are unable to connect to the NetSwap/RAIDFrame Plus default IP Address you may have
to use the supplied USB key to reload factory defaults.
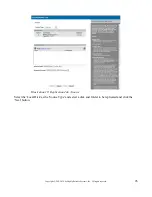
3. When prompted enter for username and password:
User Name: hradmin
Password: password
Please NOTE: the username and password are BOTH case sensitive – you will need to use
all lower case.

