28
3.
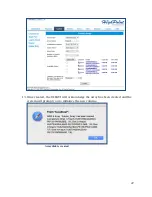
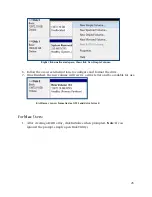
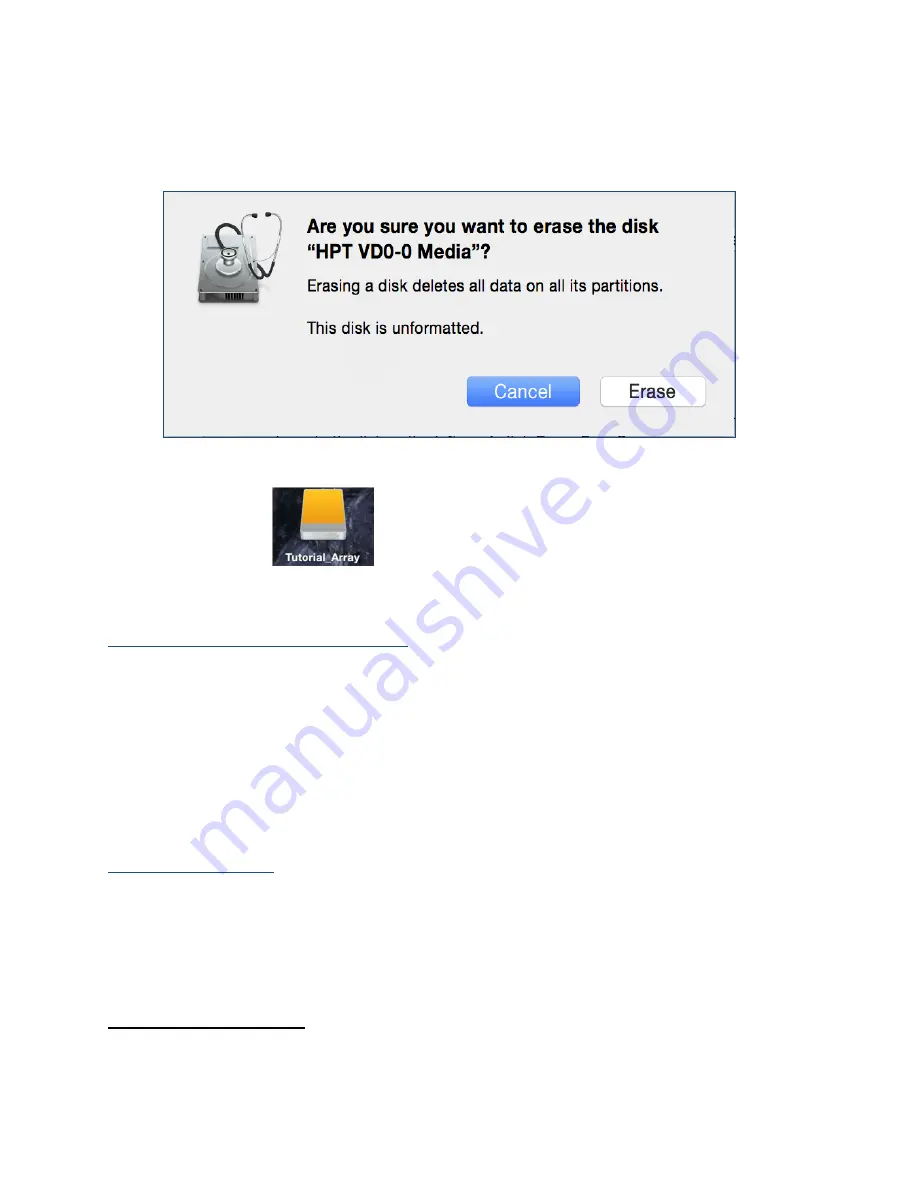
Select the desired disk format and disk name then click
Erase
. (
Note
: All
previous data on disks will be erased.)
4.
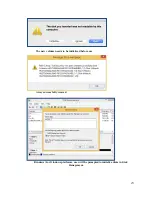
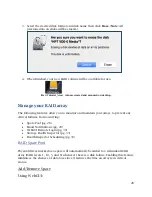
When finished, your new RAID volume will be available for use.
(Mac) Tutorial_Array volume created and mounted on desktop.
Manage your RAID array
The following features allow you to monitor and maintain your arrays to prevent any
critical failures from occurring:
Spare Pool (pg. 28)
Email Notifications (pg. 29)
WebGUI Remote Login (pg. 30)
Storage Health Inspector (pg. 33)
Health Inspector Scheduling (pg. 33)
RAID Spare Pool
Physical drives marked as a spare will automatically be added to a redundant RAID
array (RAID levels 1, 10, 5, and 6) whenever there is a disk failure. Enabling this feature
minimizes the chances of data loss since it reduces the time an array is in critical
status.
Add/Remove Spare
Using WebGUI:

