38
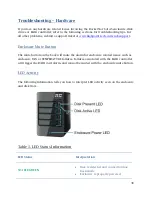
Power LED
When
enclosure is
powered on
LED will be
SOLID BLUE
Power LED will
be UNLIT if not
connected to a
running host
system
N/A
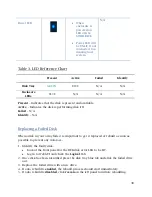
Table 3. LED Reference Chart
Present
Active
Failed
Identify
Disk Tray
GREEN
BLUE
N/A
N/A
Enclosure
LEDs
BLUE
N/A
N/A
N/A
Present
– Indicates that the disk is present and available.
Active
– Indicates the disk is performing disk I/O
Failed
– N/A
Identify
– N/A
Replacing a Failed Disk
When a disk in your array fails it is important to get it replaced or rebuilt as soon as
possible to prevent any data loss.
1.
Identify the faulty disk.
Look at the front panel for the RED disk error LED to be LIT.
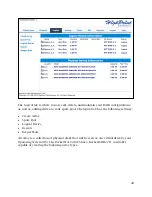
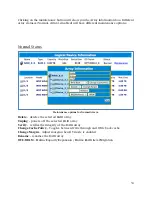
Log in to WebGUI and check the
Logical
Tab.
2.
Once disk has been identified press the disk tray blue tab and slide the failed drive
out.
3.
Replace the failed drive with a new drive.
4.
If auto rebuild is
enabled
, the rebuild process should start immediately.
5.
If auto rebuild is
disabled
, click
rescan
on the left panel to initiate rebuilding.

