8
Getting Started
Thank you for purchasing HighPoint Technologies RocketStor 6314A. You are only a few steps
away from utilizing RAID storage using the industry’s most affordable hardware RAID solution.
Main topics in this section include:
Setting Up the Hardware
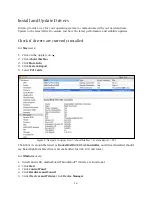
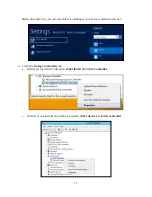
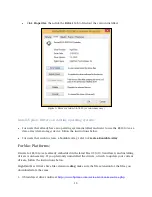
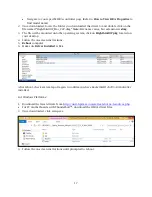
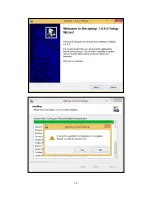
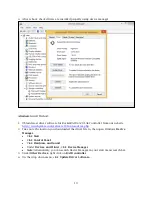
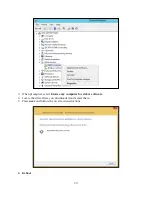
How to Update and Install Drivers
How to Install HighPoint WebGUI
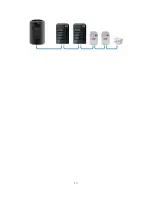
Setting Up the Hardware
Important
:
1. Ensure that you have all items listed under
Kit
Contents
.
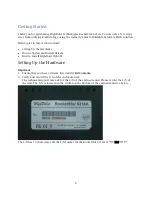
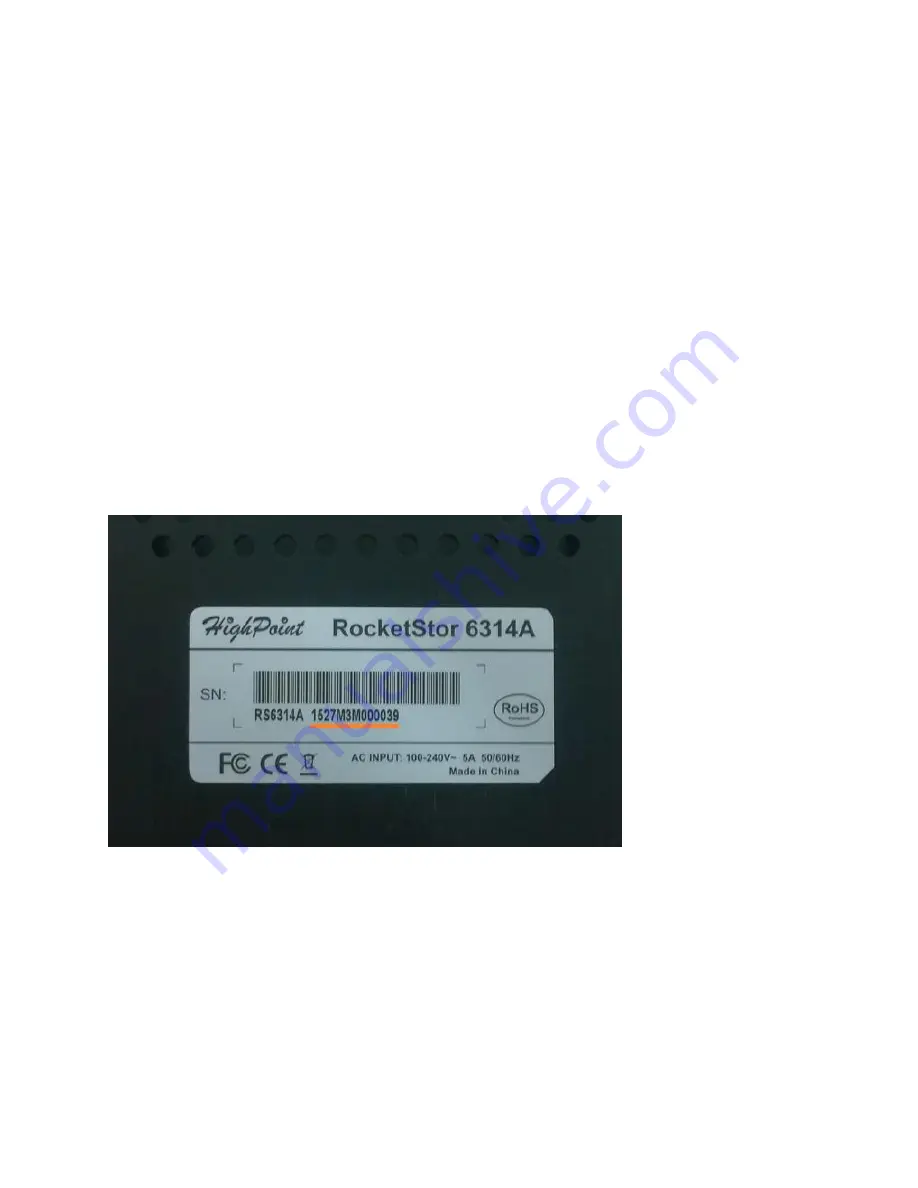
2. Verify and record the S/N of the enclosure unit.
The technical support may ask for the S/N of the enclosure unit. Please record the S/N of
the unit. The S/N is located on the sticker on the bottom of the enclosure unit as below.
The S/N has 13 characters and the S/N format for the RocketStor 6314A is “
****M3M******”
Summary of Contents for RocketStor 6314A
Page 1: ...1 RocketStor 6314A User Manual Sept 25 2015 Revision v1 02 HighPoint Technologies Inc...
Page 13: ...13...
Page 18: ...18...


