5
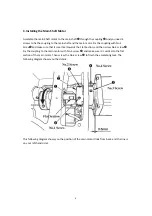
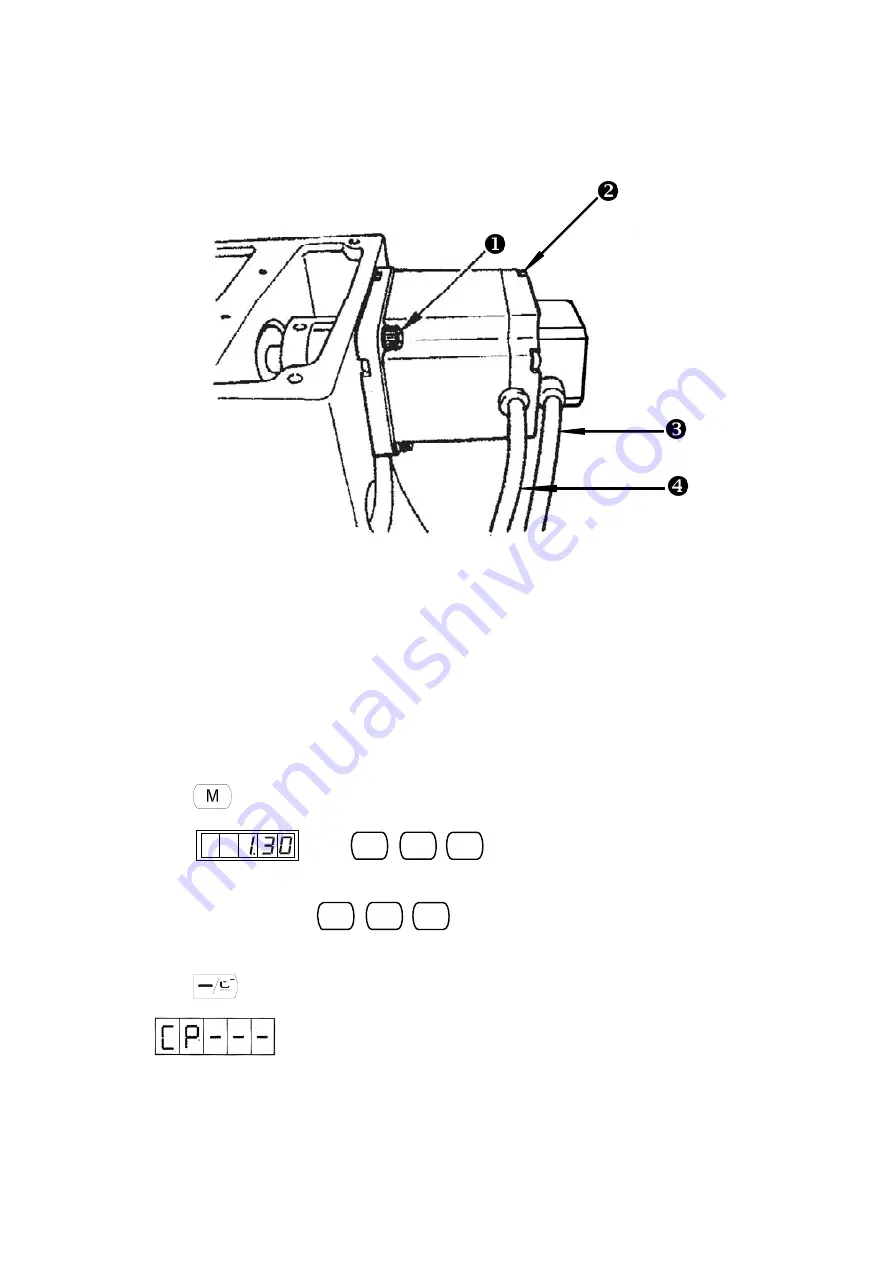
X
Screws
for
fixing
the
main
motor
,
totally
4
;
Y
Screws
for
fixing
the
back
of
the
motor
,
totally
Z
Sensor
Cable
;
[
Power
cord
。
4.
Test2.3
Test
Mode
This
mode
is
set
to
facilitate
the
electrical
check
for
maintenance
work.
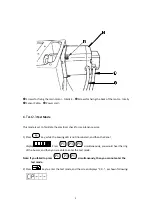
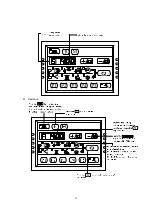
1)
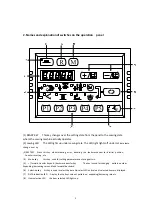
Press
key,
while
the
Sewing
LED
is
not
illuminated,
and
then
the
Panel
display
.
Press
P1
P3
P5
simultaneously,
you
would
hear
the
ring
of
the
buzzer,
and
then
you
are
able
to
enter
the
test
mode.
Note:
If
you
failed
to
press
P1
P3
P5
simultaneously,
then
you
cannot
enter
the
test
mode.
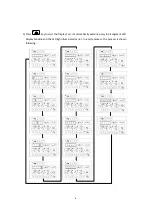
2)
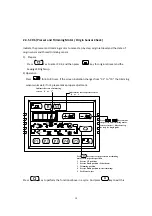
Press
key
to
enter
the
test
mode,
and
the
screen
displays
“CP
‐‐‐
”,
as
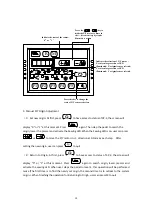
shown
following:
Summary of Contents for HK2900
Page 1: ......
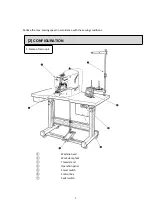
Page 7: ...6 缝纫机机头 布压脚 线架装置 操作盘 电源开关 控制箱 踏板开关 2 各部的名称 1 主机的名称 ...
Page 23: ...22 外部线缆插头上有对应的编号 请仔细查看后对应接插 示意图 5 6 图 5 图 6 10 电缆线的链接 ...
Page 24: ...23 11 马达护罩的安装 把马达护罩 用附属的螺丝安装到缝纫机主体上 12 电线的处理 放倒缝纫机时 请确认机头支杆安装在机台上 在放倒缝纫机的状态 连接电线 如图所 示用线束夹 捆紧 ...
Page 27: ...26 穿过机针的线应留出 4cm 左右 3 上线的穿线方法 4 梭壳的取下插入 1 打开旋梭外罩 2 拨起旋梭壳 的抓脚 取出梭壳 3 插入时 请把梭壳深深插入旋梭轴 并关 闭抓脚 ...
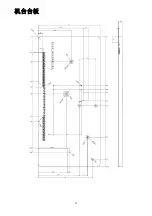
Page 76: ...75 机台台板 ...
Page 93: ...12 2 Operation ...
Page 169: ...88 Table diagram ...
Page 170: ......
Page 194: ...2 4 5 6 7 9 2 3 6 8 1 23 HK2903 专用附件 EXCLUSIVE ACCESSORIE PARTS FOR HK2903 ...

