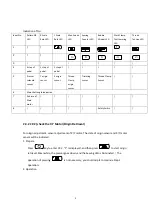
9
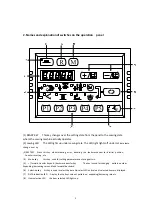
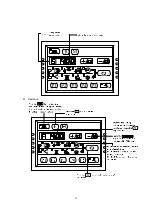
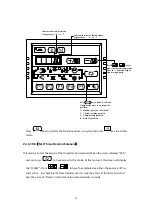
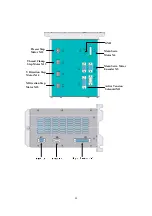
Indication
of
No.
Input
No.
Pattern
N0.
LED
X
Scale
Rate
LED
Y
Scale
Rate
LED
Max.
Speed
LED
Sewing
Counter
LED
Bobbin
Winder
LED
Work
Clamp
foot
lowering
LED
Thread
Tension
LED
1
/
/
2
/
/
3
/
/
/
/
/
/
/
/
4
0
step
of
pedal
1
step
of
pedal
2
step
of
pedal
/
/
/
/
/
5
Presser
solenoid
sensor
Y
origin
sensor
X
origin
sensor
Thread
Clamp
origin
sensor
Trimming
sensor
Thread
Clamp
Sensor
/
/
6
Main
shaft
angle
indication
7
Z
phrase
of
Main
motor
/
/
/
/
/
/
/
8
/
/
/
/
/
Safety
Switch
/
/
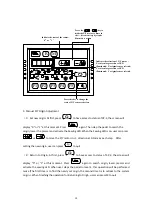
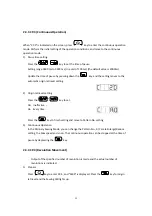
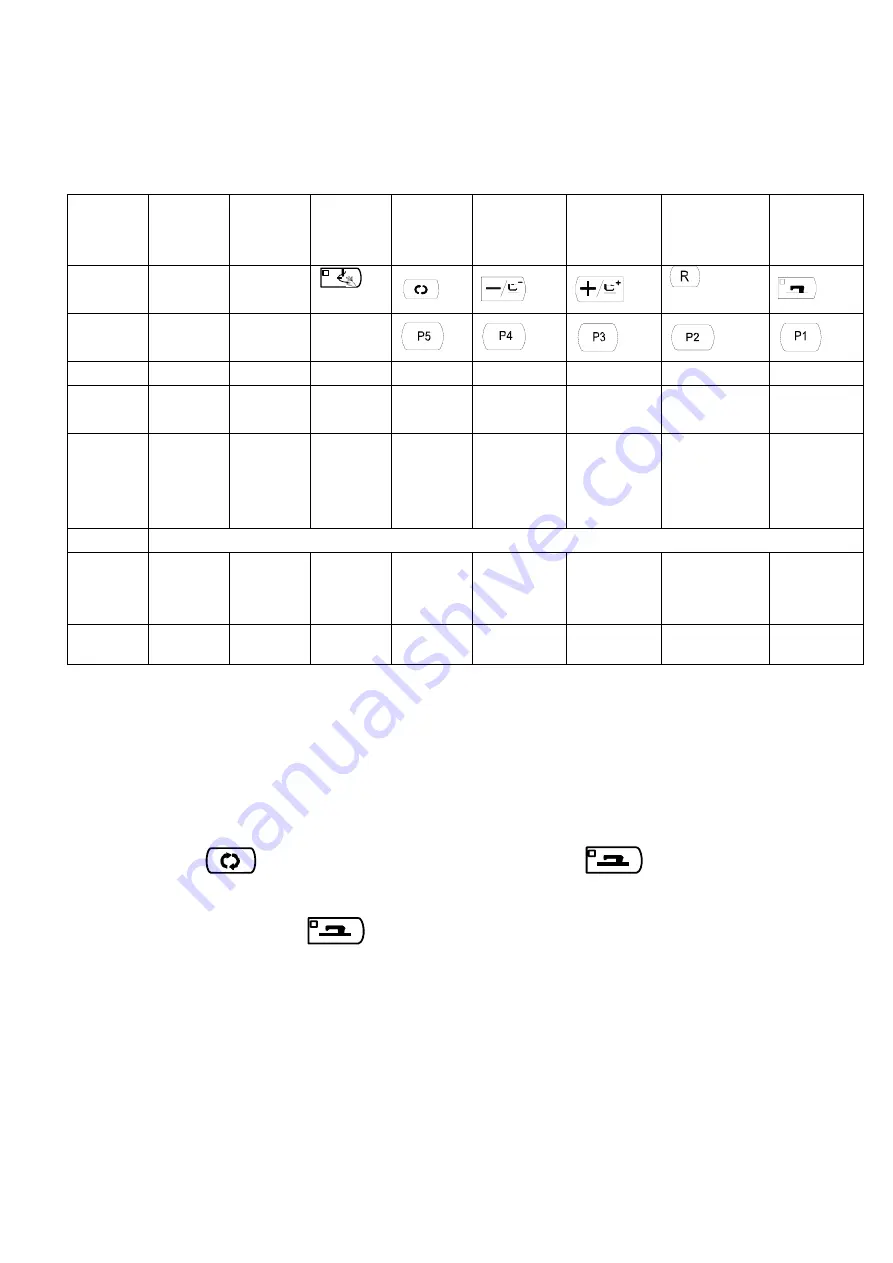
2.3.2
CP
‐
2
(check
the
X.Y
Motor/Origin
Retrieval)
For
origin
adjustment,
sensor
adjustment
of
X/Y
motor.
The
state
of
origin
sensor
and
X/Y
motor
sensor
will
be
indicated.
1.
Prepare
Press
key
to
enter
CP
‐
2,
“1”
is
displayed,
and
then
press
to
start
origin
retrieval.
Meanwhile,
the
presser
goes
down,
and
the
Sewing
LED
is
illuminated.
(
The
operation
of
pressing
is
not
necessary;
you
could
skip
it
to
continue
Step2
operation
)
2.
Operation
Summary of Contents for HK2900
Page 1: ......
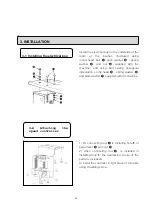
Page 7: ...6 缝纫机机头 布压脚 线架装置 操作盘 电源开关 控制箱 踏板开关 2 各部的名称 1 主机的名称 ...
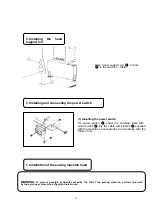
Page 23: ...22 外部线缆插头上有对应的编号 请仔细查看后对应接插 示意图 5 6 图 5 图 6 10 电缆线的链接 ...
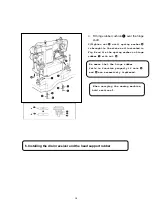
Page 24: ...23 11 马达护罩的安装 把马达护罩 用附属的螺丝安装到缝纫机主体上 12 电线的处理 放倒缝纫机时 请确认机头支杆安装在机台上 在放倒缝纫机的状态 连接电线 如图所 示用线束夹 捆紧 ...
Page 27: ...26 穿过机针的线应留出 4cm 左右 3 上线的穿线方法 4 梭壳的取下插入 1 打开旋梭外罩 2 拨起旋梭壳 的抓脚 取出梭壳 3 插入时 请把梭壳深深插入旋梭轴 并关 闭抓脚 ...
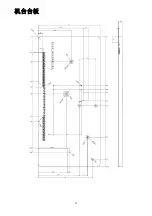
Page 76: ...75 机台台板 ...
Page 93: ...12 2 Operation ...
Page 169: ...88 Table diagram ...
Page 170: ......
Page 194: ...2 4 5 6 7 9 2 3 6 8 1 23 HK2903 专用附件 EXCLUSIVE ACCESSORIE PARTS FOR HK2903 ...

