12
English
ABOUT THE PROTECTION
FUNCTION
This tool has a built-in protection circuit for preventing
damage to the unit in the event of an abnormality. Depending
on the following, the display lamp and the indicator lamp will
fl
ash, and the unit will cease to operate. Verify the problem
indicated by the
fl
ashing and take the necessary steps to
correct the problem.
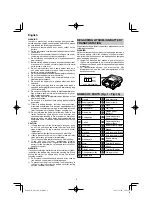
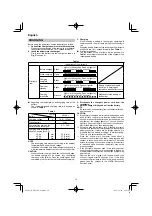
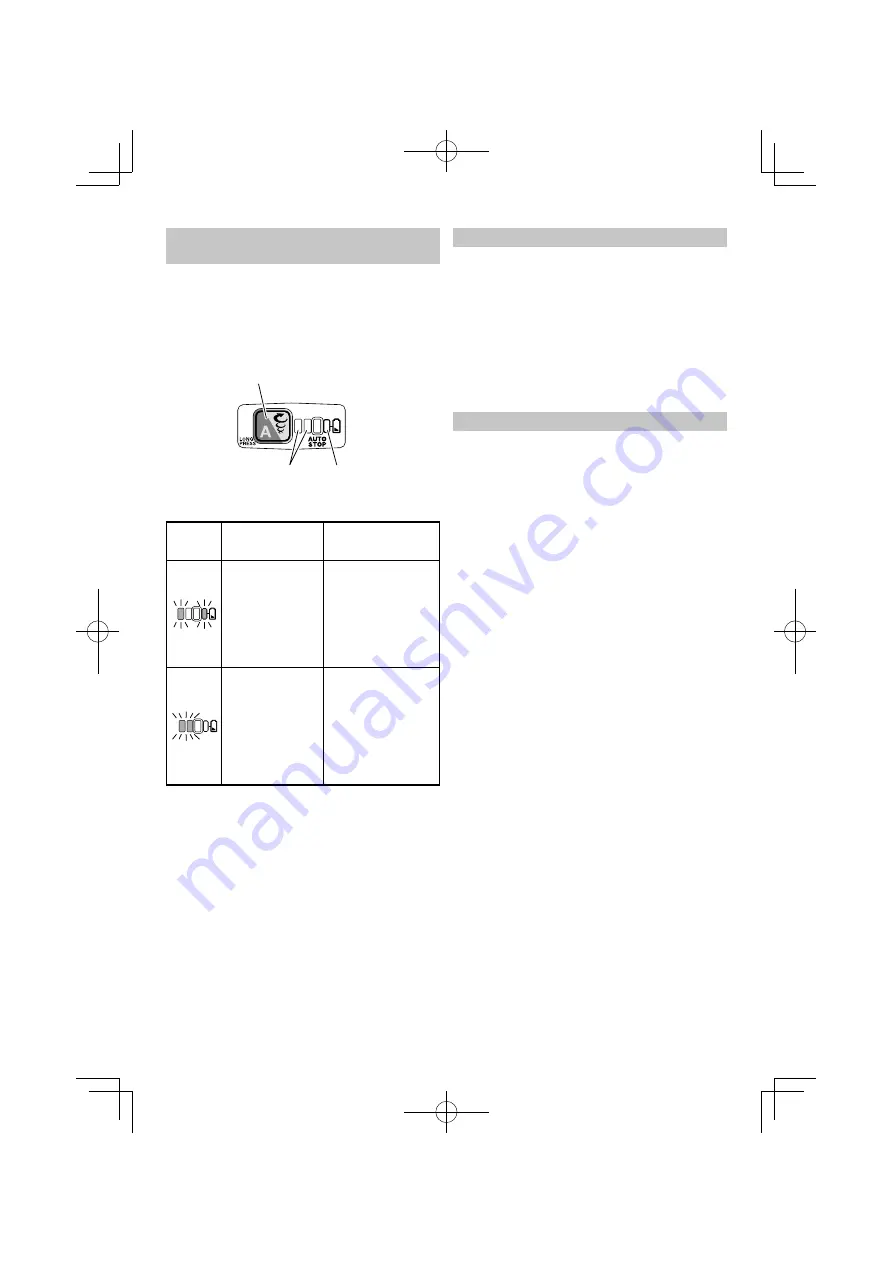
When pressing the changeover switch, do so when the
switch is not being pulled.
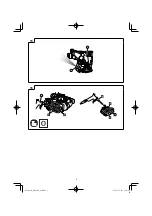
Changeover switch
Display lamp Indicator lamp
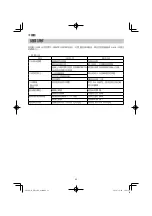
Fig. 18
Table 3
Display
lamp
fl
ashing
Cause
Solution
Operation has
ceased because the
internal temperature
has exceeded the
temperature limit.
(High temperature
protection function)
Allow the unit to cool
for 15 to 30 minutes.
When the temperature
goes down and the
display lamp and the
indicator lamp blinking
stops, pull the switch
trigger to recover
operation.
Sudden
overburdening of
the tool bit has
activated the RFC,
stopping further
operation of the tool.
RFC (See page 11
“REACTIVE
FORCE
CONTROL”)
Release the switch
trigger and leave it
until the display lamp
blinking stops. Pull the
switch trigger again to
recover operation.
Before continuing
operation, remove
the cause of the
overburden.
NOTE
Despite taking steps to correct a problem, the display
lamp may continue to blink. Should this be the case, the
unit may require repair. If so, please contact the outlet
from which this product was purchased for repairs.
LUBRICATION
Low viscosity grease is applied to this rotary hammer so
that it can be used for a long period without replacing the
grease. Please contact the nearest service center for grease
replacement when any grease is leaking form loosened
screw.
Further use of the rotary hammer despite the grease
shortage causes damage to reduce the service life.
CAUTION
A
speci
fi
c grease is used with this machine, therefore,
the normal performance of the machine may be badly
a
ff
ected by use of di
ff
erent grease. Please be sure to let
one of our service centers to undertake replacement of
the grease.
MAINTENANCE AND INSPECTION
CAUTION
Be sure to turned o
ff
the switch and remove the battery
before maintenance and inspection.
1. Inspecting the tool
Since use of as dull tool will degrade e
ffi
ciency and
cause possible motor malfunction, sharpen or replace
the tool as soon as abrasion is noted.
2. Inspecting the mounting screws
Regularly inspect all mounting screws and ensure that
they are properly tightened. Should any of the screws be
loose, retighten them immediately. Failure to do so could
result in serious hazard.
3. Maintenance of the motor
The motor unit winding is the very “heart” of the power
tool. Exercise due care to ensure the winding does not
become damaged and/or wet with oil or water.
4. Inspection of terminals (tool and battery)
Check to make sure that swarf and dust have not
collected on the terminals.
On occasion check prior, during and after operation.
CAUTION
Remove any swarf or dust which may have collected on
the terminals.
Failure to do so may result in malfunction.
5. Cleaning on the outside
When the power tool is stained, wipe with a soft dry cloth
or a cloth moistened with soapy water. Do not use chloric
solvents, gasoline or paint thinner, for they melt plastics.
6. Cleaning the battery installation compartment and
the battery
After drilling concrete, if concrete dust has accumulated
on the battery installation compartment and the battery,
clean o
ff
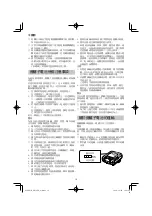
the accumulated concrete dust with air gun or a
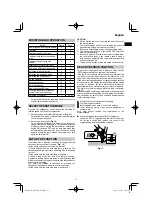
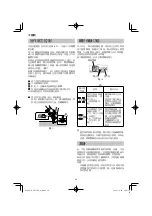
dry cloth before using the tool. (
Fig. 16
)
Also, after cleaning, ensure that the battery can be
installed and removed smoothly from the tool.
CAUTION
Using the tool when the battery is covered with concrete
dust may lead to accidents such as the battery falling
during use.
Furthermore, such use may cause a malfunction or
contact failure between the battery and the terminals.
0000Book̲DH12DD̲Asia.indb 12
0000Book̲DH12DD̲Asia.indb 12
2020/10/02 19:03:24
2020/10/02 19:03:24


