Explosion-Proof Thermal Camera · Quick Start Guide
9
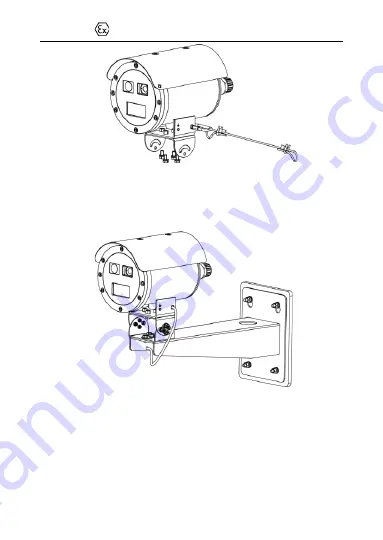
Figure 3-5
Install PT Joint Top with Camera
5.
Connect the safety rope to the hole. Align the screw holes on the
PT joint top with those on the PT joint bottom, and install the
camera on the bracket.
Figure 3-6
Fix Camera to Bracket
6.
Loosen the screws to adjust the tilting and panning angles of the
camera, and tighten the screws after the adjustment. The panning
range is -40° to 40°, and the tilting range is -60° to 60°.


