117
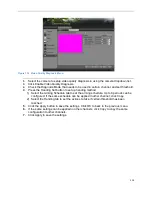
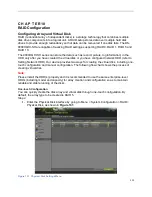
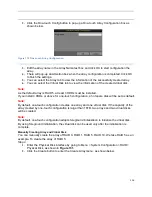
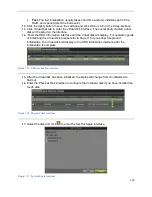
Figure 133 Create Array Interface
3.
Edit the Array Name.
4.
Select the RAID Level from RAID 0, RAID 1, RAID 5 and RAID 10.
5.
Check the checkbox of corresponding disk to select the Physical Disk that you want to
configure array.
6.
Click OK to create array.
7.
Click Array tab to view the successfully created array.
8.
Click to select an array and click Create Vd to enter the Create Virtual Disk interface.
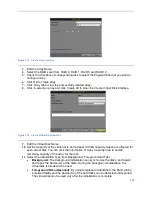
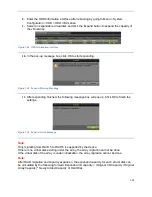
Figure 134 Create Virtual Disk Interface
9.
Edit the Virtual Disk Name.
10.
Set the Capacity of the virtual disk. And at least 100 GB capacity must be configured for
each virtual disk. You can click the Information of Array Capacity area to set the
remaining capacity of the array for the disk.
11.
Select the Initialization Type from Background, Foreground and Fast.
Background:
The background initialization can synchronize the disks, and detect
and repair the bad sector of the disks. During the background initialization, the
virtual disk is allowed to be used.
Foreground (Recommended):
By using foreground initialization, the RAID will be
initialized totally and the bad sector of the hard disks can be detected and repaired.
The virtual disk can be used only after the initialization is complete.
Summary of Contents for DS-7200HGHI-SH Series
Page 18: ...17 Product Application Diagram Figure 7 Product Application Diagram ...
Page 28: ...27 Figure 14 Risky Inadequate Strength Password Figure 15 Invalid Password Message ...
Page 34: ...33 Figure 25 Password Field with Strong Strength Bar Figure 26 Confirmation Window ...
Page 36: ...35 Figure 27 iVMS 4200 Control Panel Figure 28 Inactive DVR NVR Status NVR Status Inactive ...
Page 38: ...37 Figure 31 Weak Adequate Password Strength Figure 32 Medium Adequate Password Strengt ...
Page 92: ...91 Figure 101 Main Menu ...


