Note
Enter the person's basic information first. For details about configuring person's basic
information, refer to Configure Basic Information .
3. In the Additional Information panel, enter the additional information of the person, including
person's ID type, ID No., job title, etc., according to actual needs.
4. Confirm to add the person.
-
Click Add to add the person and close the Add Person window.
-
Click Add and New to add the person and continue to add other persons .
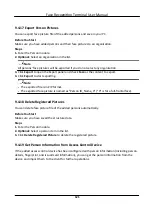
9.4.13 Import and Export Person Identify Information
You can import the information of multiple persons to the client software in a batch. Meanwhile,
you can also export the person information and save them in your PC.
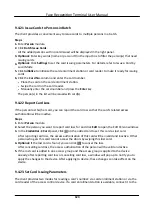
9.4.14 Import Person Information
You can enter the information of multiple persons in a predefined template (CSV/Excel file) to
import the information to the client in a batch.
Steps
1. Enter the Person module.
2. Select an added organization in the list, or click Add in the upper-left corner to add an
organization and then select it.
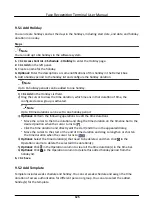
3. Click Import to open the Import panel.
4. Select Person Information as the importing mode.
5. Click Download Template for Importing Person to download the template.
6. Enter the person information in the downloaded template.
Note
●
If the person has multiple cards, separate the card No. with semicolon.
●
Items with asterisk are required.
●
By default, the Hire Date is the current date.
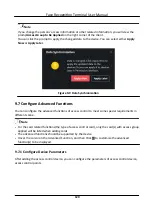
7. Click to select the CSV/Excel file with person information from local PC.
8. Click Import to start importing.
Note
●
If a person No. already exists in the client's database, delete the existing information before
importing.
●
You can import information of no more than 2,000 persons.
Face Recognition Terminal User Manual
119


