


picture, linkage between card number and fingerprint, linkage between card number and
fingerprint, card password, card effective period, etc).
1. Click Access Control → Authorization → Access Group to enter the Access Group interface.
2. Click Add to open the Add window.
3. In the Name text field, create a name for the access group as you want.
4. Select a template for the access group.
Note
You should configure the template before access group settings. Refer to Configure Schedule
and Template for details.
5. In the left list of the Select Person field, select person(s) to assign access authority.
6. In the left list of the Select Access Point field, select door(s), door station(s) or floor(s) for the
selected persons to access.
7. Click Save.
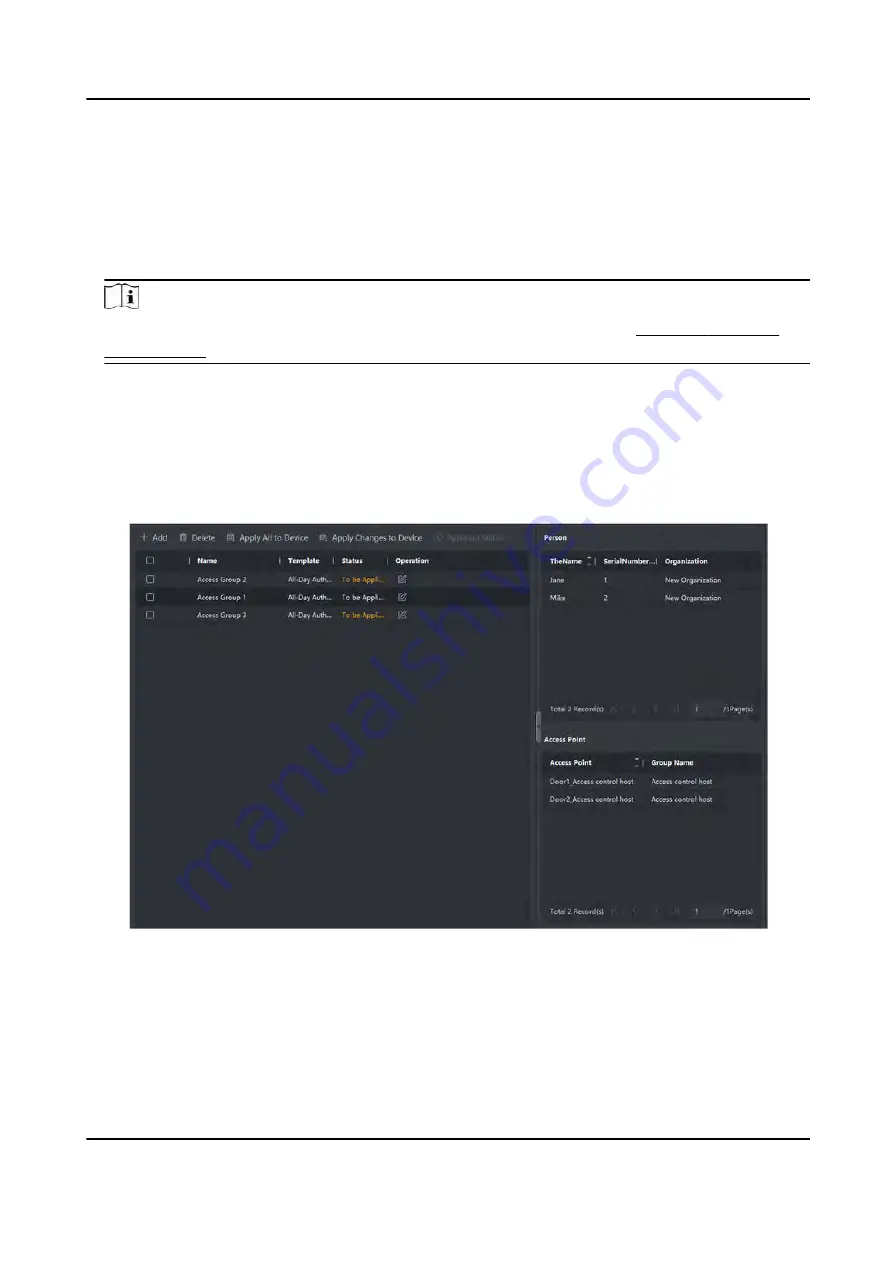
You can view the selected person(s) and the selected access point(s) on the right side of the
interface.
Figure 8-2 Display the Selected Person(s) and Access Point(s)
8. After adding the access groups, you need to apply them to the access control device to take
effect.
1) Select the access group(s) to apply to the access control device.
2) Click Apply All to Devices start applying all the selected access group(s) to the access control
device or door station.
DS-K3B961TX Series Swing Barrier User Manual
91
Summary of Contents for DS-K3B961TX Series
Page 1: ...DS K3B961TX Series Swing Barrier User Manual ...
Page 18: ... The dimension is as follows DS K3B961TX Series Swing Barrier User Manual 5 ...
Page 30: ...Figure 4 6 Sub Access Control Board Terminal DS K3B961TX Series Swing Barrier User Manual 17 ...
Page 40: ...Figure 4 17 Remaining Closed DS K3B961TX Series Swing Barrier User Manual 27 ...
Page 126: ...UD27483B ...


