ECI-B14Fx Network Bullet Camera Quick Start Guide
QSG VE ECI-B14Fx 060118NA
9
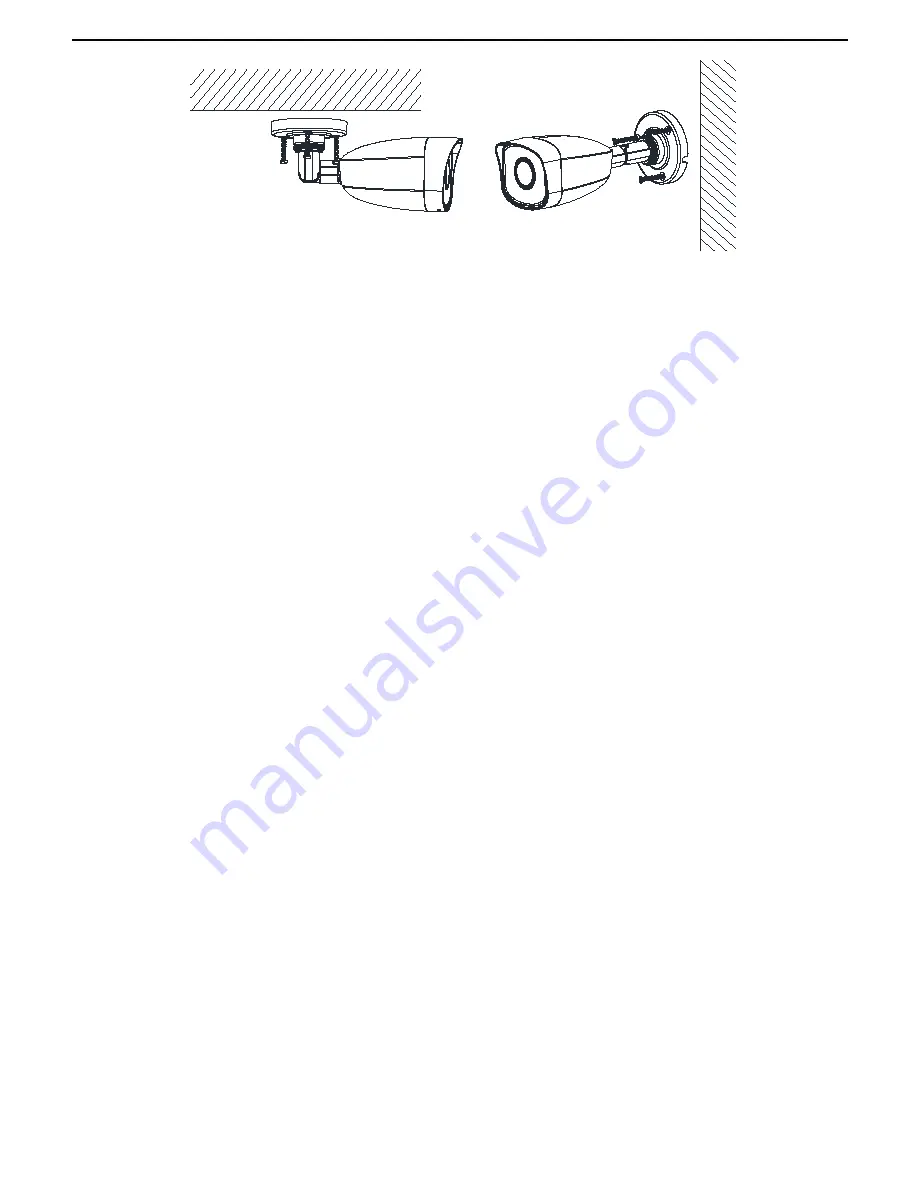
Mount the Camera to the Ceiling/Wall
NOTES:
The supplied screw package contains both self-tapping screws and
expansion bolts.
If the ceiling is cement, expansion bolts are required to fix the camera. If
the ceiling is wood, self-tapping screws are required.
5.
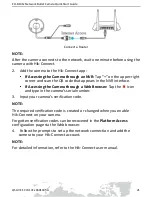
Connect the corresponding power cord, and network cable.
6.
Power on the camera.
7.
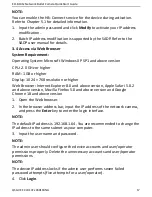
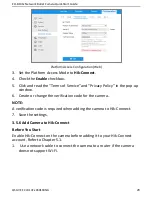
Set the network configuration (for details, refer to
3 Set the Network
Camera over the LAN
and
4 Access via Web Browser
) to check if the
image is at an optimum angle. If not, adjust the surveillance angle.
1)
Loosen the no.1 adjusting screw to adjust the rotation position [0° to
360°].
2)
Tighten the no.1 adjusting screw.
3)
Loosen the no.2 adjusting screw to adjust the tilting position [-90° to
90°].
4)
Tighten the no. 2 adjusting screw.
5)
Loosen the no.3 fix ring to adjust the pan position [0° to 360°].
6)
Tighten the no.3 fix ring.


