10
TRIM OUT
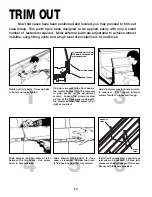
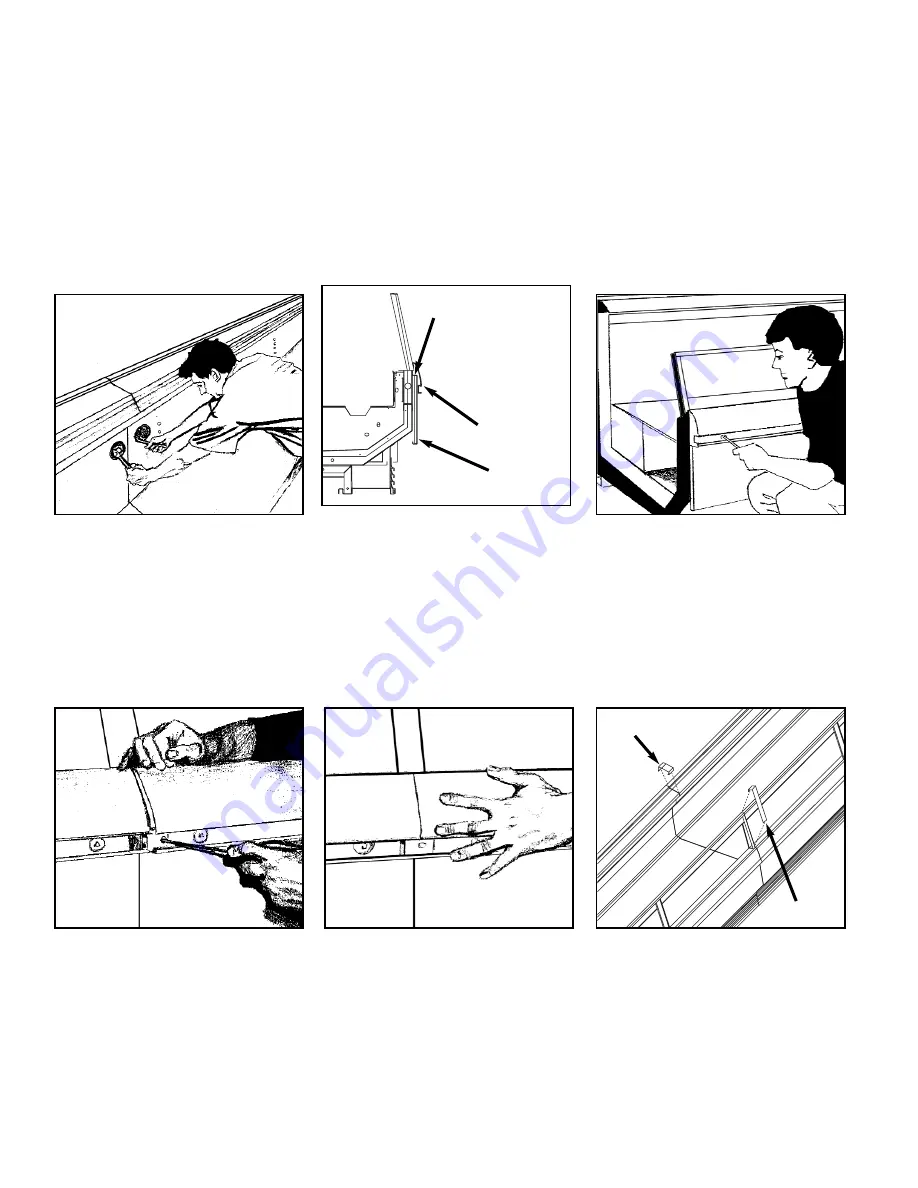
Now that cases have been positioned and leveled, you may proceed to trim-out
case lineup. Trim parts have been designed to be applied easily with only a small
number of fasteners required. Most external parts are adjustable to achieve almost
invisible, snug-fitting joints and a high level of excellence in fit and finish.
6
Install joint covers over case-to-case
joint seams, as needed. All case joint
pieces are shipped loose with the case.
Secure with fasteners provided.
;;;
;;;
;;;
;;;
;;;
;;;
;;;
;;;
;;;
;;;
5
Slide bumper left or right to close
seam as required. Bumper joint neat-
ly finishes any gap that may remain.
4
Slide bumper joint to center of joint
between the two cases. Use screw
driver in hole provided.
3
Adjust polymer master bumper joints,
if required. First loosen bumper
screws located in recessed trough.
2
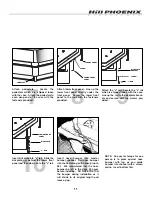
If a gap is present in the front panels,
the master bumper must be removed
to gain access to the adjustment
screws. Loosen the screws located
on top of the front panel underneath
the master bumper, and adjust left or
right as required.
1
Tighten all joint bolts. Draw up tight-
ly, but do not over tighten.
COLOR BAND ADJUSTMENT
SCREWS LOCATED UNDER
MASTER BUMPER
MASTER BUMPER
FRONT PANEL
REAR SILL
JOINT
GLASS
JOINT
Summary of Contents for ORIGIN2 ONIZ
Page 2: ......
Page 4: ......
Page 6: ...2...
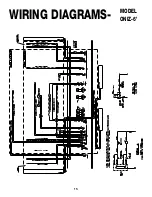
Page 19: ...15 WIRING DIAGRAMS MODEL ONIZ 6...
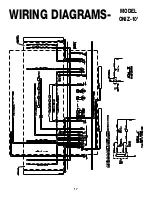
Page 20: ...16 WIRING DIAGRAMS MODEL ONIZ 8...
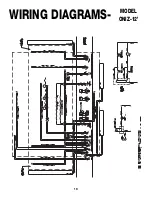
Page 21: ...17 WIRING DIAGRAMS MODEL ONIZ 10...

