6
Fixing to a wall
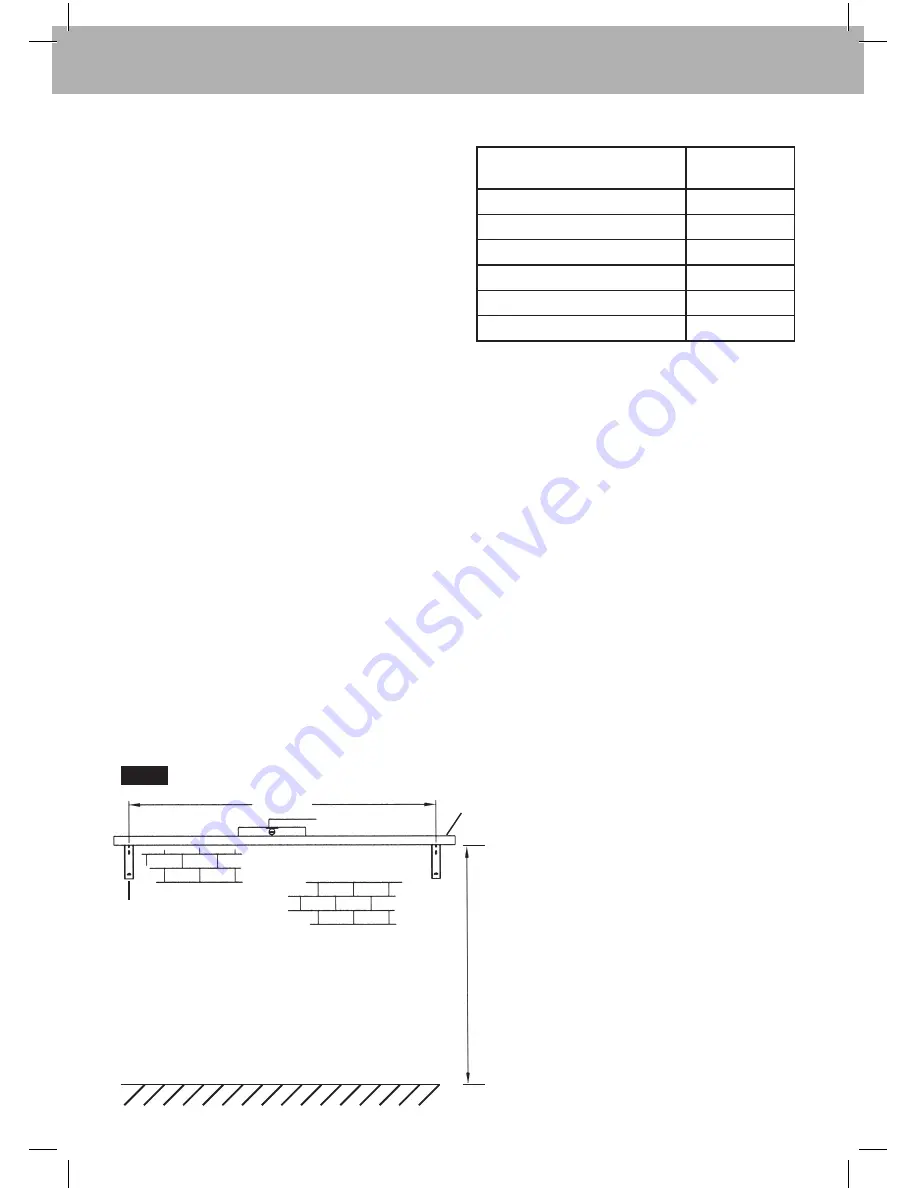
Mark position of Mount Bracket hole centres
on the wall. Refer to
Fig.3
to install your
brackets.
Suggested method
•
Ensure the selected area is free from
pipes and other obstructions.
•
Mount one bracket assembly first and
use this to align the other bracket.
•
Hold brackets against wall and use them
to mark the hole centres.
•
Ensure brackets are vertical and align
horizontally, (a spirit level and a straight
edge will help) (
Fig. 3
).
•
Ensure there is a minimum 400mm
clearance from the top of the brackets
to any overhead obstructions including
eaves, gutters etc. to allow for upward
movement of frame (
Fig. 4
).
Note:
If you are replacing an existing
Hills Folding Frame product, the mount
hole centres may be the same. Therefore
your new Supa
®
Fold Folding Frame
Clothesline may be able to utilise the
existing fasteners provided they are
suitable and in good condition.
‘Mount Hole Centres’
Product
Centres
(mm)
Supa
®
Fold 230
Advantage
2200
Supa
®
Fold 230
2200
Supa
®
Fold 210
2200
Supa
®
Fold 190
3350
Supa
®
Fold 120
2200
Supa
®
Fold 70
1200
Mount Hole Centres
Spirit Level
Straight
Edge
Wall Bracket
Recommended
Mounting
Height
Users
Head
Height
Plus
50mm
Fig. 3
Installation


